
Introduction
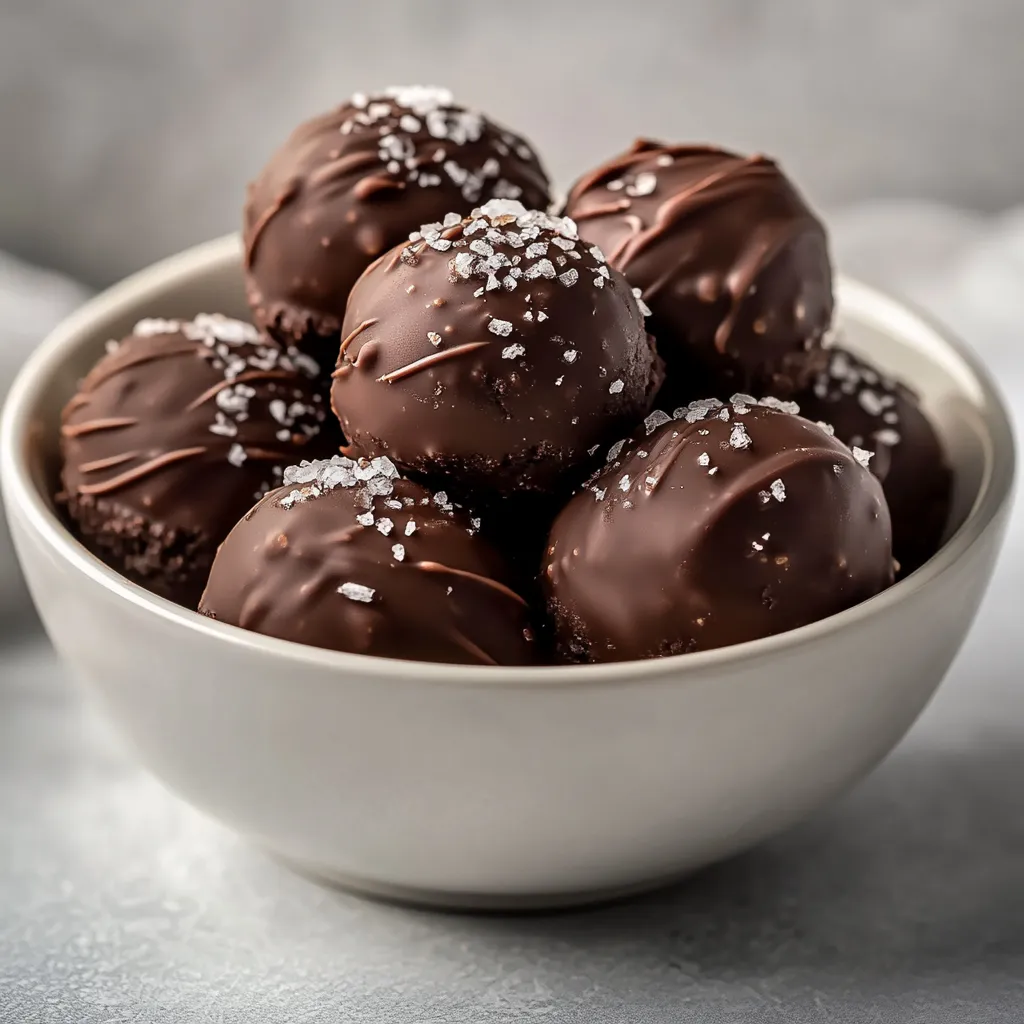
The irresistible combination of Oreo cookies and creamy peanut butter elevates any dessert, offering a nostalgic yet sophisticated treat. Oreo Peanut Butter Bliss Balls are not only easy to make but also a crowd-pleaser, perfect for parties, gatherings, or just a cozy night in. These delightful bites feature a rich chocolate coating that perfectly complements the sweet and savory peanut butter center, making them an incredible indulgence for all ages. Whether you’re serving them at a festive occasion or simply enjoying them at home, these bliss balls are sure to impress.
This convenient no-bake recipe is a celebration of textures and flavors—smooth peanut butter mingling with the crunch of crushed Oreos, enveloped in a delightful layer of semi-sweet chocolate. As you gather your ingredients and prepare to create these little wonders, you’ll find that the simplicity of the process makes it all the more rewarding. In this guide, we will take you through each step in making your own Oreo Peanut Butter Bliss Balls, ensuring that your experience is not only enjoyable but results in a mouthwatering treat.
Recipe Overview
– Total Time: 1 hour
– Prep Time: 15 minutes
– Chill Time: 30-40 minutes
– Yield/Servings: 24 bliss balls
– Difficulty: Not specified in the recipe
Ingredients
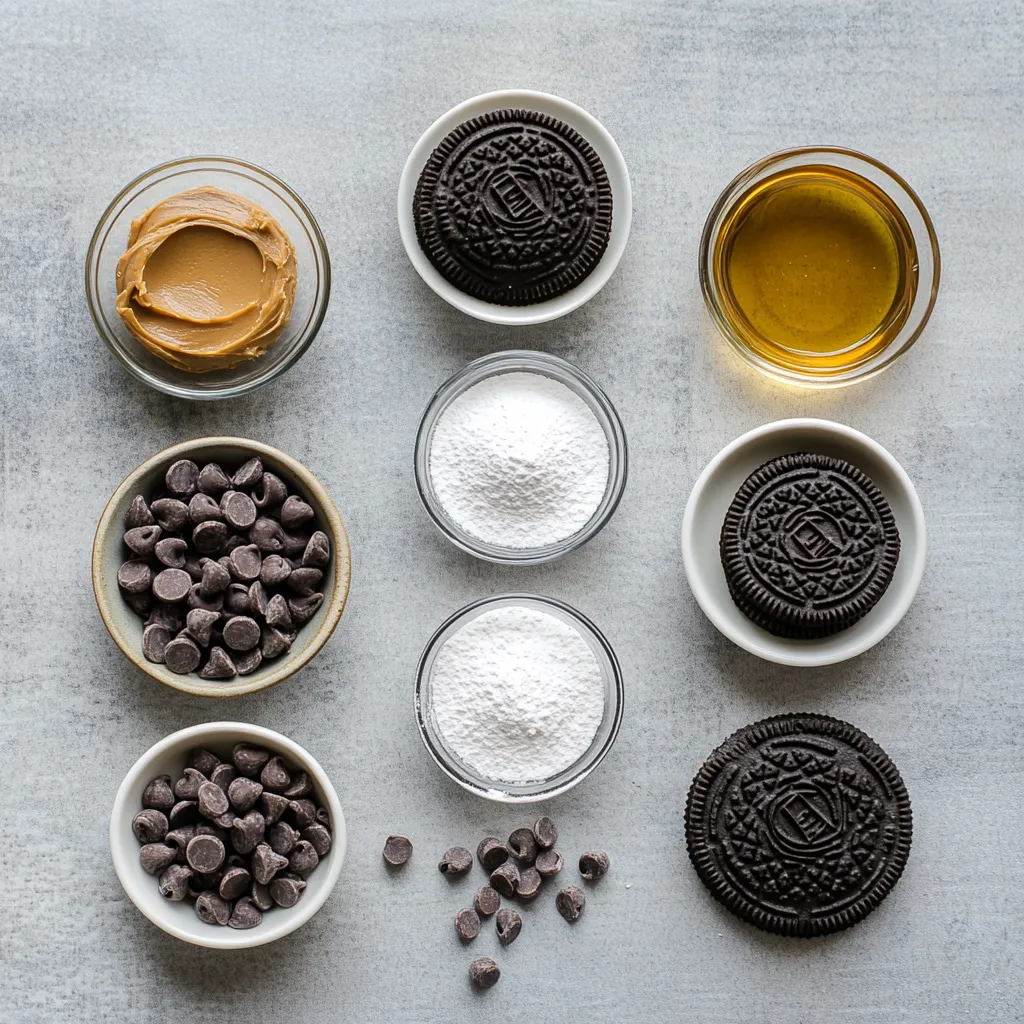
Understanding the ingredients is crucial for replicating this delightful treat. The key components include:
– 1 package (14.3 oz) Oreo cookies
– 1 cup creamy peanut butter
– 1 cup powdered sugar
– 1 cup semi-sweet chocolate chips
– 1 tablespoon coconut oil (optional, for melting chocolate)
– Sea salt (optional, for garnish)
Instructions
1. Crush the Oreos: Begin by placing the Oreo cookies in a food processor. Pulse the cookies until they reach a fine crumb consistency. If you don’t have a food processor, you can place the cookies in a zip-top bag and crush them using a rolling pin.
2. Prepare the Mixture: In a large mixing bowl, combine the crushed Oreos, creamy peanut butter, and powdered sugar. Mix the ingredients together until they form a cohesive dough-like consistency. If the mixture feels too crumbly, add a bit more peanut butter, mixing until it holds together nicely.
3. Form the Balls: Take about 1 tablespoon of the mixture and roll it into a ball using your hands. Place each ball on a baking sheet lined with parchment paper. Continue this process until all of the mixture has been shaped into balls.
4. Chill the Balls: Transfer the baking sheet to the refrigerator and chill for approximately 30 minutes, or until the balls have firmed up.
5. Melt the Chocolate: While the balls are chilling, prepare the chocolate coating. In a microwave-safe bowl, combine the semi-sweet chocolate chips and coconut oil (if using). Heat the mixture in the microwave in 30-second intervals, stirring in between, until the chocolate is smooth and fully melted.
6. Coat the Balls: Once the balls are firm, dip each one into the melted chocolate, ensuring they are completely coated. Use a fork to lift them out, allowing any excess chocolate to drip off, then place them back on the parchment-lined baking sheet.
7. Add Garnish: If desired, sprinkle a small pinch of sea salt on top of each chocolate-coated ball to enhance the sweet and salty flavor profile.
8. Final Chill: Return the coated bliss balls to the refrigerator for an additional 15-20 minutes to allow the chocolate to set properly.
9. Serve and Enjoy: Once the chocolate has hardened, your Oreo Peanut Butter Bliss Balls are ready to be enjoyed! Serve them as a delightful treat or dessert that is sure to impress.
Preparation Tools
Gathering the right tools can streamline your baking process.
Food Processor
– Role: Crushing Oreos to fine crumbs.
– Note: If you do not own a food processor, an alternative method includes using a rolling pin and a zip-top bag to crush the cookies effectively.
Mixing Bowls
– Purpose: These are needed for combining your ingredients. It is recommended to have a large bowl for the mixture and a smaller bowl for melting the chocolate.
Baking Sheet & Parchment Paper
– Usage: The baking sheet lined with parchment paper is required for setting the bliss balls after they have been shaped. This will prevent them from sticking and assist in easy removal once hardened.
Microwave-Safe Bowl
– Ideal for: A microwave-safe bowl is essential for melting chocolate chips. This will ensure safety and ease in handling, as you can monitor the melting process directly.
Crushing the Oreos
This step is essential for achieving the perfect texture in the bliss balls.
Using a Food Processor
– Method: Using a food processor, pulse the Oreo cookies until they reach a fine crumb consistency. Usually, this only takes about a minute or less. The fine crumbs are crucial for providing structure and flavor to the mixture.
Alternative Manual Method
– Method: If you don’t have a food processor, you can place the Oreo cookies inside a zip-top bag and crush them using a rolling pin. This method may require a bit more effort, but it is effective for achieving the desired crumb consistency.
By mastering the crush, you lay the groundwork for the delightful texture that defines these bliss balls. Enjoy preparing the cookies and be excited for the sugary adventure ahead! The next steps will guide you through bringing this all together into a cohesive, mouthwatering treat.
Storage Recommendations
To keep your Oreo Peanut Butter Bliss Balls fresh and delicious, proper storage is important. These treats can be stored in an airtight container in the refrigerator for up to one week. If you have made a larger batch or want to enjoy them later, you can freeze them for longer storage.
Freezing Instructions
For freezing, place the bliss balls on a baking sheet in a single layer until solid, then transfer them to a freezer-safe container or zip-top freezer bag. This method will prevent the balls from sticking together. They can be stored in the freezer for up to three months. When you’re ready to enjoy, simply remove the desired amount and allow them to thaw in the refrigerator for a few hours or at room temperature for about 30 minutes.
Serving Ideas
Oreo Peanut Butter Bliss Balls are incredibly versatile when it comes to serving. They are perfect for various occasions, from casual get-togethers to more elaborate dessert displays.
Presentation Tips
For an elegant presentation, arrange the bliss balls on a decorative platter. You can drizzle some extra melted chocolate over the top for a stunning visual effect. Another idea is to serve them in mini cupcake liners for a fun, party-ready look. Additionally, they can be paired with fresh fruit or a scoop of ice cream to enhance the dessert experience.
Technique
The technique used in making these bliss balls significantly impacts the final result. Each step requires some attention to detail, but the overall process is simple and straightforward.
Mixing Ingredients
Combining the crushed Oreos, peanut butter, and powdered sugar in a large bowl is essential to forming a consistent base for the bliss balls. It is best to use a spatula or spoon to gently fold the ingredients together until fully blended. Patience is key – overmixing can lead to a tougher texture, while undermixing may result in crumbly balls. Aim for a smooth, cohesive dough that holds its shape when rolled.
Adjusting Consistency
If the mixture feels too crumbly and does not hold together, adding more peanut butter will improve the consistency. Start with just a small amount at a time to avoid over-saturating the mixture. The desired outcome is a dough-like consistency that can be easily shaped.
Rolling Technique
Creating the bliss balls can be a fun family activity. Using about a tablespoon of the mixture, roll it between your palms to form a ball. For best results, consider keeping your hands slightly damp; this technique minimizes sticking and helps achieve an even shape with each ball.
Arranging on Baking Sheet
Once shaped, place the bliss balls on a parchment-lined baking sheet. It’s important to space them adequately apart to ensure they chill evenly and maintain their shape. Using parchment paper makes clean-up easier and prevents sticking.
Chilling the Balls
Chilling the balls is not just a necessary step; it also enhances their texture. Allowing them to chill for about 30 minutes firm up the mixture and makes the next steps much easier.
Time Modifications
If pressed for time, a shorter chill time can still be effective, though the balls may not be as firm. You can experiment with shorter intervals and find the balance that works best for you.
Impact on Texture
Chilling solidifies the bliss balls, making them easier to coat with chocolate. Pay attention to the visual cues; when they are firm to the touch, they are ready for coating.
Melting the Chocolate
Melting the chocolate is a crucial step in achieving that deliciously sweet coating. Proper technique ensures a smooth, glossy finish, elevating the bliss balls in both taste and appearance.
Step-by-Step Melting Process
Combine the semi-sweet chocolate chips and coconut oil (if using) in a microwave-safe bowl. Heat in increments of 30 seconds, stirring after each interval to help the chips melt evenly, avoiding overheating. Be cautious, as chocolate can easily burn. When melted completely, the chocolate should be smooth and ready for dipping.
Tips for Perfect Coating
Utilizing a fork to dip and lift the bliss balls from the chocolate will help achieve full coverage. Allow the excess chocolate to drip off before placing them back onto the parchment-lined baking sheet to prevent pooling.
Coating the Bliss Balls
The final step of coating the bliss balls with chocolate transforms them into delightful treats.
Dipping Method
Ensure that each bliss ball is fully coated in chocolate to achieve a uniform flavor in every bite. The coating should be even and glossy – this also aids in presentation.
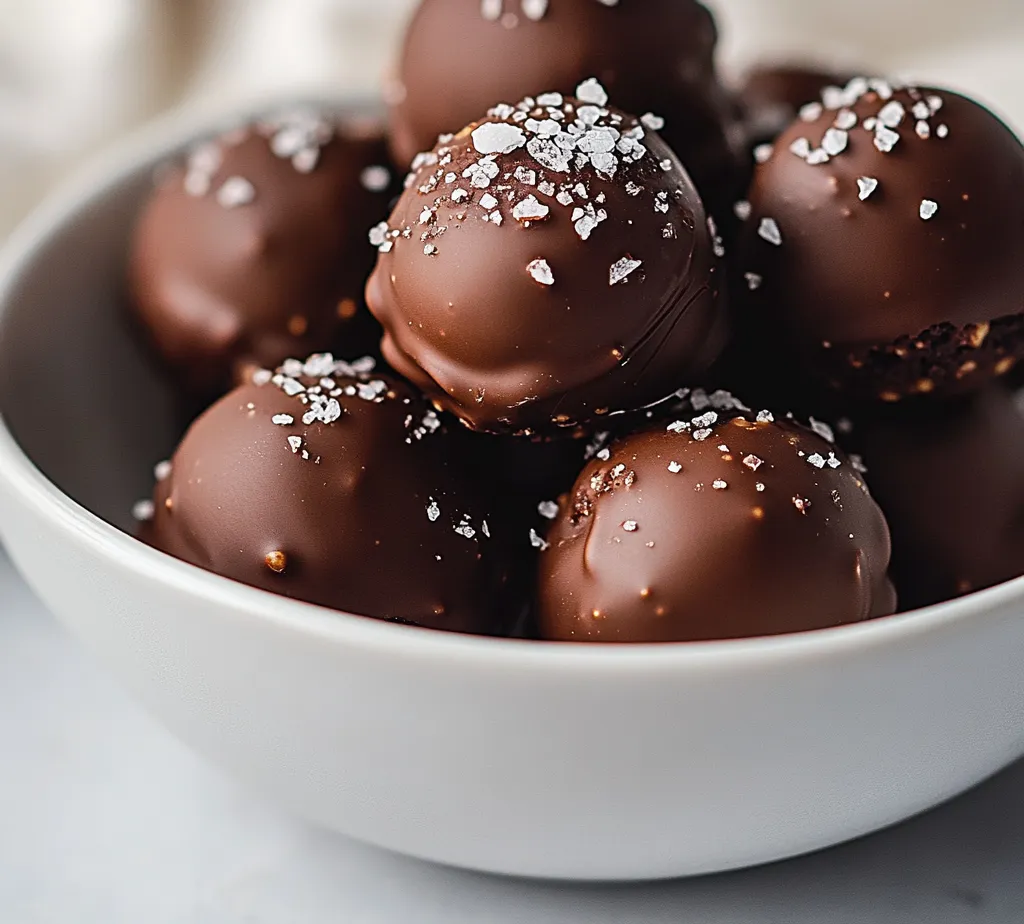
Final Touches
Garnishing the chocolate-coated bliss balls with a sprinkle of sea salt not only enhances the flavor but also adds a beautiful contrast that can make the balls look more appealing. This subtle addition provides a delightful sweet and salty balance.
Final Chill
Giving the chocolate a final chill before serving is important for taste and aesthetics.
Timing for Setting
Allow the coated bliss balls to chill in the refrigerator for an additional 15-20 minutes. This final chill ensures that the chocolate hardens completely, providing a satisfying crack as you bite into them.
Visual Cue
The chocolate should feel firm to the touch once adequately chilled and is now ready to be served.
Conclusion
Oreo Peanut Butter Bliss Balls are a delectable treat that combines the rich flavors of peanut butter and chocolate with the delightful crunch of Oreos. With a total prep and chilling time of roughly one hour, they provide a unique texture that is both creamy and firm. Perfect for any occasion, these bliss balls will satisfy any sweet tooth with their delightful presentation and taste.

Oreo Peanut Butter Bliss Balls Recipe
Ingredients
- 1 package Oreo cookies
- 1 cup creamy peanut butter
- 1 cup powdered sugar
- 1 cup semi-sweet chocolate chips
- 1 tablespoon coconut oil
- to taste sea salt
Instructions
- Crush the Oreos in a food processor until fine crumbs form.
- Combine crushed Oreos, peanut butter, and powdered sugar in a bowl and mix until cohesive.
- Roll about 1 tablespoon of the mixture into balls and place on a lined baking sheet.
- Chill the balls in the refrigerator for about 30 minutes.
- Melt chocolate chips and coconut oil in a microwave until smooth.
- Dip each chilled ball into the melted chocolate and place back on the baking sheet.
- Sprinkle sea salt on top of each chocolate-coated ball if desired.
- Chill again for 15-20 minutes to set the chocolate.
- Serve and enjoy your Oreo Peanut Butter Balls!