Introduction
There’s something irresistibly charming about homemade jams that takes us back to simpler times. They evoke memories of warm summer days, fresh fruit picking, and the comforting aroma of sweet fruit bubbling away on the stove. Making jam at home isn’t just about preserving fruit; it’s a way to capture the essence of seasonal flavors, transforming them into luscious spreads that can brighten up your morning toast or elevate desserts. With a jar of homemade jam in your pantry, you can savor the flavors of summer all year round.
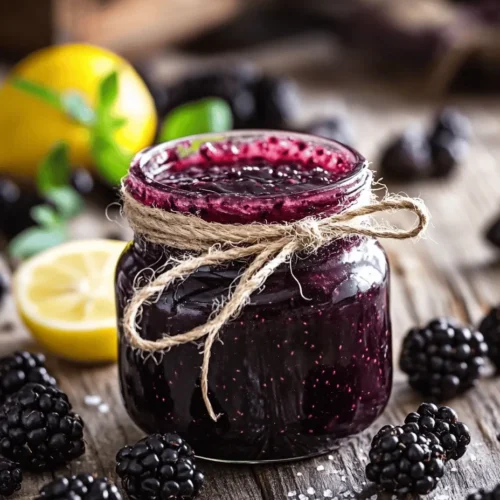
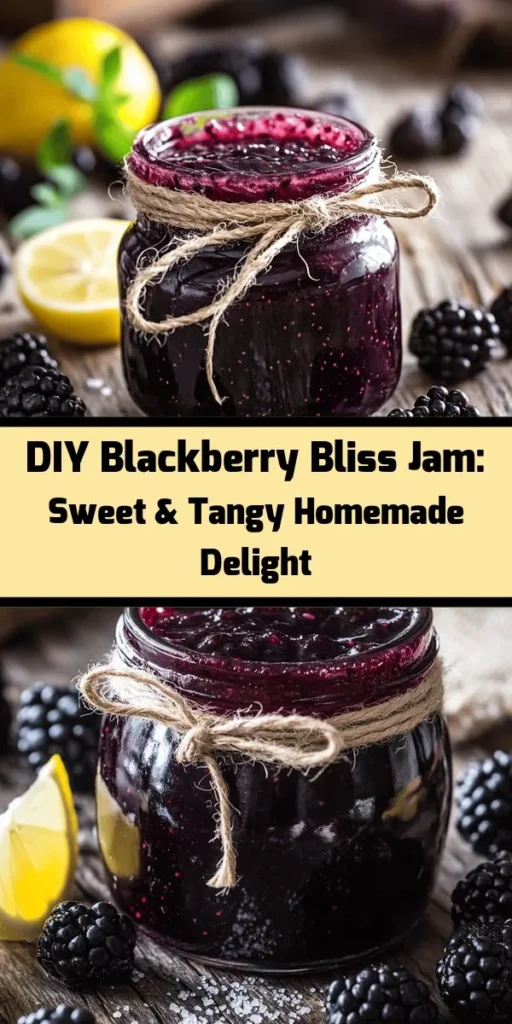
One of the most delightful varieties you can make is Sweet & Tangy Blackberry Bliss Jam. This jam is not only a sweet treat but also brings a refreshing tanginess that perfectly balances the rich flavor of ripe blackberries. Using fresh, high-quality ingredients is critical when crafting this jam, as it ensures the best flavor and texture. This recipe will guide you through each step, from selecting the perfect blackberries to achieving that ideal spreadable consistency.
The Allure of Blackberry Jam
Jam-making has a rich history that dates back centuries, showcasing the timeless tradition of preserving fruits to extend their shelf life. Historically, fruits were preserved in sugar to prevent spoilage, allowing families to enjoy seasonal flavors even in the depths of winter. This practice has evolved into an art form, with countless varieties of jams and jellies gracing tables around the world.
Blackberries, in particular, hold a special place in the hearts of many. These luscious berries are not only delicious but also boast an impressive nutritional profile. Packed with vitamins C and K, dietary fiber, and antioxidants, blackberries are a healthy addition to any diet. They contribute to heart health, support digestion, and have anti-inflammatory properties, making them a fruit worth incorporating into your regular meals.
The versatility of blackberry jam is another reason for its popularity. It can be spread on toast, swirled into yogurt, or used as a filling for pastries. Beyond breakfast, blackberry jam can serve as a delightful accompaniment to cheese boards or even as a sweet glaze for meats. The possibilities are endless, making this jam a staple in any kitchen.
Understanding the Ingredients
To make the perfect Sweet & Tangy Blackberry Bliss Jam, it’s essential to understand the role of each ingredient. This knowledge not only enhances your jam-making skills but also ensures that you achieve the best flavor and texture possible.
Ripe Blackberries: Selecting the Best Quality
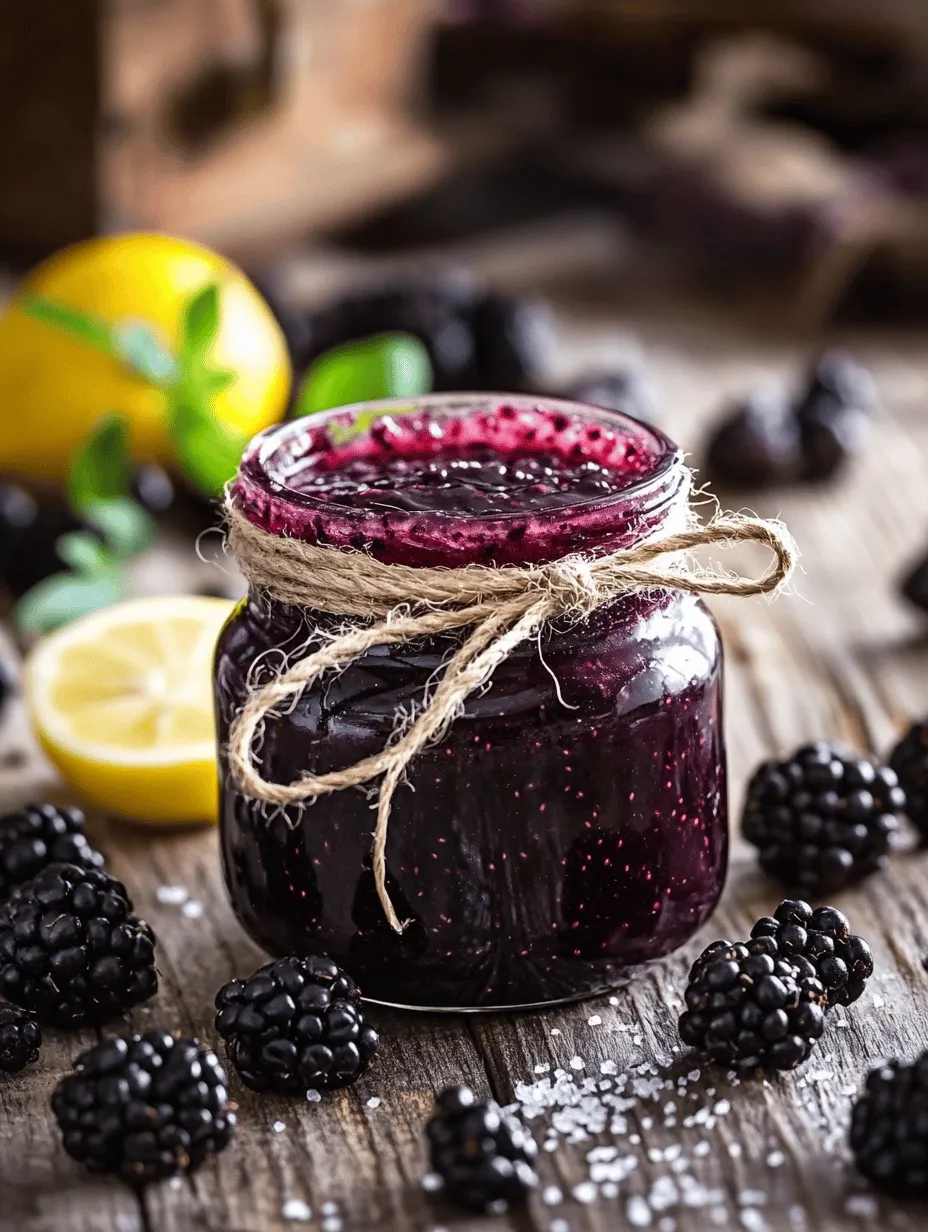
The star ingredient of this recipe is, of course, the blackberries. When selecting blackberries, look for plump, firm berries that are deep in color, preferably a rich purple-black hue. Avoid berries that are overly soft or have visible signs of mold, as these indicate overripeness. Fresh, ripe blackberries will impart the best flavor and sweetness to your jam.
Granulated Sugar: Role in Sweetness and Preservation
Granulated sugar is a crucial component of jam-making. It not only enhances the sweetness of the blackberries but also acts as a preservative, helping to extend the shelf life of the jam. During the cooking process, sugar interacts with the fruit’s natural pectin, which helps create that signature jam-like texture. When measuring sugar, it’s important to adhere to the recipe proportions to ensure proper setting and flavor balance.
Lemon Juice: The Importance of Acidity in Balancing Flavors
Lemon juice plays a vital role in this recipe, providing acidity that balances the sweetness of the blackberries. The acidity not only enhances the overall flavor profile but also aids in the setting process by interacting with the pectin. Freshly squeezed lemon juice is recommended for the best flavor, although bottled lemon juice can be used in a pinch.
Vanilla Extract: Enhancing the Depth of Flavor
Adding a splash of vanilla extract can elevate the flavor of your blackberry jam. The warm, sweet notes of vanilla complement the tartness of the blackberries, creating a more complex and satisfying flavor profile. While this ingredient is optional, it can add a delightful nuance that makes your jam stand out.
Ground Cinnamon: Optional Spice that Adds Warmth
Ground cinnamon is another optional ingredient that can introduce an inviting warmth to your jam. This spice pairs beautifully with blackberries and can enhance the overall taste experience. If you enjoy a hint of spice in your preserves, consider adding a pinch of cinnamon to your recipe.
Fruit Pectin: Its Role in Thickening the Jam
Fruit pectin is a natural thickening agent derived from fruits, and it is vital for achieving the right consistency in your jam. Pectin helps the jam set properly, giving it a spreadable texture. There are two main types of pectin: liquid and powdered. Both can be used in this recipe, but it’s important to follow the specific instructions provided on the packaging for the best results.
Step-by-Step Guide to Making Blackberry Bliss Jam
Now that you understand the ingredients, let’s dive into the step-by-step process of making your Sweet & Tangy Blackberry Bliss Jam. This guide will walk you through each stage, ensuring you create a delightful jam that you’ll be proud to share with family and friends.
Preparing the Fruit
The first step in making your blackberry jam is to prepare the fruit. Start by rinsing the blackberries under cold water to remove any dirt or impurities. Gently pat them dry with a paper towel, being careful not to crush them. Once cleaned, inspect the berries for any that are overripe or damaged, and discard them.
Techniques for Mashing Blackberries Effectively
Next, it’s time to mash the blackberries. You can use a potato masher, a fork, or even a food processor for this task. If you prefer a chunkier jam with berry pieces, simply mash the berries lightly. For a smoother consistency, mash them more thoroughly until you reach your desired texture. Remember, the more you mash, the more juice will be released, which is essential for the next steps.
Cooking the Jam Base
Once your blackberries are prepared, it’s time to cook them down into a jam base. In a large, heavy-bottomed pot, combine the mashed blackberries with granulated sugar and freshly squeezed lemon juice. Stir the mixture gently to combine, ensuring that the sugar begins to dissolve.
Proper Heat Management and Stirring Techniques
Place the pot over medium heat and bring the mixture to a gentle boil. As it heats, continuously stir to prevent the fruit from sticking to the bottom of the pot and burning. This is a critical step because it allows the flavors to meld together while maintaining an even cooking temperature.
The Science Behind Combining Ingredients for Flavor Development
During the cooking process, the sugars in the blackberries will caramelize slightly, enhancing the jam’s sweetness and creating a richer flavor. The acidity from the lemon juice will balance the sweetness, while the pectin will begin to activate, helping the jam to thicken. Keep a close eye on the mixture, stirring regularly until it reaches a rolling boil.
Adding Pectin
Once your jam mixture has reached a rapid boil, it’s time to add the fruit pectin. Follow the instructions on the packaging for the specific pectin type you are using, as the incorporation method may differ. Typically, you will need to sprinkle the pectin evenly over the surface of the boiling jam and stir vigorously to ensure it is fully dissolved.
After adding the pectin, continue to cook the jam for a few more minutes, stirring constantly. This is the moment when the magic happens; you’ll notice the jam beginning to thicken and take on a glossy sheen.
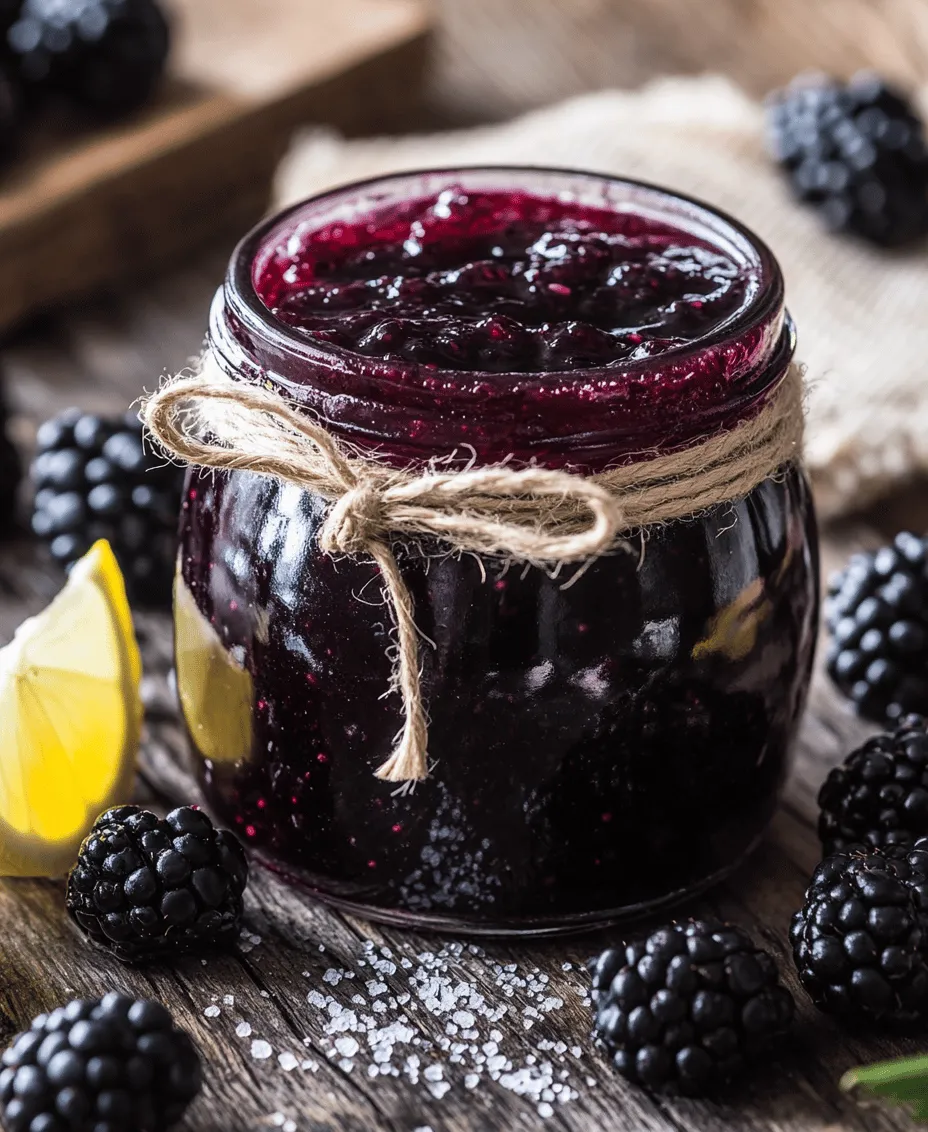
By the end of this step, you should have a bubbling pot of sweet and tangy blackberry bliss jam, ready to be jarred and enjoyed. The flavor profile will be a perfect blend of sweetness and acidity, with a delightful depth from the vanilla and optional spices.
As you prepare to finish your jam-making adventure, remember that the process is as much about enjoying the journey as it is about the final product. Stay tuned for the next part, where we’ll cover canning methods, storage tips, and creative ways to use your delicious blackberry jam.
Understanding Pectin in Jam-Making
Pectin plays a crucial role in the process of making jams, especially in achieving the desired gel-like consistency. It is a natural substance found in fruits, particularly in their skins and cores. When heated with sugar and acid, pectin forms a gel that thickens the mixture, allowing your blackberry jam to set perfectly. The amount of pectin varies among different fruits; blackberries contain moderate levels of natural pectin, which is why pairing them with the right amount of sugar and acidity (like lemon juice) is essential for achieving that perfect jam consistency.
The Importance of Achieving a Full Rolling Boil
When making jam, you’ll often hear the term “full rolling boil.” This refers to a boil that is vigorous enough to continue bubbling even when stirred. Achieving a full rolling boil is critical because it ensures that the temperature reaches a level high enough to activate the pectin, allowing the mixture to thicken effectively. If the boil is too gentle, you may end up with a runny jam that fails to set properly.
Boiling and Thickening
Once you’ve reached a full rolling boil, it’s time to focus on boiling and thickening your blackberry mixture. Continue to boil the mixture vigorously for about 10 to 15 minutes, stirring frequently to prevent it from sticking to the bottom of the pot. As the mixture heats, you will notice it beginning to thicken. The color will deepen as the sugars caramelize, creating a rich, inviting jam.
Determining the Right Consistency for Jam
Determining the right consistency is crucial for a successful jam. To check if your blackberry jam has reached the right thickness, employ the cold plate method. This simple technique involves placing a small spoonful of the jam on a cold plate and letting it cool for a few seconds. Then, run your finger through the jam on the plate. If it holds its shape and doesn’t immediately flow back together, it’s ready to be jarred. If it’s still too runny, continue boiling for another few minutes and repeat the test.
The Cold Plate Method for Checking Thickness
The cold plate method is a reliable and quick way to assess the thickness of your jam without any special equipment. Simply place a plate in the freezer before you start cooking. When you think your jam might be ready, take the plate out and drop a small amount of the jam onto it. After about 30 seconds, tilt the plate to see if the jam holds its shape. If it forms a distinct line when you run your finger through it, your jam has reached the desired consistency.
Jarring the Jam
Once your blackberry jam has reached the right thickness, it’s time to jar it. Proper jarring is essential for both presentation and food safety. Before starting, ensure you have sterilized your jars and lids. You can do this by placing them in a boiling water bath for 10 minutes or running them through the dishwasher on a hot cycle. This step is vital as it eliminates any bacteria, preventing spoilage.
Importance of Sterilizing Jars for Food Safety
Sterilizing jars is a fundamental step in canning and preserving food, as it helps avoid microbial growth that could spoil your jam. Clean jars also ensure that you maintain the best flavor and quality of your blackberry jam. Make it a habit to sterilize all your canning equipment before use.
Correct Pouring Techniques to Avoid Mess
When pouring the jam into jars, use a wide-mouth funnel if you have one; this will help direct the jam into the jar without spilling. Fill each jar, leaving about a quarter-inch of headspace at the top. This space allows for the jam to expand during the sealing process. Wipe the rims of the jars with a clean, damp cloth to remove any residue before sealing.
Sealing and Processing
After the jars are filled, it’s time to seal them properly. Place the sterilized lids on top of the filled jars and screw on the metal bands until they are fingertip-tight. Avoid over-tightening as this can prevent the jars from sealing correctly during processing.
Detailed Instructions on Sealing Jars Effectively
1. Place the lid on the jar.
2. Screw the metal band onto the jar until it is snug.
3. Ensure you can still turn the lid slightly; this indicates that the lid can seal properly while the jam cools.
Explanation of the Boiling Water Bath Process
To ensure your jam is safe for storage, process the sealed jars in a boiling water bath. This method further kills any remaining bacteria and seals the jars tightly. Here’s how to do it:
1. Fill a large pot with enough water to cover the jars by at least an inch.
2. Bring the water to a rolling boil.
3. Carefully lower the jars into the boiling water using a jar lifter.
4. Process the jars for about 10 to 15 minutes, adjusting for altitude if necessary.
5. After processing, carefully remove the jars and let them cool on a clean towel or drying rack.
Cooling and Storing
Once your jars have been processed, allow them to cool completely at room temperature. You will hear the satisfying “ping” sound as the jars seal properly. After about 12 hours, check the seals by pressing down in the center of each lid. If it doesn’t pop back, the jar has sealed successfully.
Best Practices for Cooling Jars and Checking Seals
– Allow jars to cool undisturbed for 12 to 24 hours.
– Check seals by pressing down in the center of the lids; if they are firm, they are sealed.
– Store unsealed jars in the refrigerator and use them within a few weeks.
Storage Recommendations for Longevity and Freshness
Store your sealed jars in a cool, dark place—like a pantry or cupboard—for up to one year. Avoid exposure to light and temperature fluctuations, which can affect the quality of your jam. If you notice any signs of spoilage, such as off smells or a bulging lid, discard the jar.
Creative Ways to Use Blackberry Jam
Blackberry jam is not just for spreading on toast; it can elevate a variety of dishes. Here are some creative ways to enjoy your homemade jam:
Pairing Suggestions with Breakfast Items
– Toast: Spread your blackberry jam generously on warm, toasted bread or an English muffin for a delightful breakfast treat.
– Pancakes and Waffles: Drizzle the jam over pancakes or waffles for a burst of fruity flavor.
– Yogurt: Swirl a spoonful of blackberry jam into plain yogurt to add sweetness and color.
Incorporating Jam into Desserts
– Tarts: Use blackberry jam as a filling for tarts or pastries for a sweet surprise.
– Cheesecakes: Drizzle jam over cheesecake for an elegant finish and a pop of flavor.
– Ice Cream: Swirl some jam into vanilla ice cream or use it as a topping.
Using Jam as a Glaze or Marinade in Savory Dishes
– Glaze for Meats: Mix blackberry jam with balsamic vinegar to create a glaze for roasted chicken or pork.
– Marinade: Combine jam with soy sauce and garlic to marinate chicken or tofu before grilling.
Health Benefits of Blackberries
Not only is blackberry jam delicious, but it also packs a nutritional punch. Blackberries are rich in antioxidants, vitamins C and K, and dietary fiber. These nutrients may help boost your immune system, improve heart health, and promote digestion.
Overview of the Antioxidants and Vitamins Found in Blackberries
Blackberries contain high levels of anthocyanins, the pigments that give them their deep purple color. These antioxidants help combat oxidative stress in the body, potentially reducing the risk of chronic diseases. Additionally, vitamin C supports skin health and immune function, while vitamin K plays a role in bone health and blood clotting.
Discussion on the Health Benefits of Homemade Jams Compared to Store-Bought Options
Homemade blackberry jam often contains fewer additives and preservatives compared to store-bought versions. By making your jam, you have complete control over the ingredients, allowing you to adjust sugar levels and avoid artificial flavors or colors. This makes homemade jam not only a delicious treat but also a healthier option for your pantry.
Conclusion
Making blackberry jam at home is a rewarding and satisfying experience. The process allows you to preserve the vibrant flavors of summer berries while enjoying the benefits of a homemade product. With the right techniques and a little patience, you can create a delightful spread that adds joy to your breakfasts, desserts, and even savory dishes.
Don’t hesitate to experiment with other fruits and flavors in your jam-making adventures. Seasonal fruits like strawberries, peaches, or even mixed berry combinations can yield fantastic results. Preserving fruits through jam-making is not just a way to enjoy their flavors year-round; it’s also a means of connecting with the seasons and appreciating nature’s bounty. So roll up your sleeves, gather your ingredients, and embark on your jam-making journey—there’s a world of flavor waiting for you!