Introduction
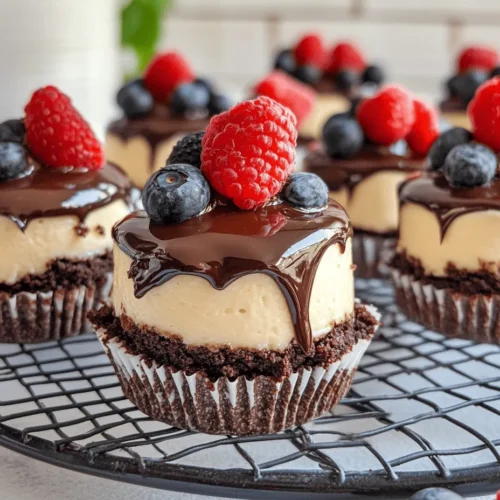
Mini desserts have taken the culinary world by storm, capturing the hearts (and taste buds) of dessert lovers everywhere. Their charming size makes them perfect for sharing at gatherings, parties, or simply indulging in a personal treat without the guilt of a larger cake. Among the myriad of mini dessert options, Brownie Bottom Mini Cheesecakes stand out as a delightful fusion of two classic favorites: the fudgy brownie and the creamy cheesecake.
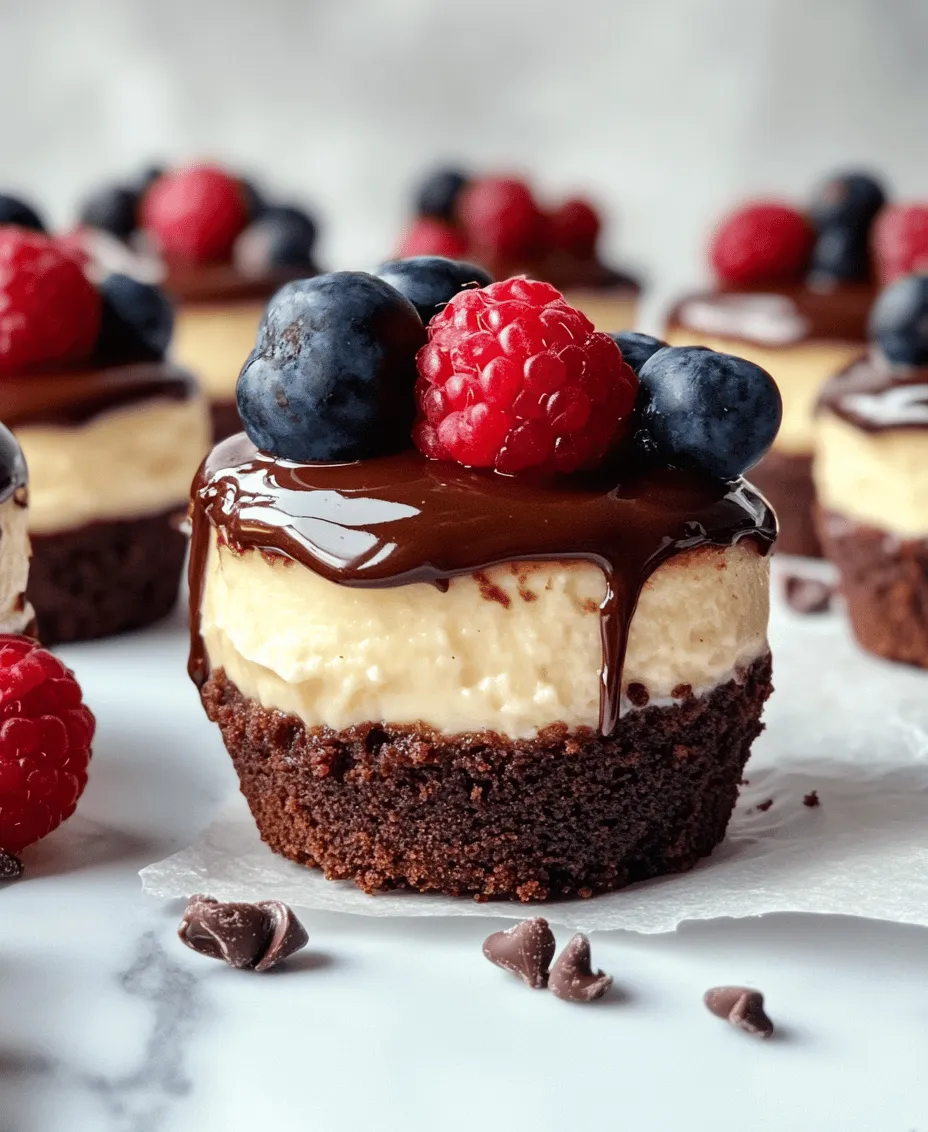
These mini cheesecakes, perched atop a rich brownie base, offer a decadent experience that balances the deep chocolate flavor of brownies with the velvety smoothness of cheesecake. This unique combination not only satisfies diverse palates but also elevates any occasion, from birthday parties to holiday celebrations. Whether you’re a chocolate lover or a cheesecake enthusiast, these mini treats promise to deliver a heavenly bite every time.
In this article, we will explore the delicious world of Brownie Bottom Mini Cheesecakes, diving into their delectable ingredients, preparation steps, and some tips to ensure your mini cheesecakes turn out perfectly every time.
Understanding the Ingredients
To create the perfect Brownie Bottom Mini Cheesecakes, it’s essential to understand the key ingredients that contribute to their rich flavors and textures. Each component plays a vital role in achieving that ideal balance between the brownie and cheesecake layers.
Key Ingredients Overview
1. Unsalted Butter: The foundation of both the brownie and cheesecake layers, unsalted butter is crucial for rich flavor and smooth texture. Using unsalted butter allows you to control the overall saltiness of the dessert, ensuring that the sweetness of the cheesecake and the richness of the brownie shine through.
2. Granulated Sugar: Sugar is not just for sweetness; it also contributes to the moisture of both the brownie and cheesecake components. The right amount of sugar balances the flavors and helps achieve the desired consistency, particularly in the cheesecake filling, where it harmonizes with the cream cheese.
3. Eggs: Eggs act as a binding agent in both layers, providing structure and richness. In the brownie base, they help create a fudgy texture, while in the cheesecake filling, they contribute to the creamy, smooth consistency that defines a good cheesecake.
4. Cocoa Powder: Cocoa powder is the key ingredient that gives the brownie layer its rich chocolate flavor. It’s essential to use high-quality cocoa powder for the best taste, as it greatly impacts the flavor profile of the brownies and, consequently, the overall dessert.
Cheesecake Filling Ingredients
When it comes to the cheesecake layer, the following ingredients are pivotal:
1. Cream Cheese: This is the star of the cheesecake filling. Cream cheese provides a rich, creamy texture and a slightly tangy flavor that balances beautifully with the sweetness of the sugar. It’s important to use softened cream cheese for a smooth filling, as cold cream cheese can lead to lumps.
2. Sour Cream (Optional): Adding sour cream to the cheesecake filling enhances its creaminess and adds a subtle tang that can elevate the flavor profile. If you prefer a denser cheesecake, you can omit it, but incorporating sour cream can make your dessert even more indulgent.
3. Vanilla Extract: A splash of vanilla extract adds depth and enhances the overall flavor of the cheesecake, making it more aromatic and flavorful.
4. Toppings: While these mini cheesecakes are delightful on their own, optional toppings can further enhance their appeal. Consider using fresh fruit, chocolate ganache, or a drizzle of caramel sauce for added sweetness and decoration. Each topping offers a different twist, allowing you to customize your mini cheesecakes for any occasion.
Preparation Steps for Brownie Bottom Mini Cheesecakes
Now that we’ve covered the essential ingredients, let’s dive into the preparation steps for creating your Brownie Bottom Mini Cheesecakes. This section will guide you through making the brownie base and the cheesecake filling, ensuring you achieve the perfect balance between the two layers.
Step 1: Preparing the Brownie Base
To start, you’ll want to preheat your oven to 325°F (163°C). This temperature is ideal for baking both the brownie and cheesecake layers without overcooking either component.
Ingredients for the Brownie Base:
– Unsalted butter
– Granulated sugar
– Eggs
– Cocoa powder
– All-purpose flour
– Salt
– Vanilla extract
Instructions:
1. Melt the Butter: In a medium-sized saucepan, melt the unsalted butter over low heat. Once melted, remove from heat and let it cool slightly.
2. Mix in Sugar and Eggs: Add the granulated sugar to the melted butter and stir until well combined. Next, add the eggs one at a time, mixing well after each addition. This step is crucial for achieving a smooth and cohesive brownie batter.
3. Incorporate Dry Ingredients: Sift in the cocoa powder, flour, and salt. Gently fold the dry ingredients into the wet mixture using a spatula or wooden spoon until just combined. Be careful not to overmix, as this can lead to tough brownies.
4. Add Vanilla Extract: Finally, stir in the vanilla extract for added flavor.
5. Prepare the Muffin Tin: Line a muffin tin with paper liners or grease each cup with non-stick cooking spray. This will help ensure easy removal of the mini cheesecakes after baking.
6. Distribute the Brownie Batter: Evenly distribute the brownie batter into each muffin cup, filling them about halfway. This allows room for the cheesecake filling without overflowing during baking.
Step 2: Baking the Brownie Base
Baking the brownie base is a critical step that requires attention to detail.
1. Bake the Brownies: Place the muffin tin in the preheated oven and bake for about 10-12 minutes. The brownies should be set around the edges but still slightly gooey in the center.
2. Check for Doneness: To check if the brownie base is ready, insert a toothpick into the center of a brownie cup. It should come out with a few moist crumbs attached, but not wet batter. Remember, the brownies will continue to cook slightly as they cool.
3. Cool the Brownie Base: Once baked, remove the muffin tin from the oven and allow it to cool on a wire rack. It’s essential to let the brownie base cool completely before adding the cheesecake filling, as this will prevent the filling from melting or becoming runny.
Step 3: Preparing the Cheesecake Filling
While the brownie base is cooling, you can prepare the cheesecake filling.
Ingredients for Cheesecake Filling:
– Cream cheese
– Granulated sugar
– Eggs
– Sour cream (optional)
– Vanilla extract
Instructions:
1. Beat the Cream Cheese: In a large mixing bowl, beat the softened cream cheese with an electric mixer on medium speed until smooth and creamy, about 1-2 minutes.
2. Add Sugar: Gradually add the granulated sugar, continuing to mix until fully incorporated.
3. Incorporate Eggs: Add the eggs one at a time, mixing well after each addition. Be sure to scrape down the sides of the bowl to ensure everything is combined evenly.
4. Mix in Sour Cream and Vanilla: If using, add the sour cream and vanilla extract, mixing until smooth and creamy.
5. Final Consistency Check: The cheesecake filling should be thick, creamy, and free of lumps. If there are any lumps, continue mixing until smooth.
Step 4: Assembling the Mini Cheesecakes
With both components prepared, it’s time to assemble your Brownie Bottom Mini Cheesecakes.
1. Fill the Muffin Cups: Carefully spoon the cheesecake filling over the cooled brownie bases in each muffin cup. Fill them to about ¾ full, allowing space for the cheesecakes to rise slightly during baking.
2. Bake the Cheesecakes: Return the muffin tin to the oven and bake at the same temperature (325°F or 163°C) for an additional 15-18 minutes. The cheesecakes should be set around the edges but still slightly jiggly in the center.
3. Monitor Baking Time: Keep an eye on the mini cheesecakes as they bake. Overbaking can lead to cracks in the tops, so aim for a gentle jiggle in the center when you remove them from the oven.
This marks the end of the initial preparation steps for your Brownie Bottom Mini Cheesecakes. With patience and attention to detail, you will soon have a batch of delectable mini cheesecakes that are sure to impress! As we continue in the next segment, we will explore cooling and storage methods, as well as tips for achieving the best results and answering common questions that arise when baking these delightful treats.
Crafting the Cheesecake Filling
Creating the perfect cheesecake filling is the heart of the Brownie Bottom Mini Cheesecakes. Follow these steps to ensure your filling is smooth, creamy, and free of lumps, leading to an irresistibly delicious dessert.
Ingredients for the Cheesecake Filling
– 16 ounces cream cheese, softened
– 1 cup granulated sugar
– 1 teaspoon vanilla extract
– 3 large eggs, room temperature
– 1 cup sour cream
– 1 tablespoon all-purpose flour (optional, for stability)
Start by ensuring your cream cheese is at room temperature; this is crucial for a smooth texture. If there’s any chill left in the cream cheese, it can create lumps in your filling. Beat the cream cheese in a large mixing bowl until creamy using an electric mixer on medium speed. Scrape the sides of the bowl to ensure all ingredients are incorporated.
Once your cream cheese is smooth, gradually add the granulated sugar. Continue mixing until fully combined, but be mindful not to overbeat at this stage. Overmixing can incorporate too much air, which may lead to cracks in your cheesecake during baking.
Next, add the vanilla extract and mix briefly until just incorporated. It’s time to introduce the eggs; add them one at a time, mixing on low speed. Again, be careful not to overbeat. This is a crucial step to prevent cracks—just mix until the eggs are fully combined.
Finally, add the sour cream to enrich the filling and, if desired, sprinkle in the flour to help stabilize the batter. Mix once more until everything is smooth and free of lumps.
Assembling the Mini Cheesecakes
With your cheesecake filling ready, it’s time to assemble the mini cheesecakes. This step is essential for achieving the right layers and ensuring a delightful eating experience.
Layering the Cheesecake Filling
Start by preheating your oven to 325°F (160°C). Take your brownie base, which should have cooled slightly after baking. Using a spoon or a piping bag, carefully layer the cheesecake filling over the brownie base in each cupcake liner.
When filling, do so slowly to avoid overflowing. A helpful tip is to fill each liner about three-quarters full, leaving a bit of space for the filling to expand while baking. If you’re using a piping bag, cut the tip to create a small opening that allows easy control over the amount of filling dispensed.
Baking the Assembled Mini Cheesecakes
Once all the liners are filled, place the muffin tin in the preheated oven. Bake the mini cheesecakes for about 18 to 20 minutes. You’ll know they are done when the edges are set, but the center still jiggles slightly when you move the pan. This jiggle will ensure that your cheesecakes have the perfect creamy texture once cooled.
After baking, turn off the oven and crack the oven door open, allowing the mini cheesecakes to cool gradually. This technique helps prevent the sudden change in temperature that can lead to cracks.
Cooling and Serving Suggestions
Cooling the mini cheesecakes properly is just as important as the baking process. After removing them from the oven, allow them to cool in the muffin tin for about 10 minutes. This gradual cooling will help them set without cracking.
Once cooled to room temperature, transfer the mini cheesecakes to the refrigerator. Chill them for at least 4 hours, or ideally overnight. The longer they chill, the firmer they will become and the flavors will meld beautifully.
Decorating and Serving
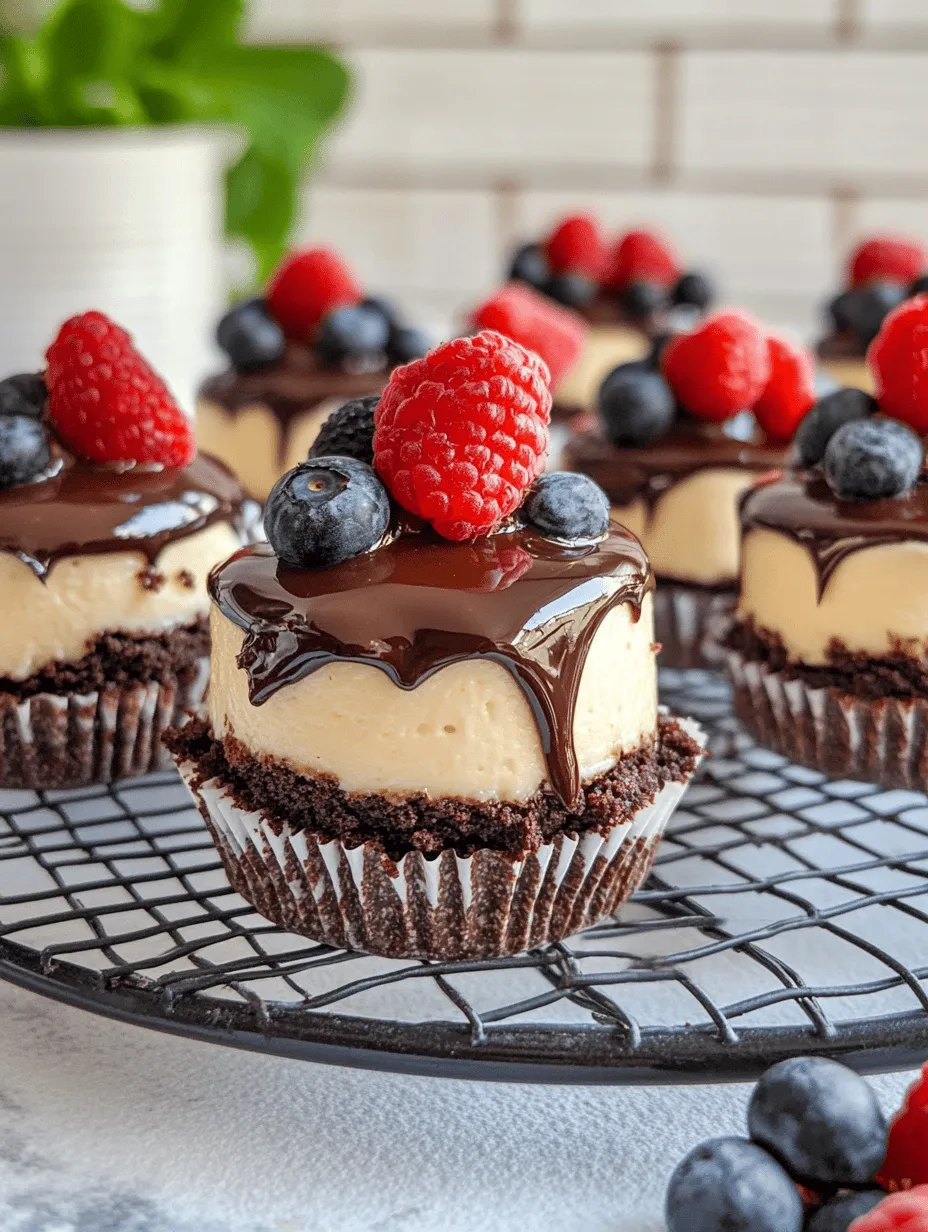
When it’s time to serve, consider a few simple yet elegant decoration options. A dollop of whipped cream on top adds a light and airy contrast to the rich cheesecake. Additionally, fresh berries like strawberries or raspberries can provide a refreshing tartness that complements the sweetness of the cheesecake beautifully.
Another delightful option is a drizzle of chocolate sauce or caramel. This not only enhances the visual appeal but also adds an extra layer of flavor that pairs perfectly with the brownie base. Use a squeeze bottle or a spoon to create decorative swirls on the plate.
Nutritional Information
Understanding the nutritional profile of your Brownie Bottom Mini Cheesecakes can help in making informed choices, especially when sharing these treats with friends and family.
Overview of Nutritional Aspects
Each mini cheesecake contains approximately 200 calories, with specific macronutrient breakdowns depending on the ingredient proportions used. These mini desserts are a treat that fits well into a balanced diet when enjoyed in moderation.
Portion Control
The beauty of mini desserts is that they allow for portion control without sacrificing flavor. Enjoying one or two mini cheesecakes can satisfy a sweet craving without overindulgence.
Dietary Preferences
For those looking for healthier options, consider substituting some ingredients. Using low-fat cream cheese or Greek yogurt instead of sour cream can reduce calories while still maintaining a creamy texture. Additionally, using a sugar substitute can cater to those managing their sugar intake.
Conclusion
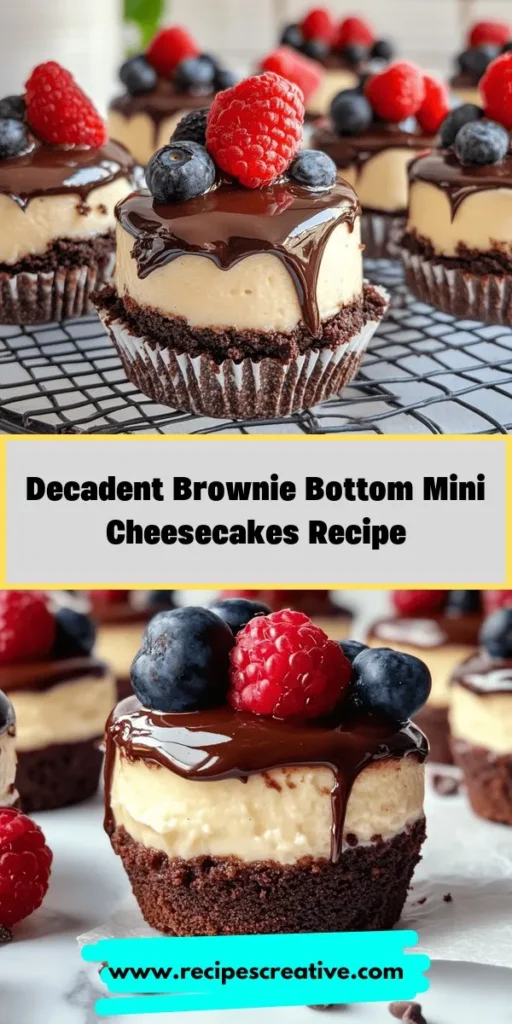
Brownie Bottom Mini Cheesecakes are a delightful fusion of rich, fudgy brownies and creamy cheesecake, making them a crowd-pleaser for any occasion. The charm of these mini desserts lies in their presentation and flavor, offering a beautiful balance between a classic brownie and a smooth cheesecake.
Feel free to experiment with variations, such as adding chocolate chips to the cheesecake filling or using flavored extracts like almond or lemon for a unique twist. You can also play with different toppings, such as crushed nuts or sprinkles, to personalize your mini cheesecakes.
Whether for a party, a special occasion, or simply a treat for yourself, these mini cheesecakes promise to bring joy and delight. So gather your ingredients, unleash your creativity, and enjoy the process of sharing these delicious treats with those you love. Happy baking!