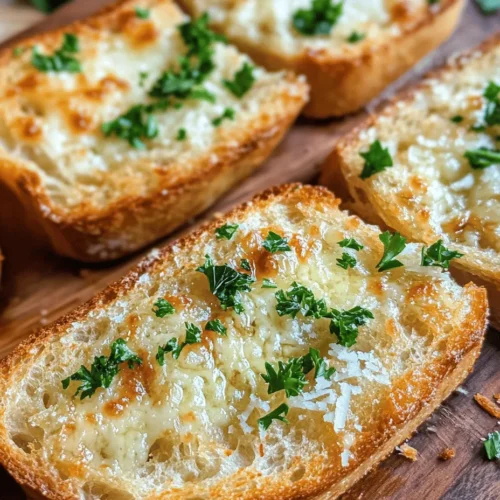
Garlic bread has a special place in the hearts of many food lovers. This beloved side dish elevates meals, from pasta and salads to steaks and soups, providing a delicious complement that no one can resist. Traditionally, garlic bread is made by slathering butter and garlic onto slices of bread and baking them until golden brown. However, using an air fryer takes this classic dish to a new level, allowing you to enjoy crispy, flavorful garlic bread in mere minutes.
The convenience of the air fryer cannot be overstated. It cooks food quickly and evenly, creating that perfect crunch without the need for excessive oil. Imagine sinking your teeth into a slice of homemade garlic bread that is crispy on the outside and soft on the inside, with the rich aroma of garlic wafting through the air. This crispy air fryer garlic bread recipe is not only simple and quick to prepare, but it also allows you to customize the flavors to suit your taste.
In this article, we will delve into the ingredients that make up this delightful dish, breaking down their roles and benefits. Following that, we will guide you through the step-by-step process to create your very own crispy air fryer garlic bread, ensuring you achieve the perfect result every time.
Understanding the Ingredients
Before we dive into the recipe itself, let’s take a closer look at the key ingredients that will help you create the ultimate crispy air fryer garlic bread.
Essential Bread Choices
When it comes to making garlic bread, the choice of bread is crucial. The two most popular options are French baguette and Italian bread, each bringing its own unique texture and flavor profile to the dish.
– French Baguette: Known for its crusty exterior and soft, airy interior, the French baguette is a classic choice for garlic bread. Its crunchy crust provides a delightful contrast to the creamy garlic butter, while the light texture allows it to soak up the flavors beautifully.
– Italian Bread: On the other hand, Italian bread is slightly denser and often has a soft crust. This type of bread is perfect for those who prefer a heartier bite. The robust flavor of Italian bread pairs well with garlic and butter, making it a fantastic option for garlic bread that satisfies.
Choosing between these two breads ultimately depends on your personal preference, but both will deliver mouthwatering results!
The Role of Butter
Butter is a key ingredient in any garlic bread recipe, and for this air fryer version, we recommend using unsalted butter. Here’s why:
– Flavor Control: Unsalted butter allows you to control the salt level in your garlic bread. Since garlic can have a sharp taste, working with unsalted butter provides the flexibility to balance the flavors without the risk of over-salting.
– Richness: The creamy texture of butter enhances the richness of the garlic flavor. When mixed with minced garlic, the butter becomes a vehicle for the aromatic qualities of garlic, ensuring every bite bursts with flavor.
Garlic: The Star Ingredient
Garlic is what truly makes garlic bread shine. Beyond its rich flavor, garlic offers a host of health benefits, including potential anti-inflammatory and immune-boosting properties.
– Aromatic Qualities: Fresh garlic has a pungent aroma that transforms when cooked, mellowing into a warm, savory essence that perfectly complements the buttery base. You can use fresh minced garlic for a more vibrant flavor, or opt for garlic powder if you’re in a pinch.
Herbs and Seasoning
To elevate the flavor profile of your garlic bread, fresh herbs and seasoning play an essential role. Here’s what you’ll need:
– Fresh Parsley: Chopped fresh parsley not only adds a pop of color but also brings a fresh, herbaceous note that brightens the rich flavors of the garlic and butter.
– Salt and Black Pepper: These basic seasonings enhance the overall taste, balancing the richness of the butter and the sharpness of the garlic.
– Optional Red Pepper Flakes: For those who enjoy a bit of heat, adding red pepper flakes can take your garlic bread to the next level, infusing it with a subtle kick.
Optional Ingredients for Extra Flavor
If you want to elevate your garlic bread even further, consider adding some optional ingredients:
– Parmesan Cheese: Grated Parmesan cheese can be mixed into the garlic butter or sprinkled on top before air frying. Its nutty flavor and crispy texture when melted create a deliciously savory crust.
– Italian Seasoning: A sprinkle of Italian seasoning—comprised of dried herbs like oregano, basil, and thyme—can enhance the flavor profile, adding depth and complexity to your garlic bread.
Step-by-Step Instructions for Preparing Garlic Bread
Now that we’ve covered the ingredients, let’s get into the step-by-step instructions for preparing your crispy air fryer garlic bread. This guide will ensure you achieve perfect results every time.
Preparing the Garlic Butter Mixture
1. Start with Softened Butter: To make the garlic butter, you’ll want to begin with softened unsalted butter. Let it sit at room temperature for about 30 minutes before you start mixing. Softened butter is easier to work with and will blend smoothly with the other ingredients.
2. Mincing the Garlic: While the butter softens, peel and mince your fresh garlic. Aim for about four to five cloves, depending on your taste preference. The more garlic, the stronger the flavor! You can also use a garlic press for a finer consistency.
3. Mixing the Ingredients: In a medium bowl, combine the softened butter, minced garlic, chopped fresh parsley, salt, black pepper, and any optional ingredients you choose to add (such as Parmesan cheese or red pepper flakes). Use a fork or spatula to mix everything together until well combined. The mixture should be creamy and spreadable.
Slicing the Bread
1. Choose Your Bread: Select either a French baguette or Italian bread, depending on your preference.
2. Slicing Technique: Place the loaf on a cutting board and use a serrated knife to slice it in half lengthwise. If you prefer smaller pieces, you can cut the loaf into individual slices, but be sure to maintain a thickness of about 1 to 1.5 inches for optimal crispiness.
Spreading the Garlic Butter
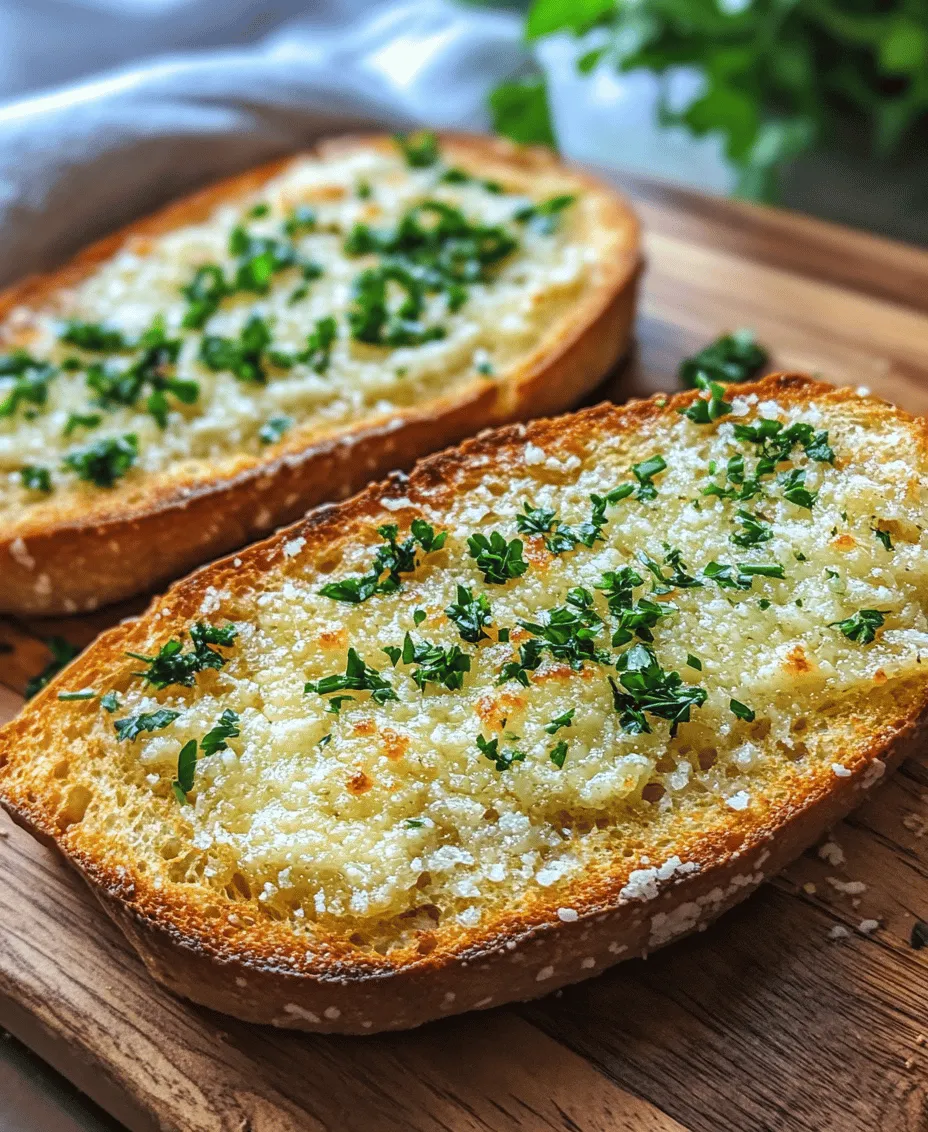
1. Generous Application: Take the garlic butter mixture and generously spread it over the cut sides of the bread. Ensure an even layer for maximum flavor absorption.
2. Optional Topping: If you’re using Parmesan cheese, sprinkle it evenly over the garlic butter before cooking. This will create a deliciously cheesy crust as it melts in the air fryer.
Air Frying Techniques
1. Preheat the Air Fryer: Preheat your air fryer to 350°F (175°C). Preheating is crucial for achieving that crispy texture.
2. Arrange the Bread: Place the prepared garlic bread in the air fryer basket, cut side up. Avoid overcrowding the basket to ensure even cooking. If necessary, work in batches.
Monitoring Cooking Time
1. Cooking Duration: Air fry the garlic bread for about 5 to 8 minutes, depending on your air fryer model and how crispy you like it.
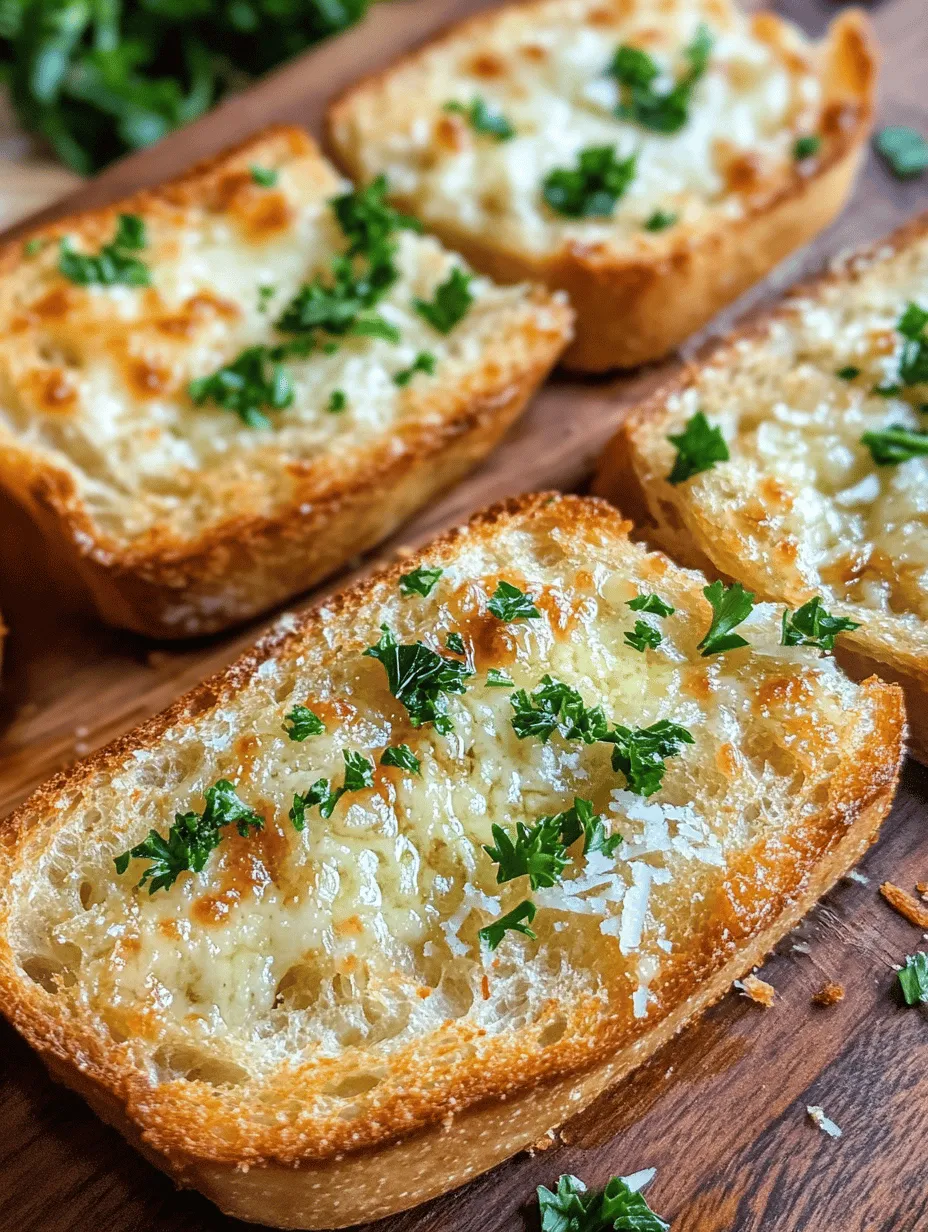
2. Check for Doneness: Keep an eye on the bread as it cooks. The edges should be golden brown, and the cheese (if used) should be melted and bubbly.
Cooling and Serving Suggestions
1. Cooling Period: Once cooked, carefully remove the garlic bread from the air fryer and let it cool for a couple of minutes.
2. Serving: Slice into pieces if you haven’t already, and serve warm. Garlic bread pairs perfectly with your favorite pasta dishes, soups, or as a delicious appetizer.
By following these simple steps, you can create crispy air fryer garlic bread that is sure to impress your family and friends. Stay tuned for part two, where we’ll discuss additional serving suggestions and answer some common questions related to this delightful recipe.
Highlight the Best Practices for Cooling and Slicing the Garlic Bread for Serving
Once your crispy air fryer garlic bread has reached that perfect golden-brown hue and aromatic garlic-infused fragrance, it’s essential to allow it to cool slightly before slicing. Cooling for about 5 minutes helps the bread maintain its structure and prevents it from becoming too soft or soggy when cut. Place the garlic bread on a cutting board and use a serrated knife to slice it into thick pieces, about 1 to 1.5 inches wide. A serrated knife works best as it allows you to cut through the crust without squishing the soft interior.
Presentation is key! Arrange the slices on a serving platter, overlapping them slightly for an appealing look. For an extra touch, consider sprinkling a few fresh herbs, like parsley or basil, over the top for a pop of color. A small bowl of marinara sauce or olive oil for dipping can also elevate the presentation and enhance the dining experience.
The Benefits of Using an Air Fryer
When it comes to preparing garlic bread, using an air fryer offers several advantages over traditional baking methods.
Healthier Cooking Method
One of the most significant benefits of air frying is the reduction in fat content. Traditional recipes often call for large amounts of butter to achieve that rich flavor and crispy texture. However, with an air fryer, you can achieve the same results by using less butter, allowing the natural flavors of garlic and bread to shine through. This makes air fryer garlic bread a lower-fat alternative, helping you enjoy this delicious treat without the guilt.
Speed and Efficiency
On busy weeknights, time is often of the essence. The air fryer cooks garlic bread in a fraction of the time it takes in a conventional oven. Most recipes can be completed in about 5 to 10 minutes, making it an ideal side dish for quick dinners or last-minute gatherings. Preheating is also unnecessary, which saves even more time.
Crispy Texture without the Mess
Air fryers are designed to circulate hot air, providing an even cook and creating that coveted crispy texture without the need for excessive oil. This not only results in a healthier dish but also means less cleanup afterward. You won’t have to deal with greasy pans or baking sheets, making your cooking experience more enjoyable.
Pairing Garlic Bread with Meals
Crispy air fryer garlic bread is versatile and can elevate a variety of meals. Here are some delicious pairings that complement this delectable side dish:
Italian Dishes
Garlic bread naturally pairs well with classic Italian cuisine. Serve it alongside spaghetti and marinara sauce, lasagna with rich meat or vegetable layers, or your favorite pizza. The garlic bread acts as the perfect vehicle for soaking up delicious sauce and adds a crunchy texture that balances the meal.
Soups and Salads
For a lighter option, consider serving garlic bread with hearty soups or fresh salads. A bowl of creamy tomato soup is a match made in heaven, while a crisp Caesar salad can be enhanced by the addition of garlic bread. The combination of flavors and textures creates a satisfying meal that’s both comforting and nutritious.
BBQ and Grilled Foods
Garlic bread isn’t just for Italian dishes. It also makes a fantastic accompaniment to barbecued meats and grilled vegetables. Whether you’re serving up ribs, chicken, or a platter of grilled veggies, a slice of crispy garlic bread can provide a delightful contrast to smoky flavors, making it a well-rounded addition to your summer cookouts.
Creative Variations on the Classic Recipe
While the traditional garlic bread is undeniably delicious, don’t hesitate to get creative with your air fryer garlic bread! Here are a few variations to consider:
Herbed Garlic Bread
Elevate the flavor profile of your garlic bread by incorporating fresh or dried herbs. Add chopped basil, oregano, or thyme to your butter mixture for a fragrant herbed garlic bread. This adds a fresh twist to the classic recipe and can complement various dishes beautifully.
Cheesy Garlic Bread
For cheese lovers, a cheesy garlic bread variation is a must-try. After spreading the garlic butter on the bread, sprinkle a generous layer of your favorite cheese—such as mozzarella, cheddar, or parmesan—over the top. Return the bread to the air fryer for a few extra minutes to melt the cheese into gooey perfection. The result is a decadent treat that is sure to impress.
Spicy Garlic Bread
If you enjoy a bit of heat, consider adding some spicy ingredients to your garlic bread. Mix in finely chopped jalapeños, crushed red pepper flakes, or even a dash of hot sauce into your garlic butter for a spicy kick. This variation pairs particularly well with grilled meats and can add an exciting twist to your traditional garlic bread.
Conclusion: Embracing Homemade Garlic Bread
Making crispy air fryer garlic bread at home is not just a quick and easy endeavor; it’s an opportunity to customize a beloved side dish to suit your tastes. The health benefits of reduced fat, the speed and efficiency of cooking, and the delightful crispy texture without the mess make it a standout choice for any meal.
Whether you choose to enjoy it alongside your favorite Italian dishes, hearty soups, or grilled meats, this garlic bread is sure to become a staple in your culinary repertoire. Don’t hesitate to experiment with flavors—add herbs, cheese, or spices to create your perfect version. Embrace the joy of homemade garlic bread, and watch as it transforms your meals into something truly special.