
Introduction
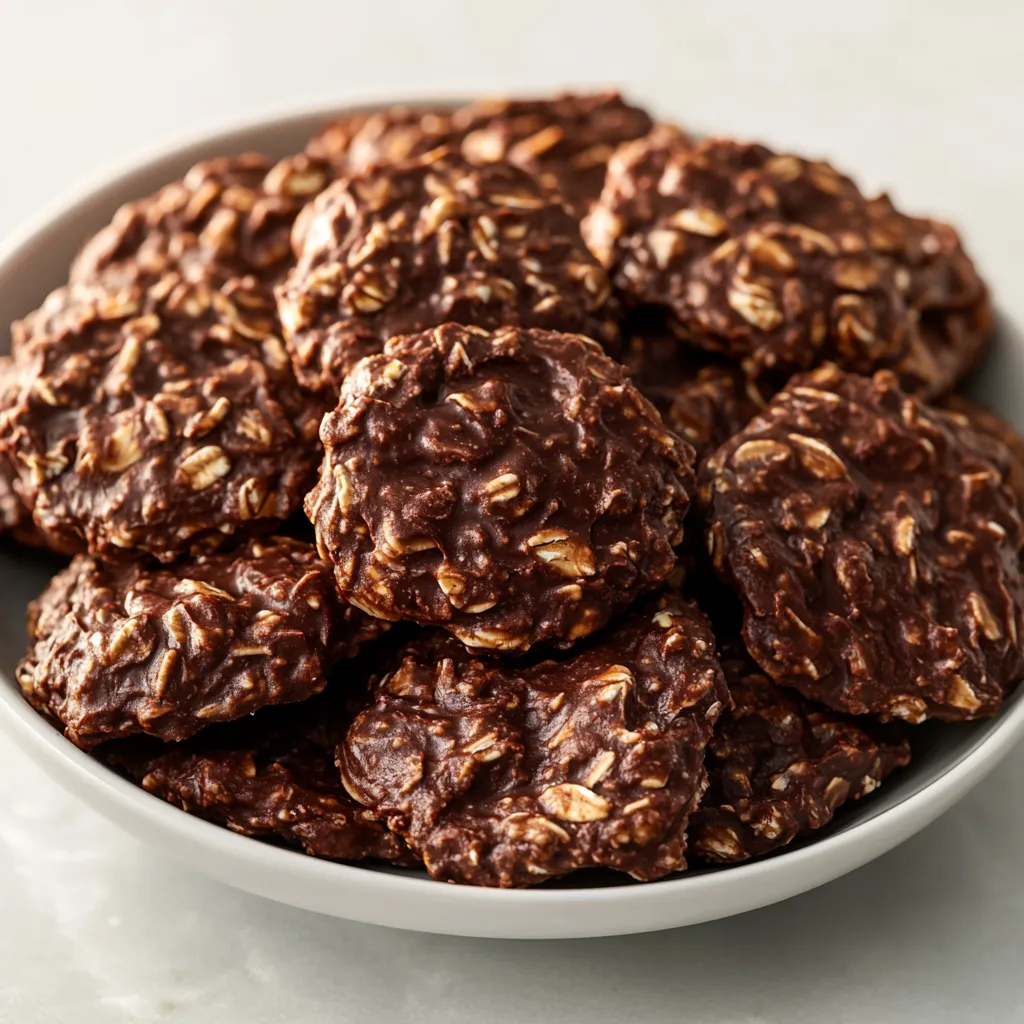
The allure of no-bake desserts lies in their simplicity and convenience, allowing you to whip up something delicious without needing an oven. Decadent No-Bake Chocolate Peanut Butter Cookies stand out with a rich, chocolatey flavor perfectly complemented by creamy peanut butter. These indulgent treats are ideal for satisfying sweet cravings without the fuss of baking, making them a favorite for gatherings, last-minute celebrations, or just an afternoon snack at home.
Imagine a rich combination of gooey chocolate intertwined with the nutty goodness of peanut butter, all while being enveloped in a chewy oat texture. It’s a classic dessert that’s perfect for both children and adults alike, ideal for potlucks, picnics, or simply a treat to enjoy with your afternoon coffee. With minimal effort, you can bring a delightful batch of cookies to life that will be a hit among family and friends.
The best part about these no-bake cookies is that they require minimal cooking and no time in the oven, making them particularly appealing for those warm summer days when you may not want to heat up the entire kitchen. In just under 40 minutes, you can enjoy these delicious bites that combine the flavors of chocolate and peanut butter into a satisfying, sweet treat.
Recipe Overview
– Total Time: 40 minutes
– Prep Time: 10 minutes
– Servings: About 24 cookies
– Difficulty: Not specified in the recipe
Ingredients
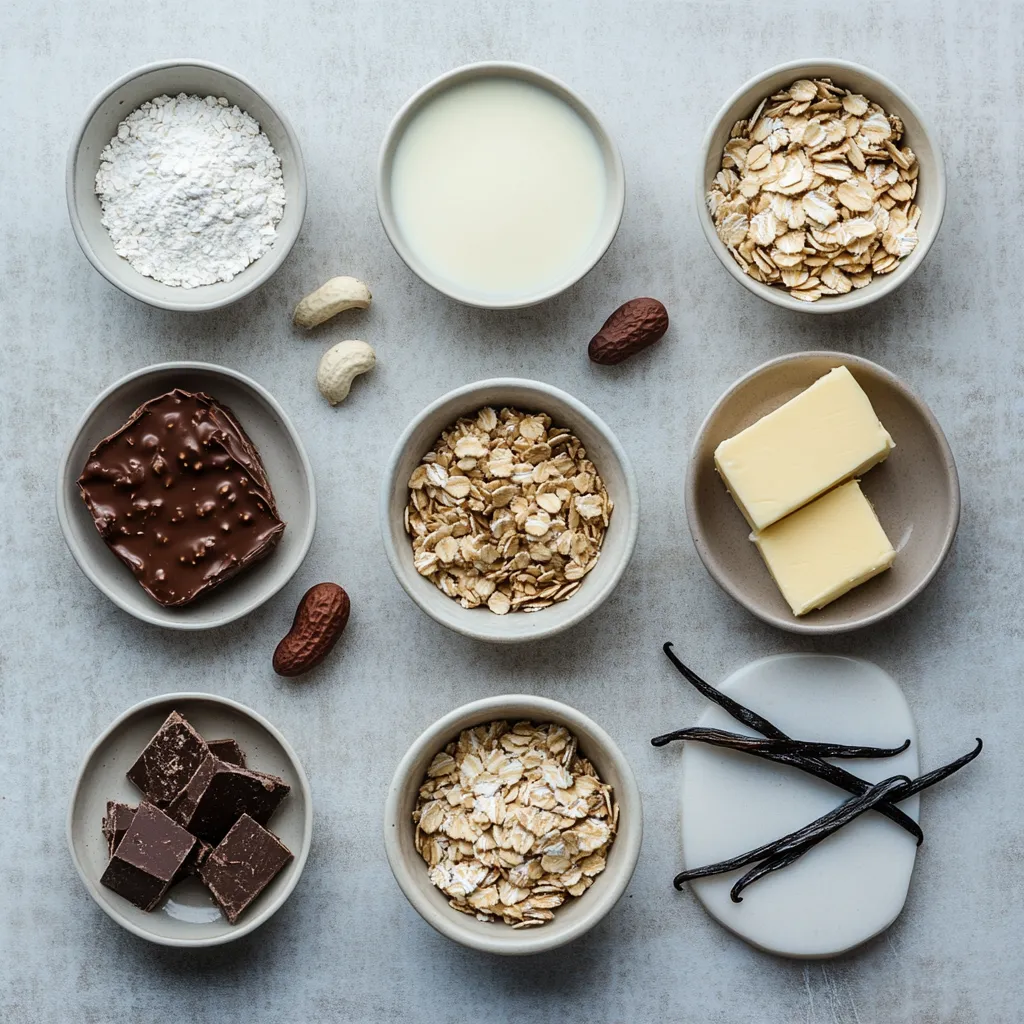
To craft these delicious no-bake cookies, you’ll need the following ingredients:
– 1 cup granulated sugar
– 1/2 cup unsweetened cocoa powder
– 1/2 cup unsalted butter
– 1/2 cup whole milk
– 1 cup creamy peanut butter
– 3 cups quick-cooking oats
– 1 teaspoon vanilla extract
– A pinch of salt
Key Ingredients
The combination of granulated sugar and unsweetened cocoa powder brings a sweetness and cocoa depth that is characteristic of chocolate cookies. The unsalted butter and whole milk create a rich base to help achieve that fudgy texture, while creamy peanut butter adds both flavor and creaminess. Quick-cooking oats provide that chewy element that makes these cookies appealing and satisfying to munch on.
Ingredient Substitutes
For those who might be looking to modify the recipe or cater to dietary preferences, here are some potential substitutes:
– Alternative sweeteners: You could consider using honey or agave syrup to sweeten your cookies naturally.
– Dairy-free options: If you’re looking to make this recipe vegan or dairy-free, substitute the butter and whole milk with plant-based alternatives like coconut oil and almond milk, respectively.
– Different nut butter: For a unique flavor twist, feel free to swap peanut butter for alternative options like almond or cashew butter, which can bring a different richness to your cookies.
Quality Considerations
To ensure a delightful experience, consider the following points while selecting your ingredients:
– For a richer flavor, opt for high-quality cocoa powder, as the cocoa is one of the stars of this recipe.
– It’s essential to use fresh ingredients, particularly the oats and peanut butter, for the best texture and taste. Stale ingredients can diminish the overall quality of the final product.
Equipment Needed
To make the no-bake chocolate peanut butter cookies seamlessly, gather these essential tools:
Essential Kitchen Tools
– Medium saucepan: To combine and cook the ingredients on the stovetop.
– Spoon or cookie scoop: For shaping the cookies on the baking sheet.
– Baking sheet: Essential for cooling and setting the cookies.
– Parchment paper: To line your baking sheet, preventing sticking and ensuring easy cleanup.
– Mixing spatula: For thorough mixing of the ingredients.
Recommended Optional Tools
While not strictly necessary, these optional tools can enhance your cooking experience:
– Double boiler: This can be used for easier melting of your ingredients, especially the butter and peanut butter, ensuring a smooth consistency.
– Food processor: If you prefer a finer cookie texture or want to blend your oats for a different mouthfeel, this tool can be very useful.
– Measuring cups and spoons: For precision in acquiring the required amounts of each ingredient.
Step-by-Step Instructions
Creating these decadent no-bake cookies is straightforward and is a great way to introduce cooking to children or those new to baking. Here’s a detailed breakdown of the process:
Combining Ingredients
Begin by measuring out the ingredients needed for the base mixture: granulated sugar and unsweetened cocoa powder. It’s essential to level these off with a spatula or knife for accurate measurement. Next, add sliced pieces of unsalted butter into the saucepan along with the whole milk.
Cooking Process
With all your initial ingredients in the medium saucepan, place it over medium heat. Stir the mixture continuously to prevent it from burning on the bottom. Pay close attention as it comes to a boil; this is a crucial step in developing the rich flavors. Once your mixture reaches a rolling boil, allow it to cook undisturbed for precisely one minute. After that minute passes, carefully remove the saucepan from the heat, keeping in mind the hot contents.
Mixing in Peanut Butter
Now that the initial mixture is cooked, it’s time for the star ingredient: creamy peanut butter. Quickly add it to the hot mixture, making sure to stir immediately. The heat will help the peanut butter melt smoothly into the chocolate mixture. Stir until the mixture is fully combined and the peanut butter is completely melted and blended in. The resulting mix should be velvety and silky, with a uniform chocolate color—this tells you that the peanut butter has integrated well.
This concludes Part 1 of the recipe. Stay tuned for the remainder of this exciting no-bake cookie creation!
Incorporating Additional Ingredients
The success of the Decadent No-Bake Chocolate Peanut Butter Cookies hinges on how well you integrate the additional ingredients like the quick-cooking oats, vanilla extract, and a pinch of salt. After the initial mixture has boiled and cooled slightly, it’s crucial to add the creamy peanut butter promptly, ensuring it melts completely into the hot mixture. As you introduce the oats along with the vanilla extract and a pinch of salt, you’ll want to mix vigorously to achieve an even texture. The oats provide a chewy consistency, while the vanilla adds depth to the rich flavors, with salt enhancing the overall taste profile.
Preparing the Baking Sheet
Proper preparation of your baking surface is key:
Lining the Baking Sheet
Before you begin dropping your cookie mounds, take the time to properly line your baking sheet with parchment paper. This step is critical as it prevents the cookies from sticking and allows for easy removal once they have set. The flexibility of parchment paper ensures minimal frustration when you’re ready to enjoy your treats. Additionally, make sure to leave ample space between each cookie mound—about 2 to 3 inches apart. This spacing facilitates even cooling, ensuring that the cookies harden uniformly without merging into one another.
Portioning the Cookies
Using a spoon or cookie scoop allows for uniformity in cookie sizes, which is vital for a consistent baking experience. Aim for generous spoonfuls; after all, these cookies are meant to be a hearty treat. The size also influences how quickly they set, so larger portions may take longer to firm up than smaller ones. Adjust accordingly, keeping in mind that uniform sizing leads to even cooking and a pleasing visual appearance.
Cooling Process
Allow the cookies to set properly:
Setting at Room Temperature
Once you’ve portioned your cookie mounds onto the baking sheet, let them cool at room temperature for approximately 30 minutes. It’s essential to monitor their firmness—the cookies should not be overly soft when you conduct the firmness test. If they feel set but still yield slightly under pressure, give them a few more minutes. Proper cooling is necessary; otherwise, they can fall apart upon serving, spoiling the delightful experience you aim to provide.
Quick Setting in Refrigeration
For those in a hurry, the refrigerator offers a simple solution. By placing the baking sheet in the fridge, you cut down on the cooling time significantly; approximately 15 minutes should suffice for the cookies to firm up adequately. This quick-setting option works well, especially in warm environments where room temperature might lead to prolonged cooling times.
Flavor Enhancements
Explore ways to elevate the cookie experience:
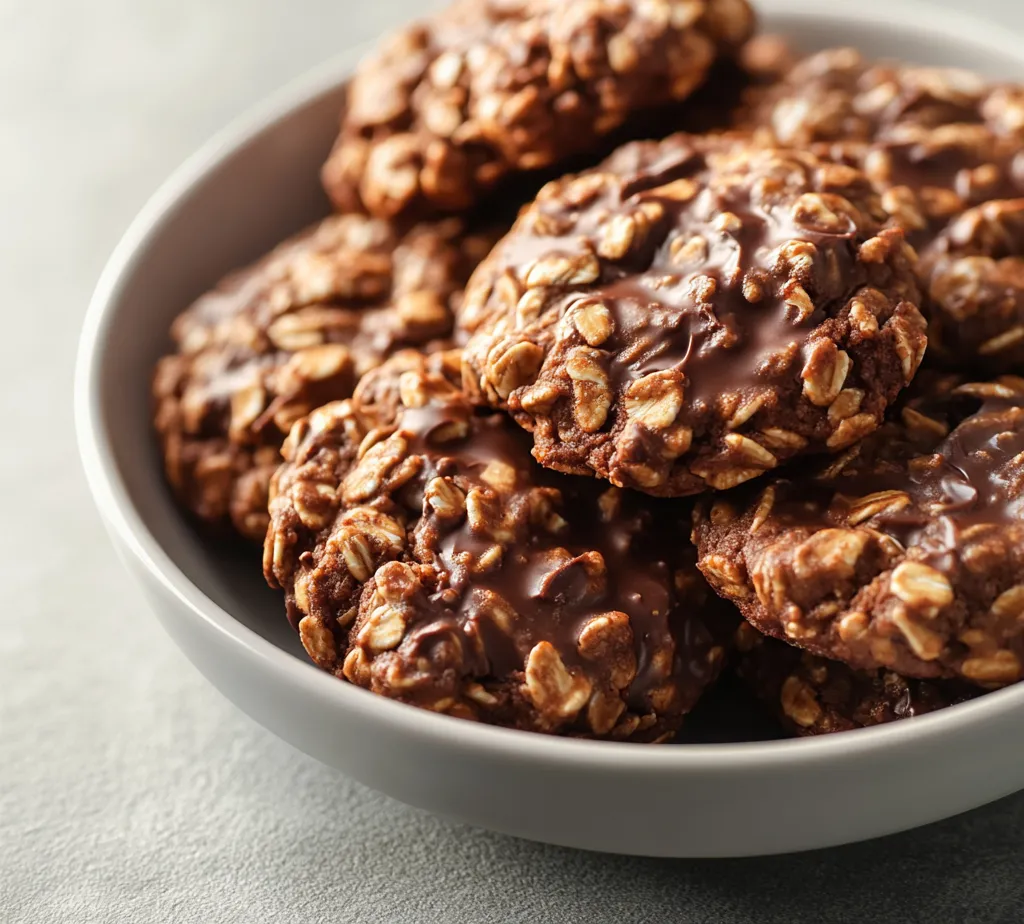
Topping Suggestions
To add an extra layer of flavor and visual appeal, consider various topping suggestions before the cookies set. Crushed peanuts sprinkled on top offer a crunchy contrast and highlight the peanut flavor. Similarly, a light dusting of cocoa powder can transform them into a more sophisticated treat. These small yet impactful additions can take your no-bake cookies from simple to stunning.
Pairing Suggestions
To elevate the serving experience, think about pairing these cookies with complementary sides. A glass of cold milk is the classic choice, providing a creamy counterbalance to the rich chocolate and peanut butter flavors. Alternatively, serving a scoop of vanilla ice cream alongside the cookies adds an indulgent touch, transforming your dessert into a delightful sundae experience perfect for warm weather or special occasions.
Storage Tips
Maximizing freshness is key to enjoying these cookies longer:
Room Temperature Storage
When stored in an airtight container at room temperature, the cookies stay fresh for up to a week. This makes them an excellent option for quick snacks or unexpected guests. Ensure that the container is completely sealed to avoid moisture infiltration that could compromise their texture and flavor.
Refrigeration Benefits
For the best longevity and an improved texture, consider refrigerating the cookies. Storing them in the fridge not only extends their freshness but also can enhance the chewy consistency that many cookie enthusiasts crave. They can be stored for up to two weeks this way, remaining delightful and enjoyable for a longer period.
Nutritional Information
Understanding the nutritional profile of your treats:
Caloric Breakdown
In a batch of approximately 24 cookies, each cookie carries a rough estimate of around 150 calories, though this can vary based on portion size. This quick reference is helpful for those who are monitoring their caloric intake while still enjoying a sweet treat.
Nutritional Benefits
The nutritional benefits of these cookies are notable, with oats contributing a healthy dose of fiber, which aids in digestion. Additionally, the creamy peanut butter enriches the treat with protein and healthy fats, making them not just a guilty pleasure but also a source of energy. This balance helps satisfy sweet cravings while also offering nutritional value.
Fun Facts About No-Bake Cookies
Adding context to the deliciousness:
Origin of No-Bake Cookies
No-bake cookies have a storied history rooted in the desire for quick and easy indulgences. They gained popularity in the mid-20th century as home bakers sought to create simple yet delicious treats without the need for an oven. Their ease made them a staple for families looking to treat their kids or simply enjoy a quick dessert.
Variations Around the World
You’ll find similar no-bake treats across various cultures, each with unique ingredients and flavors. From chocolate oatmeal cookies popular in the United States to the coconut macaroons of European heritage, these desserts showcase the universal appeal of minimal preparation combined with delightful taste.
Conclusion
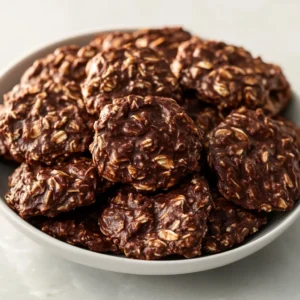
Decadent No-Bake Chocolate Peanut Butter Cookies provide a rich, sweet experience with a smooth and chewy texture. Their simplicity in preparation, taking about 40 minutes total, makes them an accessible treat for any occasion. Whether enjoyed fresh or stored for later, these cookies balance indulgence and satisfaction perfectly.
Decadent No-Bake Chocolate Peanut Butter Cookies
Ingredients
- 1 cup granulated sugar
- ½ cup unsweetened cocoa powder
- ½ cup unsalted butter
- ½ cup whole milk
- 1 cup creamy peanut butter
- 3 cups quick-cooking oats
- 1 teaspoon vanilla extract
- a pinch salt
Instructions
- In a medium saucepan, combine the granulated sugar, cocoa powder, butter, and milk. Heat over medium, stirring until boiling.
- Once boiling, cook undisturbed for 1 minute, then remove from heat.
- Stir in the peanut butter until melted and smooth.
- Add oats, vanilla, and salt. Mix until combined.
- Line a baking sheet with parchment paper.
- Drop spoonfuls of the mixture onto the sheet, spacing them apart.
- Let cool at room temperature for 30 minutes or refrigerate for 15 minutes.
- Once set, enjoy your cookies! Store leftovers in an airtight container.