
Introduction
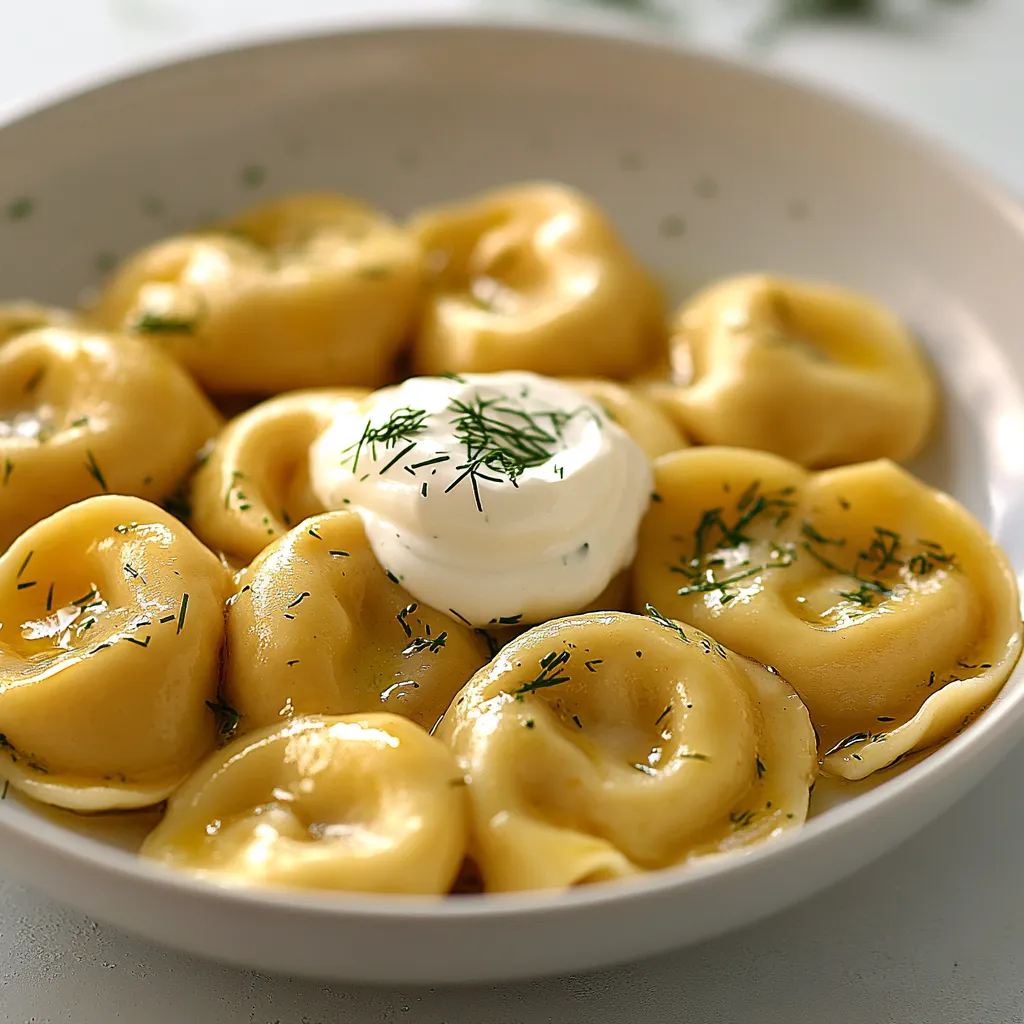
Russian cuisine offers a rich tapestry of flavors, textures, and traditions, with pelmeni standing out as one of its most beloved dishes. These delightful dumplings, typically filled with ground meat, embody comfort and warmth, making them a staple in many Russian households. Whether enjoyed at family gatherings or festive celebrations, pelmeni hold a special place in the hearts of many, symbolizing hospitality and togetherness.
The significance of pelmeni extends beyond just taste; they represent a cultural heritage that dates back centuries. Their versatility allows for customized fillings that appeal to a variety of palates — from traditional beef and pork combinations to vegetarian options. The heartiness of these dumplings, combined with their silky, doughy exterior, creates a dish that is both satisfying and delicious. Whether served with a dollop of sour cream or garnished with fresh herbs, pelmeni are sure to make an impression at your dinner table.
Recipe Overview
– Total Time: 1 hour
– Prep Time: 30 minutes
– Yield/Servings: 4-6 servings
– Difficulty: Not specified in the recipe
Pelmeni are a traditional Russian dumpling made from a simple yet effective dough enveloping a flavorful filling. The preparation process involves mixing and kneading the dough, creating a savory filling of ground meat and aromatics, and finally assembling and cooking the dumplings. This recipe also provides the option to fry the pelmeni for added texture and flavor, enhancing the overall experience.
Ingredients
– For the Dough:
– 3 cups all-purpose flour
– 1 large egg
– 1/2 cup water (plus additional as needed)
– 1/2 teaspoon salt
– For the Filling:
– 1 pound ground beef (or a combination of beef and pork)
– 1 small onion, finely diced
– 2 cloves garlic, minced
– 1 teaspoon salt
– 1/2 teaspoon freshly ground black pepper
– 1 tablespoon fresh dill, finely chopped (optional)
– 1 tablespoon butter (for frying, optional)
– For Serving:
– Sour cream
– Chopped fresh dill or parsley

Instructions
**Prepare the Dough:**
In a large mixing bowl, combine the all-purpose flour and salt. Create a well in the center and crack the egg into it. Gradually pour in the water while mixing with a fork until the ingredients start to combine into a dough. Transfer the dough to a floured surface and knead for about 5-7 minutes until it becomes smooth and elastic. Cover the dough with a damp cloth and allow it to rest for 30 minutes.
**Make the Filling:**
In another large bowl, mix together the ground meat, finely diced onion, minced garlic, salt, black pepper, and chopped dill (if using). Stir well until all the ingredients are evenly distributed. Set the filling aside.
**Roll Out the Dough:**
After the dough has rested, divide it into four equal portions. Keep the portions you are not currently using covered to prevent them from drying out. On a floured surface, roll out one piece of dough until it is approximately 1/16 inch thick. Use a round cutter (about 3 inches in diameter) to cut out circles from the rolled dough.
**Assemble the Pelmeni:**
Place about a teaspoon of filling in the center of each dough circle. Fold the circle in half to form a half-moon shape. Pinch the edges firmly to seal, ensuring there are no air pockets inside. For an extra decorative touch, you can twist the edges together.
**Cook the Pelmeni:**
Bring a large pot of salted water to a rolling boil. Carefully add the pelmeni in batches, being cautious not to overcrowd the pot. Once they float to the surface, let them cook for an additional 3-4 minutes. Use a slotted spoon to remove the pelmeni and transfer them to a serving plate.
**Optional – Fry for Crispiness:**
If you enjoy a crispy texture, heat a tablespoon of butter in a skillet over medium heat. Add the cooked pelmeni and sauté until they are golden brown and crispy on both sides.
**Serve:**
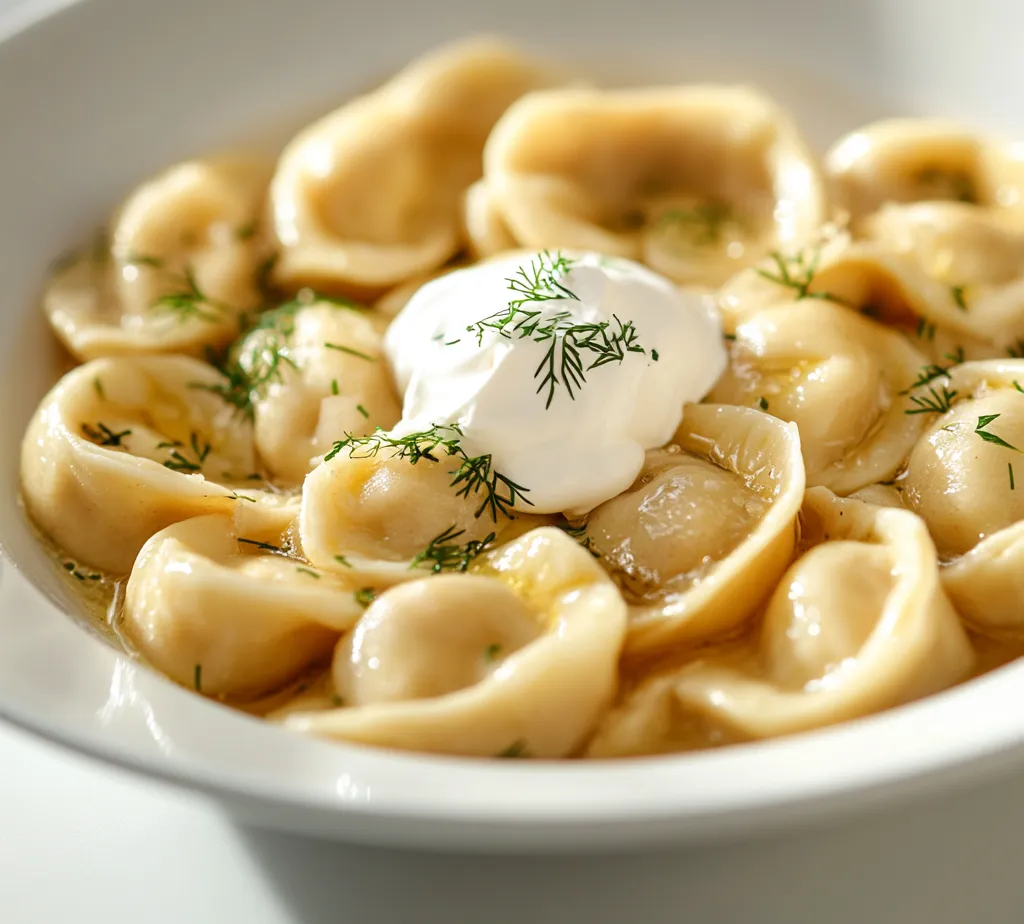
Serve the pelmeni hot, garnished with a generous dollop of sour cream and a sprinkle of fresh dill or parsley for added flavor.
Preparing the Dough
To create the dough for pelmeni, begin with a large mixing bowl where the all-purpose flour and salt come together. This critical first step lays the foundation for the dumpling’s texture. Making a well in the center of the flour mixture allows for the safe addition of the egg, ensuring that it is incorporated thoroughly. As you gradually pour in the water, it’s essential to mix with a fork, gently coaxing the ingredients together.
Once the dough begins to pull together, transfer it to a floured surface where the real magic happens. Kneading the dough for about 5-7 minutes is crucial for developing gluten, which gives the pelmeni their desirable elasticity and chewiness. Properly kneaded dough should feel smooth and slightly tacky but not overly sticky. Once this step is complete, it’s important to cover the dough with a damp cloth and let it rest for 30 minutes. This resting phase allows the gluten to relax, making it easier to roll out and shape later.
Making the Filling
The filling for pelmeni is a crucial component that contributes to the overall flavor profile of the dish. In a large mixing bowl, combine the ground beef with finely diced onion and minced garlic. These aromatics not only enhance the flavor but also keep the filling moist. Season the mixture with salt and freshly ground black pepper, balancing the flavors.
The inclusion of fresh dill is optional, but it adds a lovely herbal note that complements the meat beautifully. Once all the ingredients are added, it’s vital to stir well to ensure even distribution throughout the filling. This ensures that each pelmeni is packed with delicious and harmonized flavors. Before moving on to assemble the dumplings, take a moment to taste the filling and adjust the seasoning if necessary. A well-seasoned filling will elevate the entire dish.
Rolling Out the Dough
Once you’ve prepared the dough, the next step is to roll it out into thin sheets. Begin by dividing the rested dough into four equal portions. Keeping portions covered that you’re not currently using prevents them from drying out and ensures that they remain pliable. Sprinkling flour on your workspace will help prevent the dough from sticking as you roll it.
For each portion, roll the dough out using a rolling pin to a thickness of approximately 1/16 inch. A thin dough is crucial for pelmeni so that the filling shines without being overwhelmed by the dough itself. Utilizing a round cutter of about 3 inches in diameter, cut out circles from the rolled dough. It’s important to work quickly but carefully, as dough can dry out if left exposed. After cutting, re-roll any scraps to maximize the dough used, allowing you to create as many pelmeni as possible.
This step sets the stage for assembling the dumplings, showcasing the beautiful and pliable layers of dough that encase the savory filling within. Properly rolled dough will lead to perfectly shaped pelmeni that cook evenly and delight with every bite.
Assembling the Pelmeni
When it comes to crafting the perfect pelmeni, the assembly process is crucial. Start by portioning out the filling. A teaspoon of filling is generally the right amount, but you can adjust according to your preference. It is essential that the filling is not overstuffed, as this can lead to tearing during cooking. Making sure each half-moon shape can fold easily without spilling over allows for a neater finish and ensures even cooking.
To fold and seal the dough effectively, a few techniques can come in handy. Place the dough circle in your left hand and carefully add the pre-measured filling in the center. Fold the circle in half to create a half-moon shape and firmly pinch the edges together. A common method to ensure they’re sealed properly is to start from one end and pinch towards the other, ensuring any air is expelled. You can also twist the edges for a decorative touch, enhancing the visual appeal of your pelmeni.
Eliminating air pockets is vital for texture, as trapped air can create uneven cooking surfaces leading to ruptures while boiling. Each pelmen is ideally sealed with smooth edges, ensuring they have a uniform structure. This attention to detail can greatly enhance both the presentation and overall eating experience.
Cooking the Pelmeni
Cooking pelmeni is a straightforward but slightly nuanced process that can make a significant difference in the final product. Begin by bringing a large pot of salted water to a rolling boil, ensuring there’s enough water to keep the pelmeni submerged without overcrowding. Once boiling, you can add the prepared pelmeni in batches, generally about a dozen at a time depending on the pot size.
Timing is key. As a rule of thumb, once the pelmeni float to the surface, they typically need an additional 3-4 minutes for thorough cooking. Keep an eye on them as they cook, since overcooking can lead to a mushy texture. A gentle stir in the pot will help prevent sticking and ensure even cooking.
To prevent pelmeni from sticking together, make sure not to overcrowd the pot. If you notice some sticking together, gently use a slotted spoon to separate them as they cook. A slotted spoon also plays a crucial role in gently handling the pelmeni post-cooking; it allows the excess water to drain as you lift them out and helps avoid damaging their delicate structure.
Optional – Frying for Crispiness
If you prefer the contrast of textures, frying pelmeni can add a delightful crispy exterior to the soft filling. To achieve this, first, prepare a skillet by heating a tablespoon of butter over medium heat. Once the butter has melted and begun to froth, carefully add the boiled pelmeni, allowing them to sauté undisturbed for a few moments.
Sautéing techniques are essential for achieving the perfect golden-brown color. Turn the pelmeni occasionally to brown them evenly on all sides, taking care not to overcrowd the skillet, which may lead to steaming rather than frying. The crispy texture of fried pelmeni contrasts wonderfully with the tender and juicy filling, making them a versatile option.
When serving crispy pelmeni, you might consider offering them alongside a selection of dips, such as a dollop of sour cream, hot sauce, or even a light yogurt sauce with herbs. The fried version can be particularly appealing at gatherings or parties, capturing the interest of guests who may not have tried pelmeni before.
Serving Suggestions
Presentation can elevate your pelmeni experience even further. Arrange the pelmeni on a large serving platter, garnishing them with fresh herbs like dill or parsley to add brightness to the dish. A bowl of sour cream can serve as a focal point for dipping, making it easy for guests to customize their flavors.
Pairing suggestions can vary based on your personal preferences or the season. Pelmeni can be enjoyed with a side of pickled vegetables, which add a tangy contrast to the savory dumplings. If you are looking for a beverage pairing, a light lager or a crisp white wine such as Sauvignon Blanc complements the dish beautifully, enhancing the overall flavor experience without overwhelming it.
Highlighting the communal aspect of enjoying pelmeni can also create a warm atmosphere. Traditionally, pelmeni are often served to a group, with everyone gathered around a table enjoying them together. This social element adds to the enjoyment, reminding diners of the rich cultural significance behind the dish.
Frequently Asked Questions
In the world of pelmeni, many questions arise. A common inquiry is whether pelmeni can be frozen for later use. The answer is yes; pelmeni freeze well. Just ensure they are arranged in a single layer on a baking sheet before freezing, which prevents them from sticking together. Once frozen, transfer them to a freezer-safe bag, and they can be stored for up to three months.
Dietary variations and filling substitutions often come up as well. While the traditional filling generally consists of ground beef or a mix of meats, you can explore vegetarian options like mashed potatoes, sautéed mushrooms, or lentils, but be mindful that these variations may require different cooking times and techniques.
When it comes to storage, leftover pelmeni should be placed in an airtight container in the fridge for up to three days. They can be reheated effectively by boiling them again for a few minutes or by sautéing them in a pan with a little water to steam and soften them without drying out.
As pelmeni are a traditional dish with regional adaptations across Russia and neighboring countries, variations exist. Some families might include additional spices or herbs in the filling, while others might serve them in a broth instead of as a standalone dish.
Conclusion
Pelmeni offer a delightful combination of tender dough and savory filling that provides a comforting taste experience. When boiled, they achieve a fluffy texture, and the option for a crispy finish elevates their appeal further. With manageable preparation time, these dumplings can easily become a family favorite, perfect for sharing and enjoying together at any occasion.

Delicious Russian Pelmeni Recipe
Ingredients
- 3 cups all-purpose flour
- 1 large egg
- ½ cup water
- ½ teaspoon salt
- 1 pound ground beef
- 1 small onion
- 2 cloves garlic
- 1 teaspoon salt
- ½ teaspoon black pepper
- 1 tablespoon fresh dill
- 1 tablespoon butter
- to taste sour cream
- to taste fresh dill or parsley
Instructions
- In a bowl, mix flour and salt, create a well, add egg, and gradually mix in water to form dough.
- Knead the dough for 5-7 minutes until smooth, cover, and let it rest for 30 minutes.
- In another bowl, combine ground meat, onion, garlic, salt, pepper, and dill, mixing well.
- Divide the rested dough into four portions and roll out one portion to 1/16 inch thick.
- Cut out circles from the rolled dough using a round cutter.
- Place a teaspoon of filling in the center of each circle, fold, and seal the edges.
- Boil salted water, add pelmeni in batches, and cook until they float, about 3-4 minutes.
- For crispiness, sauté boiled pelmeni in butter until golden brown.
- Serve hot with sour cream and garnish with dill or parsley.