
Introduction
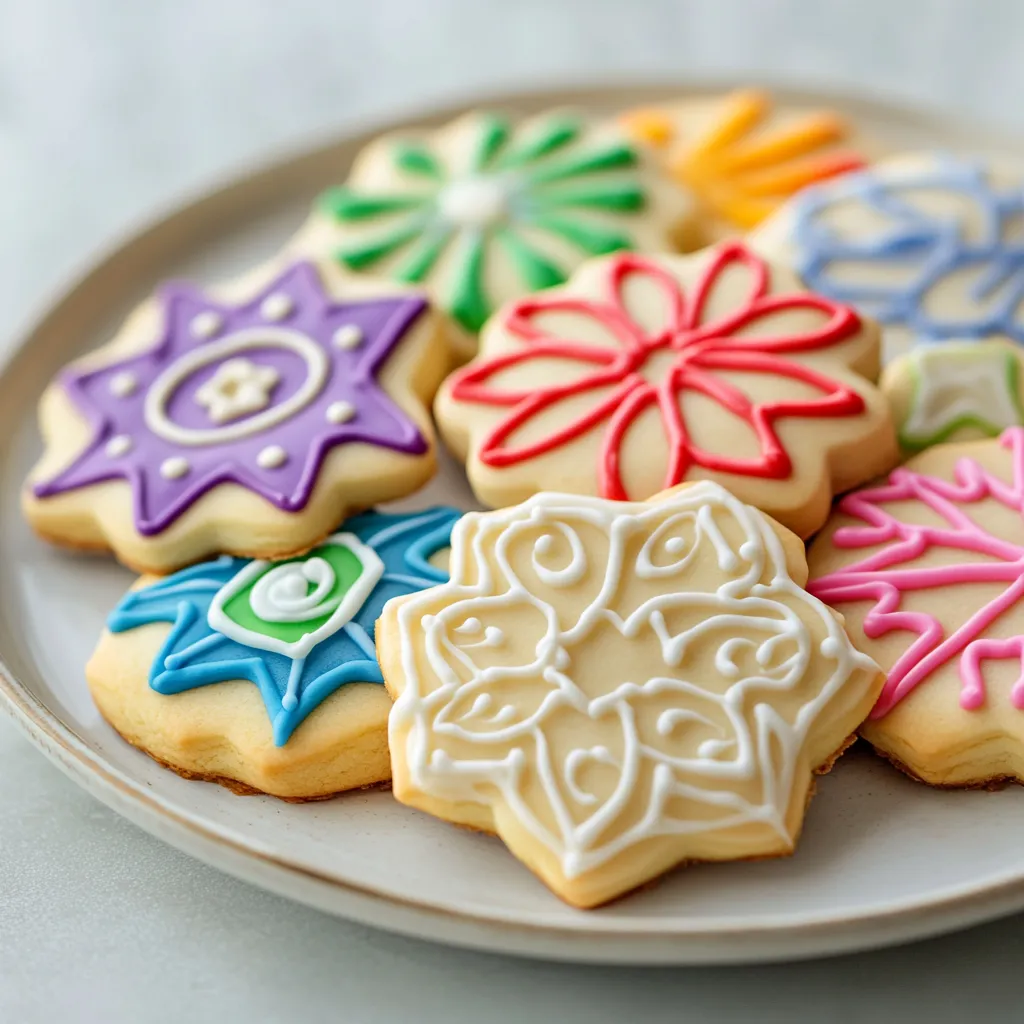
Delightful sugar cookie icing is the perfect finishing touch to any cookie decorating project. This icing not only enhances the flavor but also adds a beautiful visual element to your baked treats. In this article, you’ll discover a foolproof recipe for creating durable sugar cookie icing that is easy to work with and dries to a glossy finish. Whether you are preparing cookies for a special event or a casual gathering, this icing will help you achieve professional-looking results right at home.
Crafting cookies can be a joyful experience, and dressing them with icing makes it all the more special. The icing recipe presented here is simple yet effective, making it an ideal choice for both novice and experienced bakers. With a few basic ingredients and straightforward techniques, you’ll have icing that not only works beautifully for decorating but also holds its shape better than many traditional frostings.
The visual appeal of icing on cookies can elevate any occasion, from birthday parties to holidays. With this durable sugar cookie icing, your creations will not only taste delicious but will also look stunning on any dessert table. Get ready to embark on a sweet journey that will turn ordinary cookies into extraordinary delights.
Recipe Overview
– Preparation Time: 10 minutes
– Total Time: 8 hours
– Servings: Enough for 2 dozen cookies
– Difficulty: Not specified in the recipe
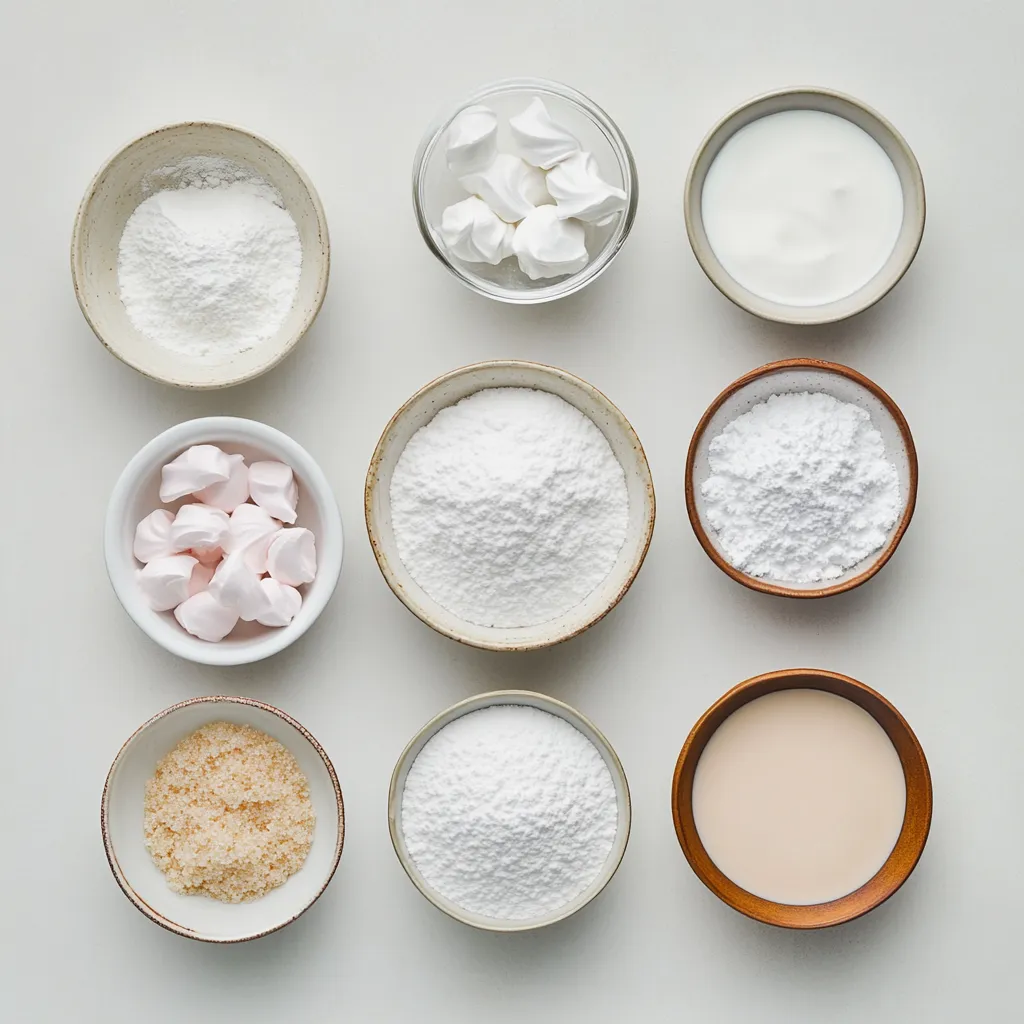
Ingredients
– 2 cups powdered sugar
– 2 tablespoons meringue powder
– 5-6 tablespoons warm water
– 1 teaspoon vanilla extract (or almond extract for a unique twist)
– Food coloring (optional)
Instructions
1. In a spacious mixing bowl, combine the powdered sugar and meringue powder, ensuring they are well mixed.
2. Gradually incorporate the warm water into the dry ingredients, starting with 5 tablespoons. Use a hand mixer or a stand mixer on low speed to blend the mixture until it becomes smooth and glossy.
3. Assess the consistency of the icing. If it appears too thick, add additional warm water, one teaspoon at a time, until you achieve your desired texture. For outlining cookies, the icing should maintain its shape, while for flooding, it should be slightly more fluid.
4. Enhance the flavor by stirring in the vanilla extract (or almond extract) to the icing mixture.
5. If you wish to add color to your icing, divide it into smaller bowls and introduce a few drops of food coloring to each bowl. Mix thoroughly until you reach your preferred shade.
6. Transfer the colored icing into piping bags or squeeze bottles for precise application.
7. Decorate your cooled sugar cookies with the icing, and allow them to dry completely. This may take about 6-8 hours; for optimal results, consider letting them dry overnight.
Preparing the Icing Mixture
When creating icing, the process begins with mixing the dry ingredients. In a spacious mixing bowl, the key is to ensure that the powdered sugar and meringue powder are combined thoroughly. This is crucial because any clumps can affect the final texture of your icing. A whisk is an excellent tool for this purpose, but a hand mixer on low speed can also work well to break down any stubborn bits.
Once the dry components are well integrated, the next step is to add warm water. Starting with 5 tablespoons, the warm water needs to be incorporated gradually to facilitate a smoother mixture. With a hand mixer or stand mixer, mix on low speed until the icing becomes glossy and free of lumps. This careful introduction of water is vital, as it allows better control over the consistency of the icing.
Achieving the Right Consistency
The right consistency for sugar cookie icing is critical, as it directly influences how you can decorate your cookies. Typically, the icing should have two distinct consistencies: a thick version for outlining and a thinner version for flooding. The thicker icing will hold its shape, allowing you to create defined edges around your cookies. Conversely, a slightly more fluid icing is perfect for filling in the outlined areas, creating a smooth surface.
To assess the consistency effectively, you should test how the icing falls from a spoon. Ideal icing will hold its shape when piped and will flow smoothly without being runny. If your icing seems too thick, you can adjust it by adding warm water. Do so sparingly, incorporating one teaspoon at a time, to avoid making the mixture too thin.
Knowing when to stop adjusting is key; indicators of perfect texture include the icing being able to hold its shape for outlining, while still being fluid enough to spread out when flooding. Understanding these subtleties will significantly enhance your cookie decorating skills.
Enhancing Flavor
Adding flavor to your sugar cookie icing can elevate the taste profile of your baked goods. The recipe provides options for flavoring extracts, with vanilla extract being the classic choice. If you prefer a unique twist, almond extract adds a lovely depth to the icing. These extracts not only improve the taste but also enhance the overall experience of eating the decorated cookies.
When it comes to flavor pairing, the possibilities are quite extensive. For a more adventurous take, one might consider citrus extracts like orange or lemon, which provide a refreshing zing. Other complementary flavors, such as peppermint during the holiday season, can also be experimented with to suit various occasions. Incorporating these flavors into the icing not only enriches the taste but also allows for personal touches that reflect your preferences or themes of your events.
As you prepare to decorate your cookies, remember that the flavor of the icing will meld wonderfully with the sweetness of the cookies, resulting in an indulgent treat that will be remembered long after they are served.
This is the end of Part 1.
Alternatives to Extracts
When it comes to flavoring your sugar cookie icing, there are several alternatives to traditional vanilla or almond extracts that can add unique nuances to your creations. While these extracts are favored for their familiarity and richness, consider using citrus zest (such as lemon or orange) for a zesty twist. Another option is to incorporate coffee or espresso powder for a subtle mocha flavor, which can pair beautifully with chocolate cookies. Experimenting with spice-infused sugars, such as cinnamon or cardamom, can also create a pleasantly aromatic icing without introducing new liquid ingredients that might alter the icing’s texture.
Other Ways to Enhance Flavor
Besides extracts and zests, you might achieve more depth in flavor by whisking in a hint of flavored syrups, such as hazelnut or coconut. Remember that a little goes a long way; start with just a teaspoon. Additional flavoring can also come from adding a bit of melted chocolate or cocoa powder directly to the icing, adjusting for consistency as needed. Consider the overall theme of your cookies when selecting flavors to ensure they complement one another.
Coloring Your Icing
Guide to Beautifully Colored Icing
Choosing Food Colors
The vibrancy of your icing is often determined by the type of food coloring you choose. Gel food coloring is recommended for its rich pigmentation and ease of use. It enhances colors without adding excess liquid, which is crucial for maintaining the desired icing consistency. Liquid food coloring can also work, but be cautious as it may require adjustments in the amount of water in your icing.
Types of Coloring Available
In the world of food colorings, you have a variety of options, including gel, powder, and liquid. Gel colors are highly concentrated and ideal for achieving bold hues, while powder colors are less common but useful for very opaque finishes. Liquid colors, while easily accessible, can be less effective as they may dilute the icing.
Best Color Brands
Some of the best brands known for food colorings include Wilton, AmeriColor, and Chefmaster. These brands are often preferred by professional bakers for their high quality and consistent results. Try to opt for brands that are free of artificial dyes for a more natural option.
Mixing Techniques
When mixing colors, start with a small amount of food coloring and incorporate it gradually. Always mix thoroughly before adding more, as colors deepen over time. A small toothpick can act as a helpful tool for precise application. Remember, you can always add more, but it’s much harder to lighten a color once it has been mixed in.
How to Avoid Streaks
To avoid streaking or uneven coloring in your icing, ensure that you mix the color in thoroughly. Achieving a uniform color can take time, so be patient and use a firm hand when mixing. If you notice streaking, you might need to mix longer or change your blending technique.
Tips for Achieving Vibrant Colors
For vibrant hues, avoid using too much white base icing, as this can dilute colors. Additionally, let the colored icing sit for a few minutes after mixing; the color often deepens as it sits.
Storing Colored Icing
Proper storage of colored icing is essential to maintain both flavor and color integrity. Store it in an airtight container in the refrigerator to prevent it from drying out. When you’re ready to use it again, stir gently, adding a tiny bit of water if needed to restore the desired consistency.
Application Techniques
Various Methods for Icing Application
Piping Bags vs. Squeeze Bottles
When it comes to applying icing, the choice between piping bags and squeeze bottles can affect both ease and precision. Piping bags offer greater control for detailed designs but require some skill in handling. Squeeze bottles provide a less intimidating way to dispense icing, making them a useful tool for beginners. Both methods have pros and cons, depending on the design complexity.
Basic Decorating Techniques
Outlining and Flooding Explained
Outlining is the first step in decorating cookies. Use a thicker icing for this step to create a border that contains the flood icing. Once outlined, flood your cookie with a thinner consistency of icing that fills the inner area. Allow the icing to settle for a smooth finish, making sure not to exceed the outlined area. This technique helps achieve a professional-looking result.
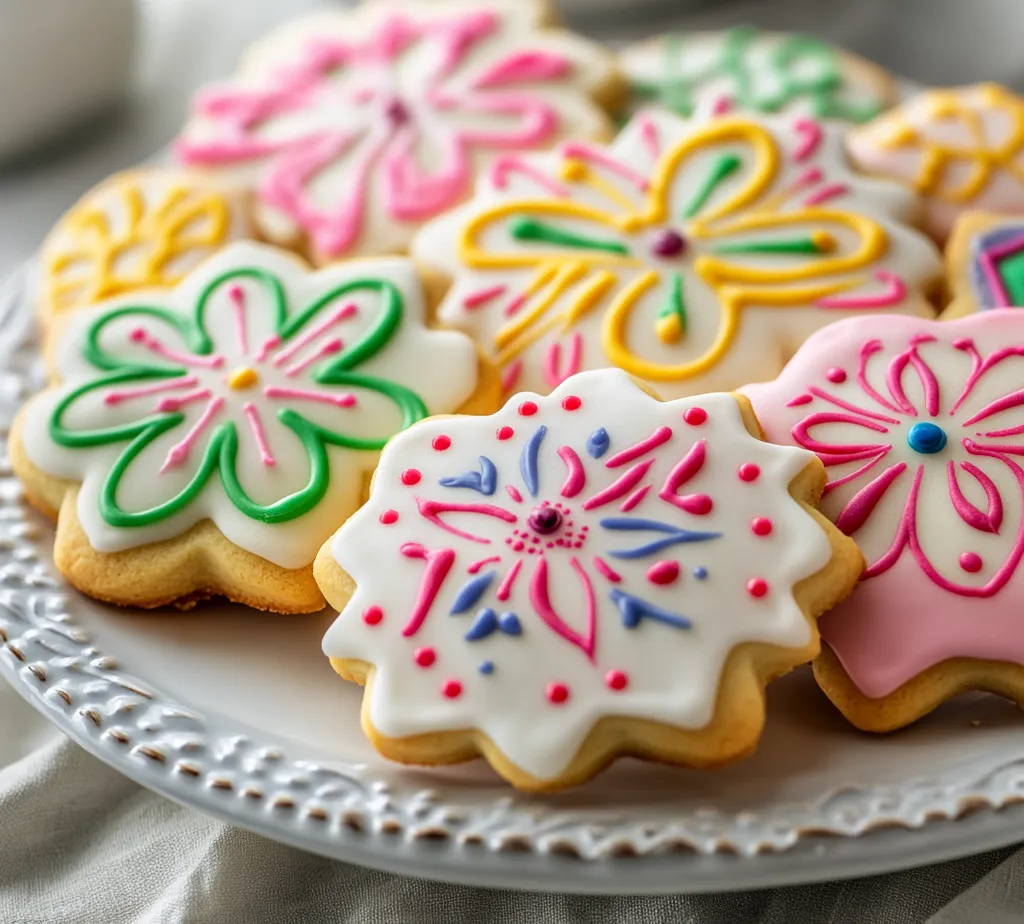
Creative Designs
Ideas for Fun Decorating Patterns
Encourage creativity by experimenting with DIY stencils for fun patterns or using toothpicks to drag icing into swirls or marbled looks. For seasonal themes, think about using cutters to create fun shapes before icing. Consider adding chocolate drizzle, edible glitter, or sprinkles for added flair.
Allowing Icing to Dry
Understanding the Drying Process for Optimal Results
Ideal Drying Conditions
The environment in which your cookies dry affects the final outcome. Ideally, place the cookies in a room with low humidity and moderate temperature. Avoid placing them in direct sunlight, which can lead to uneven drying.
Importance of Temperature and Humidity
Humidity is crucial as it influences how the icing dries. In a humid setting, icing may take longer to set or become tacky, impacting the final decor. Conversely, dry air can lead to cracking. The ideal humidity level is less than 50%.
Estimated Drying Time
The typical drying time is about 6-8 hours, depending on the thickness of icing and environmental factors. For intricate designs, anticipate that drying may take longer.
What to Expect for Various Designs
For simple flooding designs, you might achieve a tack-free finish in 6 hours, while more intricate patterns may need an overnight setting.
Overnight Drying Benefits
Why Overnight is Recommended
Allowing icing to dry overnight often ensures the best results in terms of texture and durability. It gives the icing ample time to harden, preventing smudging during handling or packing.
Presentation Tips
Creating an Alluring Presentation for Your Decorated Cookies
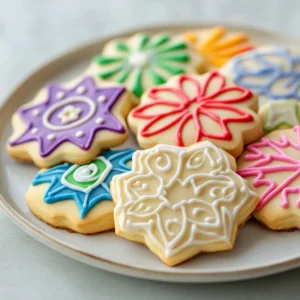
Arranging Cookies on a Platter
For a visually appealing display, choose a classic white platter or a colorful backdrop that complements your icing designs. Arrange your cookies with varying heights for added interest, and leave space in between for a clean look.
Tips for Eye-Catching Displays
Consider layering different colored cookies or varying shapes on a multi-tiered stand to draw attention, especially for special occasions. Incorporate themed decorations or floral accents to enhance your presentation further.
Adding Edible Decorations
Enhancing with Glitter and Sprinkles
Sprinkles not only add texture but also a pop of color. Choose edible glitter for whimsy, which can elevate your cookies for celebrations. Sprinkle them generously on wet icing to ensure they adhere well.
Thematic Decorations for Special Occasions
For events such as birthdays or holidays, consider using colors and themes that reflect the occasion. For instance, using red and green for Christmas or pastel colors for spring celebrations.
Troubleshooting Common Issues
Identify and Solve Common Icing Problems
Icing Too Runny
If your icing is too runny, incorporate more powdered sugar in small increments to thicken it while testing its consistency. Be careful not to adjust too much at once.
Icing Cracking During Drying
Cracking can occur due to rapid temperature changes or low humidity. To avoid this, maintain a stable and appropriate drying environment.
Storing Leftover Icing
For any leftover icing, store it in an airtight container, and wrap the container in plastic for added protection. When you’re ready to reuse, gently knead or stir before application.
Conclusion
This sugar cookie icing recipe delivers an exceptional blend of flavor and a smooth, glossy finish, making it an ideal choice for decorating cookies. With proper technique and attention, you can create beautifully decorated treats that are as delightful to behold as they are to taste. The icing’s versatility allows for creativity, ensuring it can adapt to any occasion, whether you’re baking for fun or for a special event.
Delightful and Durable Sugar Cookie Icing Recipe
Ingredients
- 2 cups powdered sugar
- 2 tablespoons meringue powder
- 5-6 tablespoons warm water
- 1 teaspoon vanilla extract
- food coloring optional
Instructions
- Combine powdered sugar and meringue powder in a mixing bowl.
- Gradually add warm water, starting with 5 tablespoons, and mix until smooth.
- Adjust consistency by adding more warm water if too thick.
- Stir in vanilla extract for flavor.
- Divide icing into bowls and add food coloring if desired.
- Transfer icing to piping bags for application.
- Decorate cooled sugar cookies with icing.
- Allow icing to dry completely for 6-8 hours or overnight.