
Introduction
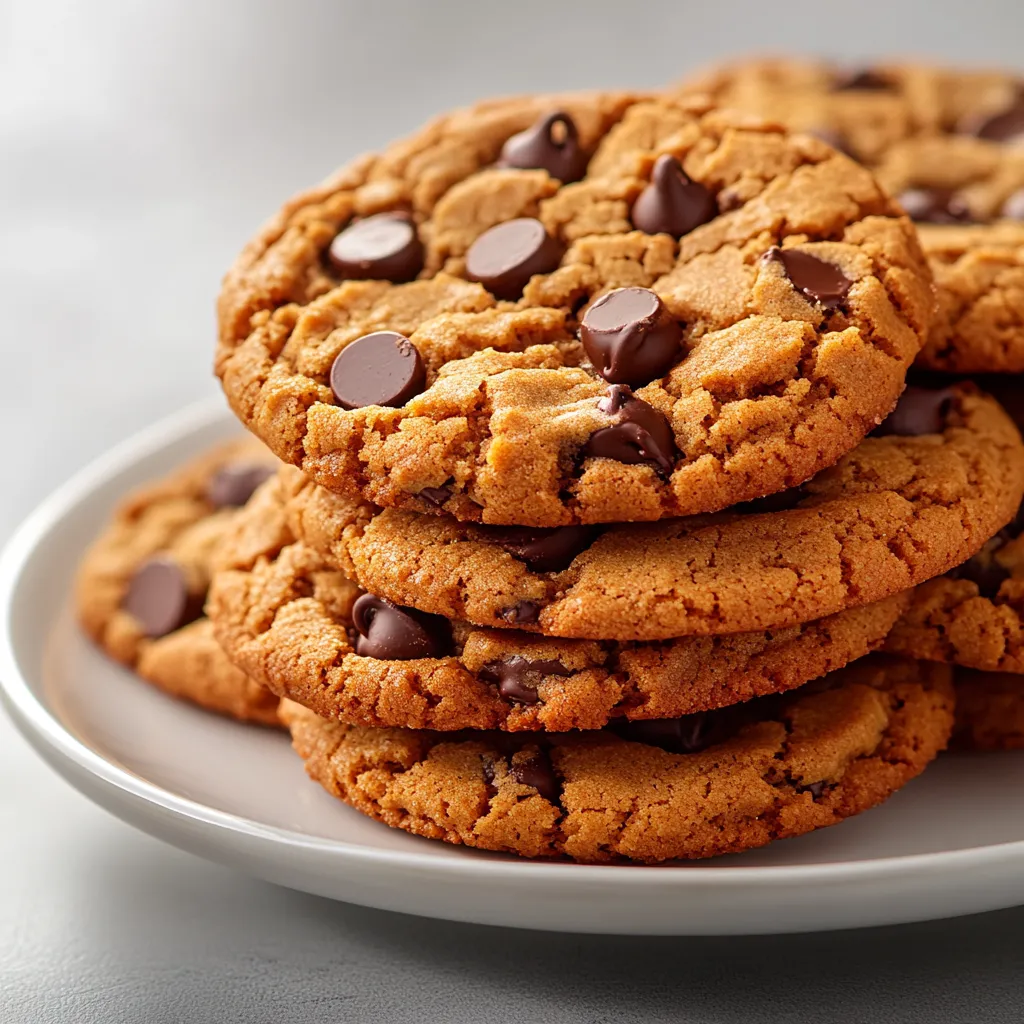
Crafting the perfect cookies can lead to delightful moments, and Peanut Butter Bliss Cookies epitomize this experience. These cookies are not only easy to make but also promise a perfect blend of flavors that leave a lasting impression. Whether you’re a novice baker or a seasoned chef, you’ll appreciate the delightful combination of creamy peanut butter and semi-sweet chocolate chips in each bite. The rich taste of peanut butter paired with the sweetness of chocolate creates a blissful treat that tempts the taste buds and satisfies those cookie cravings.
Making these cookies is not only a fun baking activity but also a wonderful way to bond with family and friends over a shared love of delicious desserts. Imagine the aroma wafting through your kitchen as the cookies bake to golden perfection, enticing everyone with the promise of a sweet reward. These Peanut Butter Bliss Cookies are ideal for casual gatherings, holiday parties, or simply enjoying with a glass of milk at home. They’re a timeless classic that everyone will love, each bite bursting with flavor and comfort.
Recipe Overview
– Prep Time: 15 minutes
– Cook Time: 12 minutes
– Total Time: 27 minutes
– Course: Dessert
– Cuisine: American
– Servings: 24 cookies
– Calories: Approximately 120 per cookie
Ingredients
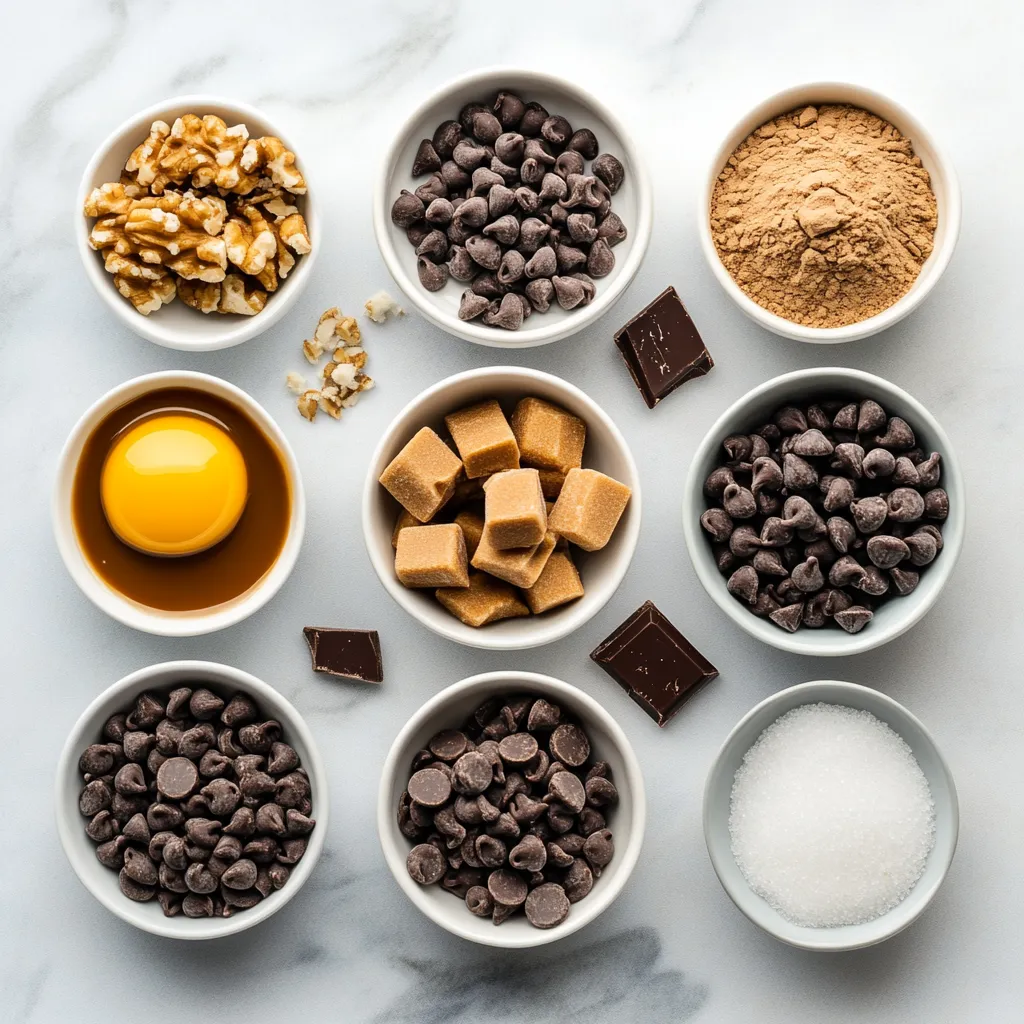
The success of any recipe lies in its ingredients. Below are the components required to make Peanut Butter Bliss Cookies:
Main Ingredients
– 1 cup creamy peanut butter
– 1 cup packed brown sugar
– 1 large egg
– 1 teaspoon pure vanilla extract
– 1 cup semi-sweet chocolate chips
Leavening and Seasoning
– 1/2 teaspoon baking soda
– 1/4 teaspoon fine sea salt
Optional Presentation Enhancements
– Extra chocolate chips (for garnish)
– Decorative plates for serving
Instructions
Each step in the preparation of Peanut Butter Bliss Cookies is crucial for achieving that perfect balance of flavor and texture.
1. Begin by preheating your oven to 350°F (175°C). Line a baking sheet with parchment paper to prevent sticking and ensure easy cleanup.
2. In a large mixing bowl, combine the creamy peanut butter and packed brown sugar. Mix them together thoroughly until the mixture is smooth and well-blended.
3. Add in the large egg and pure vanilla extract. Beat the mixture until it reaches a creamy consistency.
4. Sprinkle in the baking soda and fine sea salt, stirring until these ingredients are fully incorporated into the dough.
5. Gently fold in the semi-sweet chocolate chips, ensuring they are evenly mixed throughout the peanut butter dough.
6. Using a tablespoon, scoop out portions of the dough and roll them into balls. Place these balls on the prepared baking sheet, spacing them about 2 inches apart to allow for spreading.
7. With the back of a fork, gently press down on each dough ball to flatten it slightly, creating a delightful crisscross pattern on top.
8. Bake in the preheated oven for 10 to 12 minutes, or until the edges of the cookies turn a light golden brown.
9. Once baked, remove the cookies from the oven and allow them to cool on the baking sheet for 5 minutes. Then transfer them to a wire rack to cool completely.
10. Indulge in your Peanut Butter Bliss Cookies alongside a refreshing glass of milk for the ultimate treat!
Pre-Baking Preparations
Preparing ahead of time ensures your baking process goes smoothly. Start by preheating your oven to 350°F (175°C). This is critical as it allows your cookies to bake evenly and attain that perfect golden hue. While your oven heats up, take a moment to line your baking sheet with parchment paper. This simple step not only prevents the cookies from sticking but also aids in hassle-free cleanup afterward.
Mixing the Dough
Once your pre-baking preparations are complete, it’s time to focus on the heart of the recipe—mixing the dough. Begin by combining the creamy peanut butter and packed brown sugar in a large mixing bowl. Mix these two ingredients thoroughly until they form a smooth, well-blended mixture; expect a richness from the peanut butter and a delightful sweetness from the brown sugar.
Next, add a large egg and the pure vanilla extract into the blend. The egg acts as a binding agent, and the vanilla extract adds a wonderful aromatic profile that elevates the cookie’s flavor. Beat this mixture until it reaches a creamy consistency, ensuring all ingredients marry harmoniously.
After achieving a creamy texture, it’s time to sprinkle in the leavening and seasoning. Adding the baking soda and fine sea salt is essential for taste and texture. The baking soda helps the cookies rise just the right amount while the sea salt balances the sweetness beautifully. Stir them in until fully incorporated into the dough.
Adding the Chocolate Chips
Once the base dough is prepared, the next crucial step is incorporating the semi-sweet chocolate chips. Gently fold these chocolate morsels into the dough, ensuring they are evenly distributed throughout. Each chocolate chip will melt ever so slightly as the cookies bake, creating pockets of gooey chocolate that beautifully complement the rich peanut butter flavor.
Shaping the Cookies
The shape and presentation of cookies can enhance their appeal. With your dough ready, it’s time to form it into usable cookie shapes. Using a tablespoon, scoop out portions of the dough and roll them into balls. Ensure the sizes are uniform for even baking. Once you have formed the dough balls, place them on the lined baking sheet, making sure to space them about 2 inches apart to allow for proper spreading during baking.
Creating the Crisscross Pattern
A signature feature of classic peanut butter cookies is the crisscross pattern that gives them their iconic look. To achieve this decorative touch, take the back of a fork and gently press down on each dough ball. This not only flattens the cookies slightly but also creates a charming pattern that is instantly recognizable.
Baking the Cookies
Once your cookies are shaped and decorated, it’s time to bake them to perfection. Carefully place the baking sheet into your preheated oven. Baking takes around 10 to 12 minutes; watch closely as the cookies bake to ensure they achieve a lovely light golden brown around the edges. The middle may seem soft; that’s normal, as they will continue to firm up as they cool.
Once baked, remove the cookies from the oven and let them cool on the baking sheet for 5 minutes. This resting time allows them to set a bit more before transferring to a wire rack where they cool completely. When ready, enjoy these delightful Peanut Butter Bliss Cookies with a glass of milk or your favorite beverage for a heartwarming snack!
Cooling Process
Once your Peanut Butter Bliss Cookies have reached that golden-brown perfection after baking for 10 to 12 minutes, it’s essential to cool them properly to maintain their soft texture and enhance their flavor.
Removing the cookies from the oven is your first step. Allow them to cool directly on the baking sheet for about 5 minutes. This initial cooling time on the baking sheet is crucial as it allows the cookies to set, making them easier to transfer without falling apart. The residual heat from the baking sheet will continue to cook the bottoms slightly, giving them that perfect chewy texture without becoming too hard.
After the cookies have cooled for 5 minutes, gently transfer them to a wire rack. This step is vital as it allows air to circulate around the cookies, preventing them from becoming soggy. On the wire rack, let the cookies cool completely. This can take an additional 10-15 minutes, but it’s a worthwhile wait that allows the flavors to deepen and the texture to stabilize. Once cooled, they are ready for serving or storage.
Serving Suggestions
The way you serve your cookies can significantly enhance the overall experience, making it even more delightful for you and your guests.
Perfect Pairings
For a classic pairing, serve your freshly baked Peanut Butter Bliss Cookies with a refreshing glass of milk. The creaminess of the milk complements the rich peanut butter flavor, creating a nostalgic combination that many adore. The coldness of the milk contrasts beautifully with the warmth of the cookies, ensuring every bite is not just savored but cherished.
To further elevate your presentation, consider arranging the cookies on a decorative plate. The contrast of colors from the peanut butter cookies and semi-sweet chocolate chips against a vibrant plate can be visually appealing. A sprinkle of extra chocolate chips around the cookies can add an inviting touch that makes the dessert table truly eye-catching.
Optional Extras
You may also want to enhance the visual appeal by using a clear glass for the milk. This allows everyone to see the beautiful cookies and their drizzles of chocolate, creating anticipation even before the first bite. You could even add a few decorative napkins around the plate, aligning the colors with the festive theme if serving at an event.
Storage Instructions
Storing your cookies properly is essential to maintain their delightful freshness and taste.
Short-Term Storage
For short-term storage, place the cooled cookies in an airtight container and keep them at room temperature. This method will allow the cookies to retain their chewy texture while preventing any external moisture from making them soggy. Stick to keeping them at room temperature for up to one week, and if they last that long in your household, consider yourself fortunate!
Long-Term Storage
If you’re looking to keep your Peanut Butter Bliss Cookies for a longer duration, freezing them is an excellent option. Stack the cookies in a single layer on a baking sheet, ensuring they aren’t touching, and place them in the freezer for a couple of hours to firm them up. Once solid, transfer the cookies to a sealed freezer bag. When stored this way, they can last for up to three months. When you’re ready to enjoy, simply pull the desired number of cookies from the freezer and let them thaw at room temperature for a quick indulgence.
Nutritional Information
Understanding the nutritional content of treats like Peanut Butter Bliss Cookies can be helpful for managing your dessert intake.
Calories and Serving Size
Each cookie contains approximately 120 calories, making them a delightful option when you’re treating yourself. With a total yield of 24 cookies from this recipe, it allows for easy portion control. Whether you enjoy one or a few, the balance of flavors and textures truly makes each bite a cherished experience.
Variations of the Recipe
Exploring variations on the basic recipe can allow for creativity while still enjoying the beloved Peanut Butter Bliss Cookies.
Flavor Enhancements
You can enhance the flavor profile of your cookies by adding chopped nuts, like walnuts or peanuts, for an added crunch. This not only gives texture but also enriches the nutty flavor associated with peanut butter. Alternatively, consider incorporating different types of chocolate chips, such as white chocolate or milk chocolate, which can add a unique twist and complexity to the flavor.
Dietary Modifications
For those looking to adjust the recipe for dietary preferences, swapping almond butter for peanut butter is a wonderful alternative. Almond butter provides a slightly different flavor and can appeal to those with peanut allergies. Another adjustment can be using agave syrup instead of brown sugar for a lighter sweetener that’s lower on the glycemic index, although it may affect the texture slightly.
Tips for Success
To ensure your Peanut Butter Bliss Cookies turn out perfectly each time, keep these practical tips in mind.
Baking Tips
Accurate measuring of your ingredients plays a vital role in the quality of your cookies. Invest in a good set of measuring cups and spoons to guarantee precision. It’s also crucial not to overmix the dough once you add the dry ingredients. Overmixing can lead to dense cookies rather than the soft, chewy texture everyone loves.
Troubleshooting Common Problems
If you notice that your cookies tend to spread too much while baking, consider chilling the cookie dough for about 30 minutes before scooping and baking. This helps solidify the fats and can prevent excessive spreading. Additionally, for an even bake, rotating the baking sheet halfway through the cooking time can help ensure each cookie is perfectly golden all around.
Conclusion
Peanut Butter Bliss Cookies offer a delightful combination of flavors and textures that many find irresistible. With a prep time of just 15 minutes and a bake time of around 12 minutes, you can create these delicious treats without much fuss. Whether you’re enjoying them fresh from the oven or sharing them with family and friends, these cookies are a timeless dessert option that can be easily adapted to suit your preference.

Easy Peanut Butter Bliss Cookies Recipe
Ingredients
- 1 cup creamy peanut butter
- 1 cup packed brown sugar
- 1 large egg
- 1 teaspoon pure vanilla extract
- ½ teaspoon baking soda
- ¼ teaspoon fine sea salt
- 1 cup semi-sweet chocolate chips
Instructions
- Preheat your oven to 350°F (175°C) and line a baking sheet with parchment paper.
- In a large mixing bowl, combine the creamy peanut butter and packed brown sugar until smooth.
- Add the egg and vanilla extract, beating until creamy.
- Stir in the baking soda and sea salt until fully incorporated.
- Gently fold in the chocolate chips until evenly mixed.
- Scoop portions of dough and roll into balls, placing them on the baking sheet 2 inches apart.
- Flatten each ball slightly with the back of a fork to create a crisscross pattern.
- Bake for 10 to 12 minutes until edges are light golden brown.
- Cool on the baking sheet for 5 minutes before transferring to a wire rack.
- Enjoy with a glass of milk for the ultimate treat!