
Introduction
Cinnamon rolls are a beloved treat enjoyed by many, known for their soft, warm dough and rich filling swirling with sweet cinnamon goodness. By combining this classic pastry with the beloved cookie, the Ultimate Cinnamon Roll Cookies emerge as an extraordinary delight. These cookies encapsulate the essence of cinnamon rolls in a new, bite-sized format, making them perfectly suited for a variety of occasions.
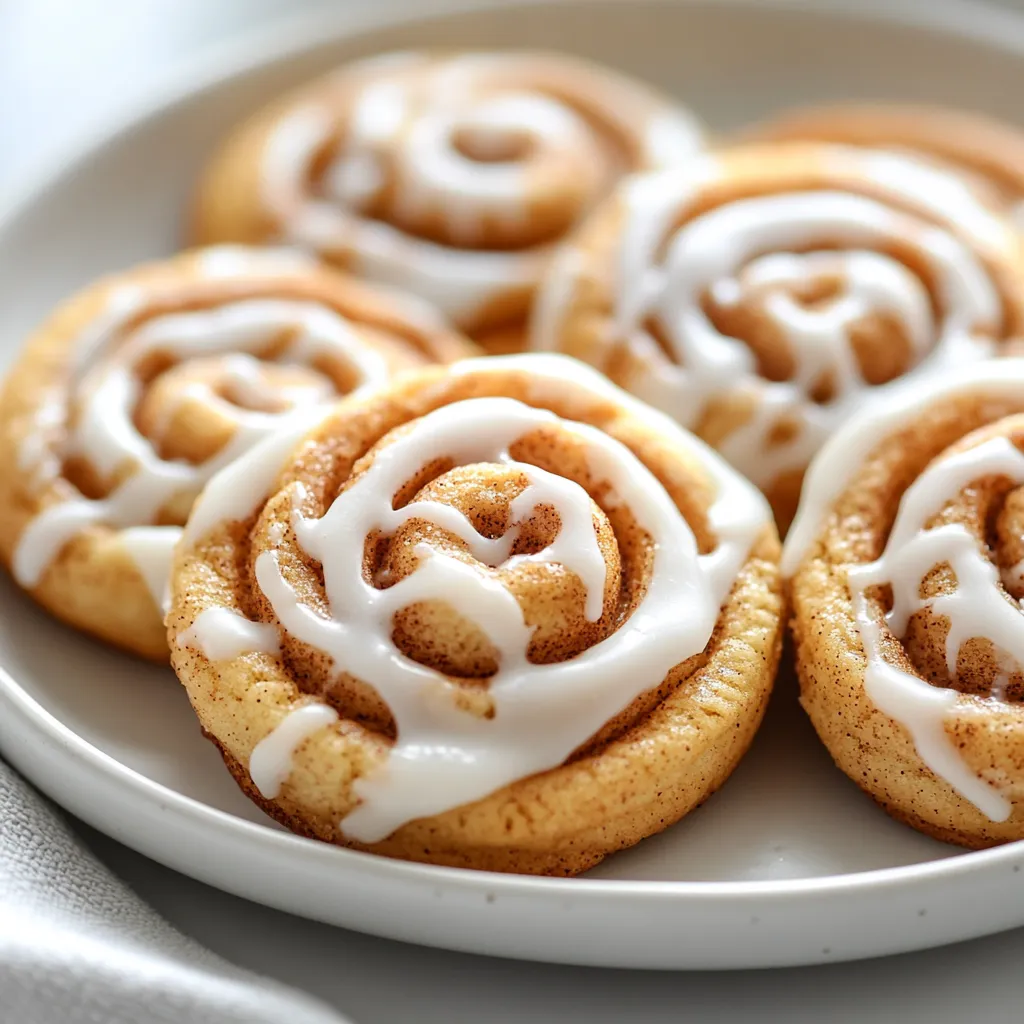
Imagine the intoxicating aroma wafting through your kitchen as you prepare these cookies, infusing the air with notes of cinnamon and sugar. The combination of flavors results in cookies that are soft, chewy, and filled with a gooey cinnamon-sugar surprise at their center. The smooth icing drizzled on top provides a sweet finish that ties everything together, ensuring that every bite is as satisfying as a cinnamon roll fresh from the oven. These treats are perfect for breakfast, a sweet afternoon snack, or as a delectable dessert at holiday gatherings.
Recipe Overview
– Total Time: 30 minutes
– Yield/Servings: 24 cookies
– Difficulty: Not specified in the recipe
The Ultimate Cinnamon Roll Cookies are a joy to create, resulting in soft and chewy cookies with a delightful gooey filling. Their inviting aroma and pleasing texture make them ideal for breakfast, dessert, or any festive occasion. The cooking time is brief, allowing you to whip up a batch in under half an hour, which means you can satisfy your sweet cravings in no time.
Ingredients
– 2 ½ cups all-purpose flour
– 1 teaspoon baking soda
– 1 teaspoon baking powder
– ½ teaspoon salt
– 1 teaspoon ground cinnamon
– ¾ cup unsalted butter, softened to room temperature
– 1 cup packed brown sugar
– ½ cup granulated sugar
– 1 large egg
– 1 teaspoon vanilla extract
– 1 cup powdered sugar (for icing)
– 2 tablespoons milk (for icing)
– ½ teaspoon vanilla extract (for icing)
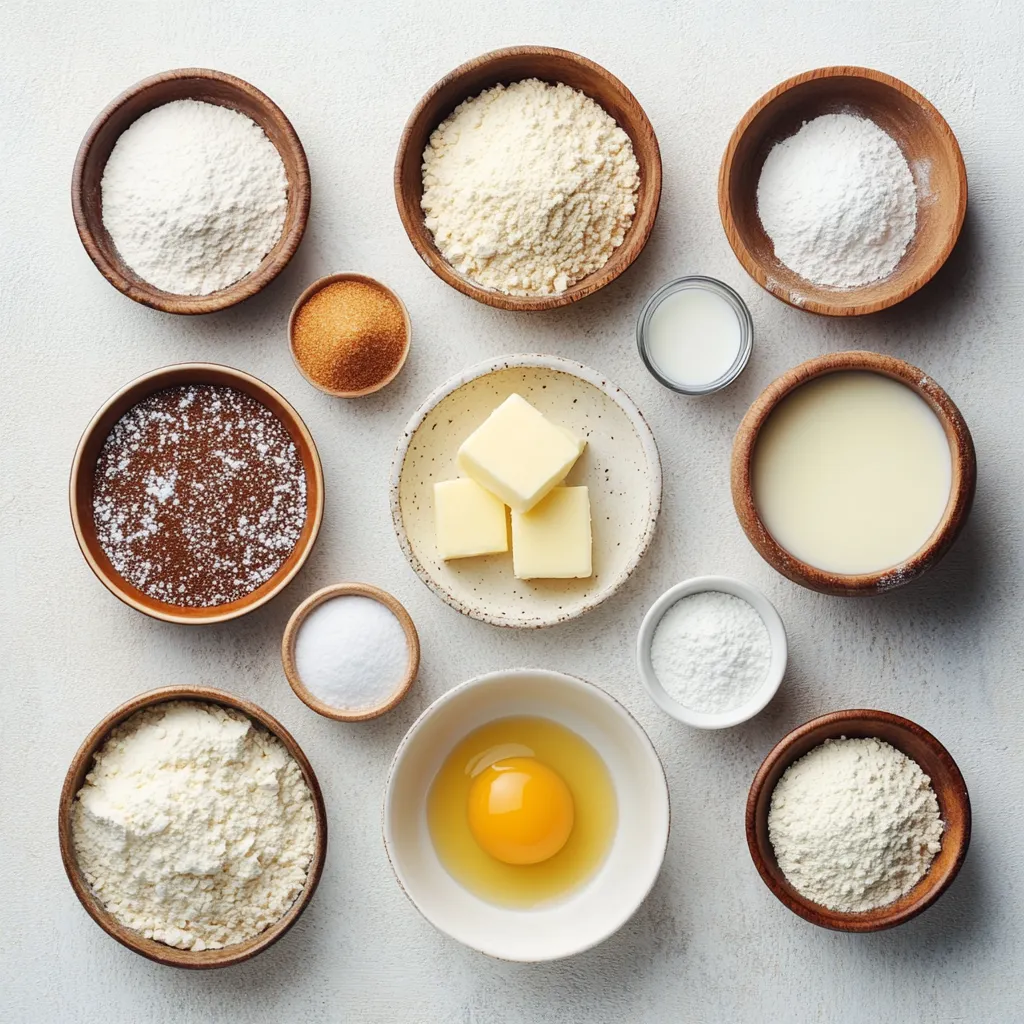
This comprehensive list of ingredients showcases everything you need to create these delightful cinnamon roll cookies. Pay special attention to using unsalted butter at room temperature for optimal mixing, along with fresh ground cinnamon which adds the most robust flavor.
Instructions
1. Begin by preheating your oven to 350°F (175°C). Prepare a baking sheet by lining it with parchment paper to prevent sticking.
2. In a medium-sized bowl, combine the all-purpose flour, baking soda, baking powder, salt, and ground cinnamon. Whisk these dry ingredients together thoroughly and set the mixture aside.
3. In a large mixing bowl, use a hand mixer or stand mixer to cream the softened butter, packed brown sugar, and granulated sugar together. Beat the mixture on medium speed for about 2-3 minutes until it becomes light and fluffy.
4. Add in the egg and vanilla extract, mixing until everything is well incorporated and smooth.
5. Gradually fold the dry ingredient mixture into the wet ingredients. Mix gently until just combined, being careful not to overmix.
6. In a small bowl, prepare the cinnamon-sugar filling by combining 2 tablespoons of ground cinnamon with ¼ cup of granulated sugar. Mix well to ensure even distribution.
7. For shaping the cookies, take about 2 tablespoons of the dough and flatten it slightly in your palm. Place approximately 1 teaspoon of the cinnamon-sugar filling in the center. Carefully fold the edges of the dough over the filling to create a sealed pocket. Roll the dough into a ball and place it on the prepared baking sheet. Continue this process with the remaining dough.
8. Bake the cookies in the preheated oven for 10-12 minutes, or until the edges are just lightly golden. Once baked, allow the cookies to cool on the baking sheet for a few minutes before transferring them to a wire rack to cool completely.
9. While the cookies cool, make the icing by whisking together the powdered sugar, milk, and ½ teaspoon vanilla extract in a small bowl until the mixture is smooth and pourable.
10. Once the cookies have cooled, drizzle the icing generously over the top. Allow the icing to set for a few minutes before serving.
Creating the dough for these cookies is a simple yet rewarding process, combining fluffy textures with a delightful aroma. It begins by blending the dry ingredients to ensure that the baking soda, baking powder, salt, and cinnamon are evenly distributed throughout the flour. This foundational mixture is critical for achieving the desired rise and flavor in the cookies.
The following steps involve creaming together the softened butter and sugars. This process is paramount as it incorporates air into the mixture, ensuring that the cookies will be soft and chewy. Once the dough is formed, the cinnamon-sugar filling adds the signature flavor that makes these cookies reminiscent of their roll counterpart.
Presentation Tips
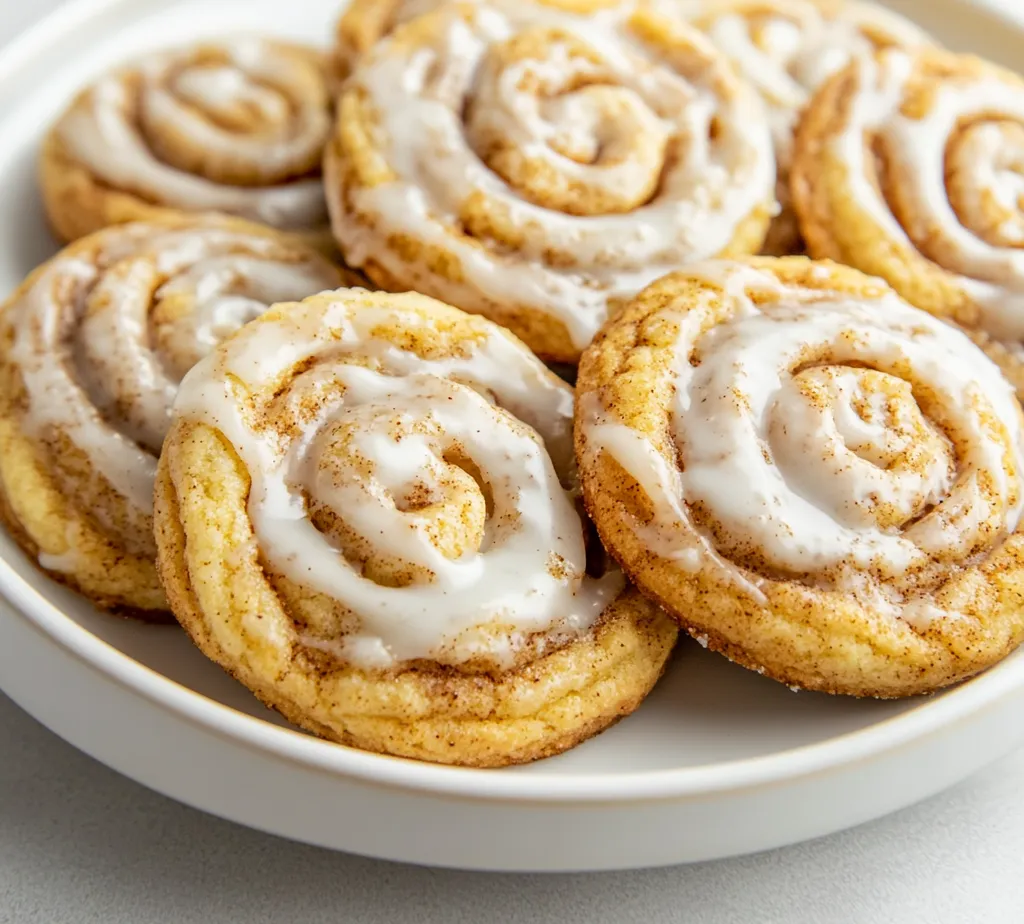
An enjoyable way to enhance your Ultimate Cinnamon Roll Cookies is to consider presentation. A decorative platter can elevate your display, inviting your guests to indulge in these sweet treats. Sprinkling a touch of extra cinnamon on top of the icing not only brings visual appeal but also enhances the aromatic experience. Pair these cookies with a comforting cup of coffee or tea, and you create an inviting moment perfect for sharing with loved ones.
Whether you’re serving them for a cozy breakfast, an afternoon gathering, or as a sweet treat for holiday festivities, these cookies are sure to impress with their delightful flavors and inviting appearance.
Detailed Instructions on Shaping the Cookies
To properly shape your cinnamon roll cookies, the technique is crucial for both appearance and taste. Begin with about 2 tablespoons of the dough. Lightly flour your hands to prevent sticking. Flatten the dough slightly in the palm of your hand, ideally reaching about a ¼-inch thickness. The goal here is to create a small disc that can easily encase the filling without breaking apart.
Once flattened, spoon approximately 1 teaspoon of the cinnamon-sugar filling into the center of the disc. This step is vital; adding too much filling may cause it to overflow, while too little will not deliver that signature taste. Carefully fold the edges of the dough over the filling, ensuring it’s completely sealed. This might require gentle pinching from the edges toward the center to create a secure pocket, which helps the cookies to retain their shape while baking. Finally, roll the dough into a ball between your hands to achieve uniformity and place it onto the prepared baking sheet.
Importance of Flattening and Sealing the Dough Around the Filling
Flattening the dough serves multiple purposes. First, it allows for easier encapsulation of the cinnamon-sugar filling, which not only enhances the flavor but also creates a gooey center that contrasts beautifully with the soft, baked exterior. Sealing the dough properly prevents any filling from escaping during the baking process, ensuring that each bite delivers that delightful surprise. This method holds true for various cookies that require a filling, where dough integrity is essential for successful outcomes.
How to Ensure the Cookies Maintain Their Shape While Baking
To maintain the shape of your cookies during baking, the key is in the temperature of your butter and the dough. Ensure that your butter is softened but not melted, as overly warm dough can spread too much. This technique helps keep the cookies thick and chewy rather than flat and crispy. Additionally, spacing the cookies evenly on the baking sheet allows air to circulate, aiding in even baking and shape retention. Another useful tip is to chill the shaped cookie dough balls for about 15 minutes in the refrigerator before baking; this further helps them hold their shape.
Variations in Shaping for Unique Cookie Designs
If you want to explore different shapes for a creative touch, consider using cookie cutters instead. After flattening the dough, you can roll it out on a lightly floured surface and cut out various festive shapes. Just remember to ensure that the filling is adequately contained within these shapes for baking success. Alternatively, you can press the dough into a flat square before adding the filling, rolling it up like a traditional cinnamon roll, and then slicing it into rounds. This method results in cookies that resemble mini cinnamon rolls, enhancing visual appeal while maintaining the taste integrity.
Optimal Baking Temperature and Time for Perfect Results
The best temperature for baking your cinnamon roll cookies is set at 350°F (175°C), as indicated in the recipe. This moderate temperature allows the cookies to bake evenly while preventing them from browning too quickly. Bake them for 10-12 minutes until the edges are just lightly golden. It’s essential to keep an eye on them during the last few minutes to avoid overbaking, as cookies can go from perfectly done to too hard in an instant.
Signs That Cookies Are Ready to Be Taken Out of the Oven
Knowing when your cookies are ready is crucial for achieving the right texture. A good indication is the color of the edges; they should be a light golden brown. Additionally, the surface may appear slightly puffy before settling as they cool. If the cookies feel soft to the touch but hold their shape, it’s usually a sign they are done. Remember, the cookies will continue to bake slightly even after being removed from the oven due to residual heat.
Cooling the Cookies: Recommended Time and Techniques
Allow the cookies to cool on the baking sheet for about 5 minutes before transferring them to a wire rack. This initial cooling period helps them set without losing their shape. After this time, moving the cookies to a wire rack allows air to circulate, which cools them down evenly and prevents sogginess from steam. The wire rack is particularly beneficial in maintaining their soft texture and freshness.
Benefits of Transferring Cookies to a Wire Rack
Transferring cookies to a wire rack is a crucial step in the baking process. It prevents moisture buildup, which can make cookies soggy. Additionally, this method promotes even cooling, allowing the cookies to firm up appropriately while maintaining their chewy center. Cookies left on the baking sheet can continue to bake slightly from the residual heat, potentially causing them to become dry.
Step-by-Step Instructions for Making the Icing
Creating the icing for the cookies is straightforward yet impactful. Start by sifting the powdered sugar to eliminate any lumps. In a small bowl, combine 1 cup of powdered sugar with 2 tablespoons of milk and ½ teaspoon of vanilla extract. Whisk vigorously until the mixture becomes smooth and glossy. If the icing is too thick, you can add a small amount of milk, one teaspoon at a time, until reaching a pourable consistency.
Proper Proportions for a Pourable Consistency
Achieving the perfect icing consistency is crucial for even coverage on your cookies. The general ratio of powdered sugar to milk is approximately 4:1 for a pourable yet thick consistency. Adjusting the amounts slightly depending on your preference for thickness is acceptable, but remember that too much liquid will turn your icing runny, while too little will make it difficult to drizzle.
Tips for Achieving Smooth Icing Without Lumps
To avoid lumps in your icing, sifting your powdered sugar before mixing is essential. Additionally, whisking the ingredients together thoroughly will help incorporate air, leading to a smoother texture. Using a hand mixer can also assist in achieving a lump-free icing.
Techniques for Drizzling Icing on Cookies
To drizzle icing effectively, consider using a spoon for control. Alternatively, you may use a zip-top bag with a small hole cut in one corner to create a more precise design. Holding the bag above the cookie, gently squeeze to create a drizzle pattern. The icing should flow smoothly but can be adjusted with a little less pressure for thinner lines.
Consideration of Timing for Maximum Impact and Presentation
Timing is essential when drizzling icing. Ideally, you should wait until the cookies have cooled but are still slightly warm, as this will help the icing melt into the surface and create a glossy finish. This technique enhances presentation and improves integration of flavor.
Creative Ideas for Decorating the Cookies Post-Icing
To elevate the presentation of your cookies, consider sprinkling a touch of cinnamon over the icing before it sets, adding visual appeal and enhancing the cinnamon flavor. Other options include using chopped nuts, edible glitter, or mini chocolate chips for an added touch of texture and sweetness.
Suggestions for Visually Appealing Displays
When presenting your cookies, arrange them on an elegant platter or tiered serving stand for maximum visual impact. Incorporating small decorative elements such as fresh flowers or seasonal decorations can further enhance the display. Additionally, colocating your cookies with complementary treats, such as cinnamon sticks or apple slices, can create a festive, inviting atmosphere.
Using Decorative Platters and Adding Cinnamon as a Garnish
Utilizing decorative platters can elevate the overall presentation of your cookies. Simple white or patterned platters can help showcase the cookies. For an additional touch, sprinkle a light dusting of ground cinnamon over the top of the icing for both a visual and flavor boost.
Best Practices for Storing Leftover Cookies
For optimal freshness, store your leftover cookies in an airtight container at room temperature. This method helps retain moisture, preserving their chewy and soft texture. If storing for an extended period, consider refrigerating them, but let them come to room temperature before consuming for the best experience.
Recommended Airtight Containers and Storage Duration for Freshness
Glass or plastic containers with secure seals are ideal for storage. Typically, the cookies can stay fresh for about 4-5 days, depending on the environment. If you need to keep them for longer, freeze them in freezer-safe bags or containers, where they can last for up to 2 months.
Tips on Reheating Cookies to Maintain Softness
To retain the softness of the cookies while reheating, place them in an oven preheated to 350°F (175°C) for around 5-7 minutes. Alternatively, you can microwave individual cookies for about 10-15 seconds. This quick heat method allows the butter to soften and the filling to become gooey again.
Description of the Taste Experience of Cinnamon Roll Cookies
The blend of flavors in cinnamon roll cookies is truly delightful, combining warm cinnamon, nutty brown sugar, and creamy butter. Each bite offers a harmonious balance, with the sweetness moderated by the spiced richness of cinnamon, creating a flavor profile reminiscent of traditional cinnamon rolls.
The Balance of Sweetness and Spicy Warmth
These cookies embody a delicate balance; while memorable and sweet, the cinnamon adds warmth and depth, ensuring they are not overly sugary. This quality makes them versatile – suitable for desserts or even paired with milder snacks.
Texture Contrast: Soft Cookie with a Gooey Center
The ultimate texture experience comes from the combination of a soft cookie exterior enveloping a deliciously gooey center filled with cinnamon-sugar goodness. The contrast between the chewy cookie and soft filling adds an exciting mouthfeel that sets these cookies apart from standard baked goods.
How These Cookies Compare to Traditional Cinnamon Rolls
While traditional cinnamon rolls are typically soft and fluffy, these cookies are a creative spin that encapsulates the flavor profile in a more bite-sized form. They are easier to make and require less time, making them accessible for those looking for a quick, delicious treat while sacrificing none of the comforting flavors one expects from cinnamon rolls.
Overview of General Nutritional Content Per Serving
Though specific nutritional statistics require additional details not provided, cinnamon roll cookies generally contain moderate levels of sugars and fats due to the sugars, butter, and flour used. They can be a treat to enjoy in moderation, especially for those seeking a satisfying sweet option.
Discussion of Potential Allergens and Modifications for Dietary Needs
For those with dietary restrictions, these cookies contain gluten and dairy, both common allergens. Modifications for gluten-free cookies can be made using a suitable flour substitute, and for dairy-free options, consider replacing butter with a plant-based alternative. However, these substitutions may alter the texture and flavor slightly.
In conclusion, these cinnamon roll cookies offer a delightful blend of soft texture and warm spices, delivering the cherished flavors of cinnamon rolls in an accessible, bite-sized format. Their ease of preparation makes them a quick treat suitable for various occasions, whether enjoyed at home or shared with friends.

The Ultimate Cinnamon Roll Cookies Recipe
Ingredients
- 2 ½ cups all-purpose flour
- 1 teaspoon baking soda
- 1 teaspoon baking powder
- ½ teaspoon salt
- 1 teaspoon ground cinnamon
- ¾ cup unsalted butter softened
- 1 cup packed brown sugar
- ½ cup granulated sugar
- 1 large egg
- 1 teaspoon vanilla extract
- 1 cup powdered sugar for icing
- 2 tablespoons milk for icing
- ½ teaspoon vanilla extract for icing
Instructions
- Preheat your oven to 350°F (175°C) and line a baking sheet with parchment paper.
- In a medium bowl, whisk together flour, baking soda, baking powder, salt, and cinnamon.
- In a large bowl, cream together butter, brown sugar, and granulated sugar until light and fluffy.
- Add the egg and vanilla extract, mixing until smooth.
- Fold the dry ingredients into the wet ingredients until just combined.
- Mix cinnamon and granulated sugar for the filling in a small bowl.
- Take 2 tablespoons of dough, flatten it, place 1 teaspoon of filling in the center, and seal it.
- Roll the dough into a ball and place it on the baking sheet.
- Bake for 10-12 minutes until edges are lightly golden, then cool on a wire rack.
- Whisk together icing ingredients and drizzle over cooled cookies.