
Introduction
In the realm of desserts, gluten-free options have become incredibly important as more people seek delicious treats that cater to their dietary needs. Among these beloved sweets are peanut butter cookies, which hold a special place in the hearts of many, especially within American cuisine. Their rich and nutty flavor, coupled with a delightful chewy texture, makes them an all-time favorite. Whether you are hosting a gathering, seeking a quick snack for the family, or preparing a special treat for yourself, these gluten-free peanut butter cookies are a fantastic choice.
What sets this recipe apart is not only its scrumptious taste but also its simplicity and speed. With just a handful of basic ingredients that you likely already have in your pantry, you can whip up a batch of heavenly cookies in no time. This makes it an ideal recipe for both seasoned bakers and novices looking to explore the world of gluten-free baking. The result is a delightful treat that perfectly balances the richness of peanut butter with just the right amount of sweetness.
Recipe Overview
– Prep Time: 10 minutes
– Cook Time: 12 minutes
– Total Time: 22 minutes
– Course: Dessert
– Cuisine: American
– Servings: Makes approximately 12 cookies
– Calories: ~100 per cookie
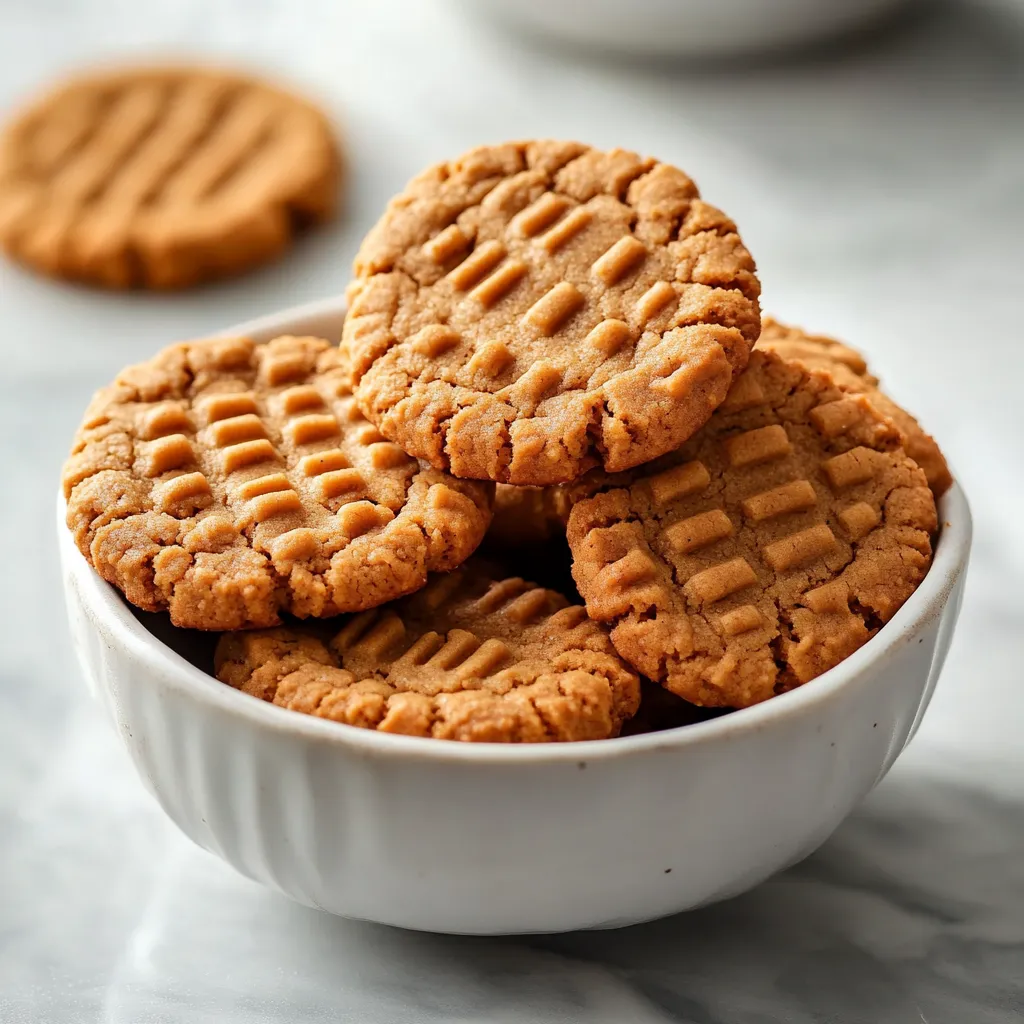
These gluten-free peanut butter cookies offer a delightful burst of flavor and texture that is hard to resist. Each bite is filled with the creamy richness of natural peanut butter, complemented by the sweetness of packed brown sugar. The cookies have a wonderfully soft interior with a slightly crispy edge, creating a delightful contrast that keeps you reaching for just one more.
One of the standout features of this recipe is its gluten-free nature, making it accessible to a wider range of cookie lovers. Peanut butter has long been a staple in American kitchens and for good reason; it adds depth, nutrition, and a satisfying flavor that pairs wonderfully with sweetener and a touch of vanilla. This classic combo is what makes these cookies irresistible.
Ingredients
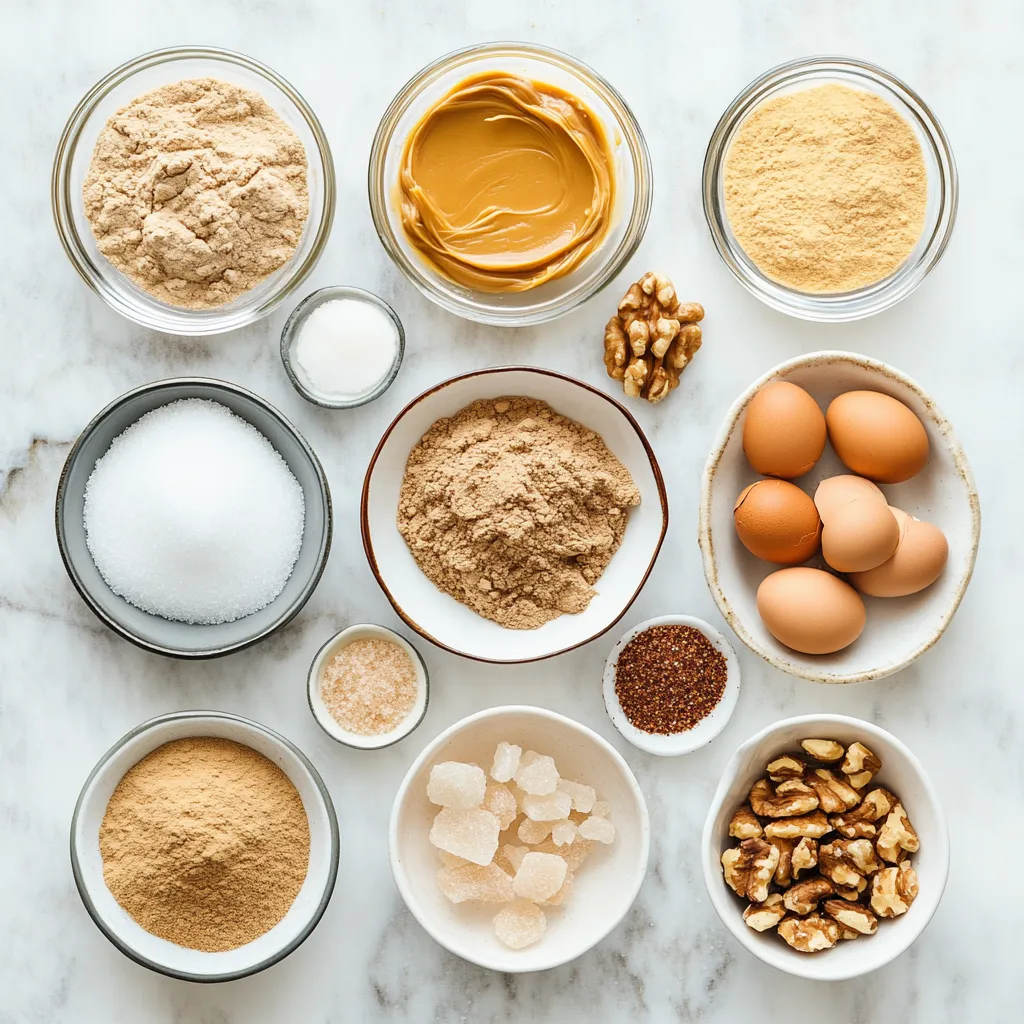
– 1 cup natural peanut butter (smooth or crunchy based on preference)
– 1 cup packed brown sugar (light or dark)
– 1 large egg (room temperature)
– 1 teaspoon pure vanilla extract
– 1/2 teaspoon baking soda
– 1/4 teaspoon fine sea salt
To craft these delightful cookies, you’ll want to gather a few key ingredients. The star of the show, of course, is natural peanut butter. You can choose between smooth for a uniform texture or crunchy for those extra little bursts of nutty goodness. Next up is packed brown sugar, which brings a rich, caramel-like sweetness to the cookies. The choice between light or dark brown sugar impacts the flavor and color slightly, but either works beautifully in this recipe.
It’s crucial to use a large egg that is room temperature, as this will blend more evenly into the mixture and contribute to the right consistency for your cookie dough. Pure vanilla extract is your secret weapon here – it will enhance the overall flavor profile and bring everything together, elevating the sweetness into something truly magical. Baking soda serves as a leavening agent, giving the cookies the perfect texture as they bake. Lastly, fine sea salt is added not only for flavor but also to balance the sweetness of the sugar, making every bite taste just right.
Instructions
1. Begin by preheating your oven to 350°F (175°C). Line a baking sheet with parchment paper to prevent sticking and ensure easy cleanup.
2. In a spacious mixing bowl, combine the natural peanut butter and packed brown sugar. Mix them together until the mixture is smooth and creamy.
3. Add in the egg, pure vanilla extract, baking soda, and fine sea salt. Stir the ingredients together until you achieve a well-blended dough.
4. Using a tablespoon, scoop out portions of the dough and roll them into balls with your hands, ensuring each ball is uniform in size.
5. Arrange the dough balls on the prepared baking sheet, making sure to leave about 2 inches of space between each cookie for spreading.
6. Gently flatten each dough ball with the tines of a fork, creating a charming crisscross pattern on top of each cookie.
7. Place the baking sheet in the preheated oven and bake for 10-12 minutes, or until the edges of the cookies turn a lovely golden brown.
8. Once baked, remove the cookies from the oven and allow them to cool on the baking sheet for about 5 minutes. Afterward, transfer them to a wire rack to cool completely.
The first step in creating your cookies is to preheat your oven to 350°F (175°C). This ensures that when the cookies are ready to bake, they will cook evenly and come out perfectly golden brown. Lining your baking sheet with parchment paper is not just a clever way to avoid sticky messes; it also helps the cookies bake uniformly.
When mixing the natural peanut butter and brown sugar, take your time to blend until the mixture is impeccably smooth and creamy. Getting the right texture here is crucial for achieving the optimal chewiness in your cookies. Adding the egg, vanilla extract, baking soda, and salt is the next step, where flavors start coming together, and the dough takes shape.
Portioning out your dough using a tablespoon allows for consistency in size, ensuring all cookies bake at the same rate. As you roll them into balls, the warmth of your hands helps to create a cohesive dough. Leaving adequate space between the cookie balls on the baking sheet is essential; they will expand as they bake.
Creating the classic fork crisscross on the cookies not only helps to flatten them for even baking but also adds an appealing visual touch. After placing your Cookies into the oven, the magic begins! Enjoy the rich aroma of freshly baking cookies wafting through your kitchen as you count down to treat time.
Stay tuned for the next segments where we dive deeper into the cooking tools and equipment necessary for the creation of these delightful peanut butter cookies, as well as a thorough breakdown of the preparation steps and baking process that will help you master this easy gluten-free recipe.
Signs to look for when cookies are ready
When baking cookies, particularly peanut butter cookies, it’s essential to know when they’re perfectly baked. The primary sign to look for is the edges of the cookies. They should turn a lovely golden brown while the centers might look slightly soft. This contrast indicates that the cookies are done baking but haven’t been overcooked, preserving their chewy texture. Additionally, the tops may crack slightly, which is another indicator that your cookies are cooked through.
Recommended baking times and temperature
For this delightful gluten-free peanut butter cookie recipe, the baking temperature is set at 350°F (175°C). This temperature ensures an even baking process, allowing the cookies to rise and spread without burning. Keep an eye on your cookies during the final minutes of baking. The ideal baking time is between 10 and 12 minutes. If you prefer a softer cookie, start checking around the 10-minute mark, whereas for a firmer texture, allowing them to bake the full 12 minutes is best.
Cooling and Serving
Importance of cooling time before serving
Cooling time is a crucial step that should not be overlooked when baking cookies. Allowing your cookies to cool down properly enhances their flavor and texture. If you try to serve them right away, they may be too soft and crumbly, making them difficult to handle and enjoy. When cooled adequately, cookies will firm up a bit and maintain their chewy center while achieving a perfect indulgence.
Cooling on the baking sheet vs. wire rack benefits
Once the cookies are out of the oven, you have two options for cooling—on the baking sheet or transferring them to a wire rack. Cooling cookies directly on the baking sheet for about 5 minutes allows them to set while retaining some moisture. Afterward, transferring them to a wire rack promotes air circulation, ensuring the cookies cool uniformly from all sides. Using a wire rack can help prevent sogginess, especially if creaminess is your goal, as it keeps the cookies elevated and allows extra steam to escape.
Visual cues for perfectly baked cookies
In addition to the golden edges and slight cracking mentioned earlier, you can look for several visual cues to gauge the doneness of your cookies. The surface should appear slightly shiny when you take them out. As they cool, you’ll notice they darken a bit more, providing that irresistible, inviting look that makes these cookies utterly delectable. The balance of visual appeal is crucial, ensuring each cookie is not just tasty but also beautiful to present.
Optional Presentation Tips
Creative serving suggestions to enhance dessert experience
Presentation matters, especially when you want your dessert to stand out. For these gluten-free peanut butter cookies, consider dusting them with powdered sugar for an elegant finish. This simple addition elevates the cookies from ordinary to something special that can impress your guests.
Dusting with powdered sugar
Lightly dusting your cooled cookies with powdered sugar not only adds a touch of sweetness but also enhances the visual appeal. Use a fine mesh sieve to sprinkle the sugar evenly over the cookies. This will give them a professional bakery look and motivate anyone who sees them to want to indulge.
Chocolate or caramel sauce pairings
Another delightful way to serve these cookies is by pairing them with a small bowl of chocolate or caramel sauce for dipping. The rich flavors of chocolate or the smooth sweetness of caramel complement the nutty taste of the peanut butter quite well. Place a scoop of the sauce on a serving plate alongside the cookies, inviting everyone to dip as they please, creating a fun, interactive dessert experience.
Decorative plate arrangements for an inviting display
When arranging your cookies, consider using a decorative plate to enhance the display. A simple white plate can serve as a classic backdrop, letting the cookies be the stars of the show. Alternatively, you can use a vibrant, patterned plate that contrasts the color of the cookies for a visually striking arrangement. Stack a few cookies in a pyramid shape or place them in a circle with the sauce in the center to make a delicious centerpiece.
Nutritional Information
Summary of nutritional aspects of the cookies
These gluten-free peanut butter cookies not only tantalize with their flavor but also offer nutritional benefits. Each cookie contains approximately 100 calories, making them a relatively guilt-free indulgence. The key ingredients provide various nutrients, contributing to both flavor and health.
Breakdown of calories per cookie
With a serving size designed to yield approximately 12 cookies, consuming one cookie amounts to around 100 calories. This breakdown makes it easy to enjoy a treat while keeping track of your daily caloric intake. The balance of protein and fats from the peanut butter, alongside natural sugars from the brown sugar, results in a satisfying snack.
Nutritional benefits of peanut butter and brown sugar
Peanut butter is not just delicious; it’s rich in protein, healthy fats, and essential vitamins and minerals such as magnesium and potassium. These nutrients are beneficial for maintaining energy levels and supporting overall health. Brown sugar, while primarily known as a sweetener, contains some minerals and can provide a slightly different flavor profile than white sugar, making it a better choice for these cookies.
Storage and Shelf Life
Best practices for storing leftover cookies
Storing your gluten-free peanut butter cookies correctly can help prolong their freshness, allowing you to savor them longer. Make sure to let your cookies cool completely before putting them away; this minimizes the risk of moisture buildup, which can lead to a stale texture over time.
Recommended storage containers
For the best preservation, use an airtight container to store your cookies. Keep them at room temperature in a container lined with parchment paper to absorb any excess moisture. This will help maintain their chewy texture and keep them from becoming gummy or hard.
How to maintain freshness and avoid staleness
If you anticipate not consuming the cookies within a few days, consider freezing them. Place the cooled cookies in a single layer on a baking sheet and freeze until firm. Once firm, transfer them to a freezer-safe zip-top bag or airtight container. Properly stored, they can last for up to three months, ensuring you have a delightful treat ready whenever the craving strikes.
Variations and Add-Ins
Suggestions for ingredient modifications
While this recipe is perfectly delicious as-is, experimenting with different ingredients can lead to exciting new flavors and textures. If you want to customize your cookies, consider using a different type of nut butter, such as almond or cashew butter, for a unique taste twist.
Using different nut butters or sweeteners
Besides experimenting with various nut butters, switching up the sweeteners can also contribute to a different flavor profile. Coconut sugar or maple syrup can be used as alternatives to brown sugar, each bringing its unique taste. Keep in mind that these adjustments may affect the overall texture, so slight modifications may be needed.
Potential mix-ins
For those who enjoy adding a little extra richness, consider incorporating mix-ins such as semi-sweet chocolate chips or chopped nuts. You could fold in a half cup of chocolate chips into the dough for a double treat, or add some crushed walnuts for a bit of crunch. These minor additions will enhance the flavor and turn your simple cookies into a gourmet experience.
Flavor enhancements
Another way to elevate these cookies is by incorporating flavor enhancements like a teaspoon of cinnamon or a tablespoon of cocoa powder. Both options add depth and complexity to the already indulgent taste, enticing chocolate lovers and spice enthusiasts alike.
Baking Tips for Success
Expert advice on avoiding common baking mishaps
Baking can sometimes be a tricky endeavor. To ensure successful cookies every time, measure ingredients accurately, level off dry ingredients, and use room-temperature eggs for smooth incorporation. It’s also wise to check your oven temperature with an oven thermometer, as sometimes household ovens can be off, resulting in inconsistent baking.
Adjustments for humidity and temperature variations
Be mindful of the weather when baking. Humidity levels can affect the dough’s consistency, so if you live in a particularly humid area, you may need to add a bit more flour or reduce the liquid slightly. Conversely, during dry weather, the dough may require a bit more moisture to avoid crumbling.
Testing the dough consistency
Before baking, a quick test of the dough can help prevent over or under-baking. If the dough is too sticky, add a little more peanut butter or sugar until it reaches a manageable and thick consistency. This will help the cookies hold their shape better during baking.
Tips for baking in small batches
If you want to modify the recipe to make a smaller batch, remember the importance of ingredient ratios. Adjust accordingly, ensuring that you maintain the same proportions to achieve the desired cookie texture. Smaller batches can also cut down on baking time, so keep an eye on them as they bake.
Conclusion
This simple gluten-free peanut butter cookie recipe offers a delightful blend of flavors and textures, perfect for dessert lovers. With a quick prep and bake time, you can enjoy a delicious treat in just 22 minutes, making it a fantastic option for busy days. Each cookie, around 100 calories, is rich in taste and satisfying to indulge in.

Delightfully Simple Gluten-Free Peanut Butter Cookies
Ingredients
- 1 cup natural peanut butter
- 1 cup packed brown sugar
- 1 large egg
- 1 teaspoon pure vanilla extract
- ½ teaspoon baking soda
- ¼ teaspoon fine sea salt
Instructions
- Preheat your oven to 350°F (175°C) and line a baking sheet with parchment paper.
- In a mixing bowl, combine the peanut butter and brown sugar until smooth.
- Add the egg, vanilla extract, baking soda, and sea salt, and mix until well blended.
- Scoop out portions of dough and roll into uniform balls.
- Place the dough balls on the baking sheet, leaving space between each.
- Flatten each ball with a fork to create a crisscross pattern.
- Bake for 10-12 minutes until the edges are golden brown.
- Allow cookies to cool on the baking sheet for 5 minutes before transferring to a wire rack.