
Introduction
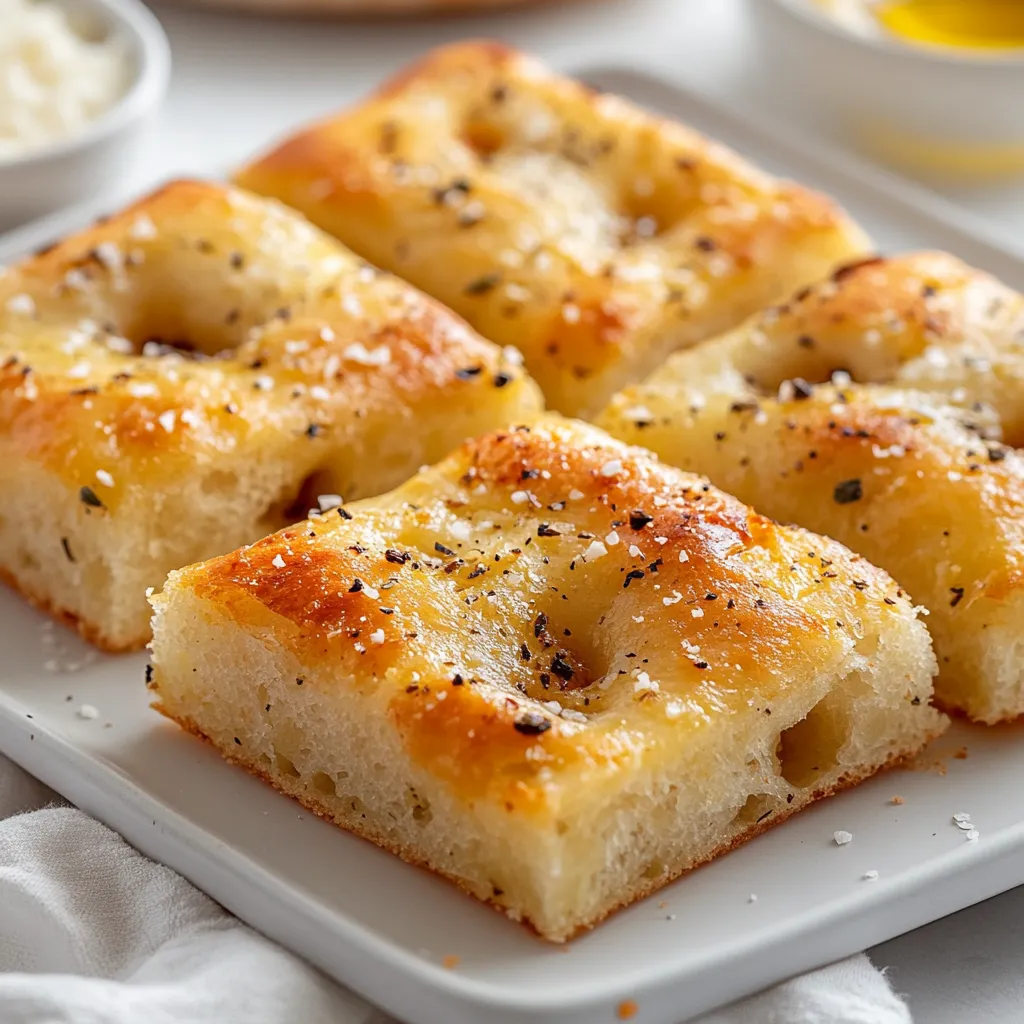
The magic of homemade bread is something that cannot be replicated, and garlic Parmesan focaccia bread stands out as a delightful experience. This aromatic and flavorful bread offers a perfect blend of crispy edges and a soft, pillowy interior, making it a fantastic addition to various meals. Whether you are serving it as a side with pasta or enjoying it as part of an appetizer board, this focaccia is sure to impress your family and friends.
This garlic Parmesan focaccia is not only delicious but also surprisingly easy to prepare. The enchanting scent of garlic combined with the richness of Parmesan cheese creates an irresistible allure that fills your kitchen with warmth. Perfect for gatherings, potlucks, or just a cozy night in, this bread is a delightful way to add homemade flair to your dining experience.
Recipe Overview
– Total Time: 2 hours 30 minutes
– Yield/Servings: 12 servings
– Difficulty: Not specified in the recipe
Ingredients
– 4 cups all-purpose flour
– 1 packet (2 1/4 tsp) instant yeast
– 2 teaspoons salt
– 1 1/2 cups warm water (approximately 110°F)
– 1/4 cup olive oil (plus additional for drizzling)
– 1 tablespoon sugar
– 4-5 cloves garlic, minced
– 1/2 cup grated Parmesan cheese
– 2 tablespoons fresh rosemary, finely chopped (or 1 tablespoon dried)
– Coarse sea salt, for sprinkling

Instructions
1. In a large mixing bowl, combine the warm water, sugar, and instant yeast. Allow the mixture to sit for about 5-10 minutes until it becomes frothy, indicating that the yeast is activated.
2. Add the all-purpose flour, salt, and 1/4 cup of olive oil into the yeast mixture. Stir until a shaggy dough begins to form.
3. Transfer the dough to a lightly floured surface and knead for about 5-7 minutes until it is smooth and elastic. Alternatively, you can utilize a stand mixer fitted with a dough hook for this process.
4. Shape the kneaded dough into a ball and place it in a greased bowl. Cover the bowl with a damp cloth and let it rise in a warm area for approximately 1-2 hours, or until the dough has doubled in size.
5. Preheat your oven to 425°F (220°C).
6. Once the dough has completed its rise, punch it down gently to release any air bubbles. Transfer it to a greased baking sheet or a 9×13 inch baking pan. Use your fingers to stretch and press the dough to fit the pan.
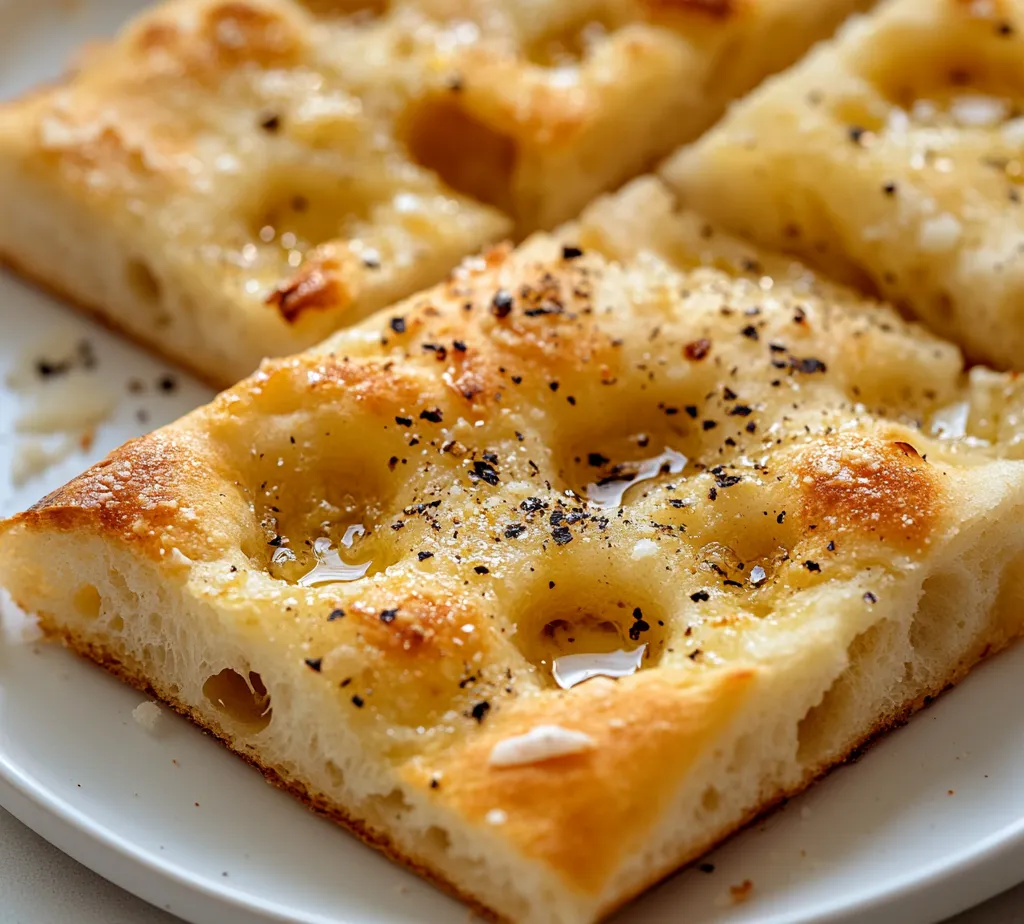
7. With your fingertips, create dimples all over the surface of the dough. Drizzle olive oil generously over the top, then evenly distribute the minced garlic, chopped rosemary, and grated Parmesan cheese.
8. Finish by sprinkling coarse sea salt over the surface for added flavor.
9. Allow the dough to rest for another 20-30 minutes while the oven continues to preheat, giving it time to puff up slightly.
10. Bake in the preheated oven for 20-25 minutes, or until the focaccia achieves a golden brown color and sounds hollow when tapped on the bottom.
11. Remove the focaccia from the oven and let it cool slightly. Slice into squares and serve warm for the best experience.
Activating the Yeast
The activation of yeast is a critical step in bread-making, determining the texture and rise of the final product. In this recipe, the combination of warm water, sugar, and instant yeast should be allowed to sit for about 5-10 minutes. Watch for a frothy appearance in the mixture, which indicates that the yeast is alive and ready to work. If the yeast does not foam, it may be expired or the water temperature could be incorrect.
Mixing the Dough
When you incorporate the all-purpose flour, salt, and olive oil into the activated yeast mixture, you’ll notice the formation of a shaggy dough. This is the point where all the ingredients come together, and it is essential to mix them thoroughly to ensure even distribution. Stir until there are no dry flour patches left. You should aim for a dough that is slightly sticky but not overly wet, which provides the ideal environment for kneading.
Kneading Techniques
Kneading is fundamental for developing gluten, which provides structure and texture to the bread. If you knead by hand, work the dough on a lightly floured surface for about 5-7 minutes until it becomes smooth and elastic. Ensure you fold, push, and turn the dough, giving it a thorough workout. If you opt for a stand mixer, equip it with a dough hook and mix on medium speed until the desired consistency is achieved. You should end up with a soft, elastic dough that feels slightly tacky but pulls away from your hands easily.
First Rise
After kneading, shape the dough into a ball and place it in a greased bowl, covering it with a damp cloth. The warmth is crucial in this step since it encourages the yeast to ferment and helps the dough to rise. Ideally, you should find a spot that is draft-free and warm, such as an oven with only the light on or a sunny countertop. The rise time can vary, but you’ll know it’s ready when the dough has approximately doubled in size, which generally takes about 1-2 hours.
Transferring to the Baking Sheet
After your dough has risen, it’s time to shape it for the oven. Gently punch down the dough to release trapped air bubbles, then transfer it to a greased baking sheet or a 9×13 inch baking pan. It’s important to gently stretch and press the dough into the pan, ensuring it reaches the edges without tearing. This shaping will help create an even cooking surface for the focaccia.
The joy of making focaccia is in its versatility; you can create different textures and flavors by varying the toppings and oils, giving you the freedom to experiment while using this base recipe as your guide.
Creating Dimples
Creating dimples in focaccia is more than just an aesthetic touch; it plays a crucial role in determining the texture of the final bread. To effectively make dimples, use the tips of your fingers to press into the surface of the dough gently but firmly. The goal is to create shallow wells without tearing the dough. This technique helps trap olive oil and enhances moisture during baking, leading to a deliciously soft interior while the outer crust remains crisp.
The dimples also serve an additional purpose by allowing the toppings, such as garlic and herbs, to settle into the dough, infusing it with flavor. Adequate dimpling will ensure that each bite is pleasantly punctuated with the savory notes of garlic and the richness of olive oil.
Adding Toppings
When it comes to topping your focaccia, even distribution is key to achieving a balanced flavor in every slice. Start by drizzling a generous amount of olive oil across the surface. Then, strategically scatter your minced garlic, ensuring that it reaches all corners of the dough. For the rosemary and Parmesan, consider layering them in parts: sprinkle some before baking and add additional cheese just a few minutes before the focaccia is finished to create a melted, gooey topping.
Taking care to layer your toppings also enhances the depth of flavor; the first layer will infuse into the dough, while additional additions near the end of the baking time will create a delightful crunchy texture.
The Final Rise
The second resting period, also known as the final rise, is pivotal for the dough’s flavor development and texture. This crucial step allows the gluten structure to relax and can enhance the overall airiness of the focaccia. Letting it rest, covered, for 20-30 minutes allows the dough to puff up slightly, ensuring a light and fluffy crumb.
Timing Considerations
To gauge when the dough is ready for baking after its final rise, look for visible expansion. Typically, a good indicator is that it will have puffed up noticeably and may even feel lighter to the touch. Optimal conditions for rising include a warm, draft-free environment; if possible, placing the dough in an oven with the light on or near a warm stovetop can expedite this process.
Preheating the Oven
Preheating the oven to the specified 425°F (220°C) is vital for proper baking. The heat of a well-preheated oven ensures immediate cooking of the bread, leading to a crusty exterior while allowing the interior to remain moist and soft. Insufficiently preheated ovens can lead to dough that rises too much, resulting in a dense texture rather than the desired airy focaccia.
Baking the Focaccia
The baking process is where all preparation comes to fruition. Attention to detail during this stage can significantly impact the bread’s quality.
Monitoring the Baking Process
Keep a close eye on the focaccia as it bakes. Look for a golden brown crust, which typically indicates that the bread is done. The hollow sound when tapped on the bottom is another essential sign; it should resonate slightly, indicating that moisture levels are right and the inside is fully cooked.
Cooling Process
Once removed from the oven, it’s important to allow the focaccia to cool on a wire rack. This cooling method prevents moisture from being trapped underneath the bread, which can lead to a soggy bottom. Cooling also allows the structure to set properly, ensuring a lovely chewy texture. Ideally, let it cool for about 10-15 minutes before slicing; this short wait enhances the flavor and improves the overall mouthfeel.
Serving Suggestions
Focaccia can be enjoyed in various ways, making it versatile for many occasions.
Traditional Pairings
To enhance the focaccia experience, consider serving it alongside complementary dishes. It pairs wonderfully with a medley of olives, a selection of cured meats, or a fresh Caprese salad. A drizzle of balsamic glaze over the top will elevate the dish even further. For wine pairings, a light to medium-bodied white, such as Sauvignon Blanc or a refreshing rosé, can beautifully complement the flavors of garlic and Parmesan.
Creative Serving Ideas
For an inviting display, consider serving focaccia on a rustic wooden board with olives and a small bowl of flavored olive oil for dipping, perhaps infused with herbs or chili flakes. Focaccia also serves as an excellent base for sandwiches; you can slice it horizontally and layer with roasted vegetables, meats, or spreads for a delightful lunch option.
Storing Leftovers
Proper storage ensures that any leftover focaccia remains fresh and enjoyable.
Storage Techniques
To keep focaccia fresh, allow it to cool completely and then wrap it in plastic wrap or place it in an airtight container. Stored this way at room temperature, it can remain fresh for up to two days. If you expect not to consume it within that timeframe, refrigeration is not ideal as it can lead to dry bread. Instead, opt to freeze it.
Freezing Options
To freeze focaccia, slice it first for convenience. Wrap the slices tightly in plastic wrap, then place them in a resealable freezer bag, removing as much air as possible. Properly stored, it can last up to three months. When you’re ready to eat it, allow it to thaw in the refrigerator overnight, or for quicker results, you can leave the slices at room temperature for about an hour.
Flavor Variations
Experimenting with different flavor profiles can lead to exciting variations on classic focaccia.
Incorporating Other Herbs
Consider enhancing your focaccia with different herbs like thyme, oregano, or sage. These herbs can beautifully complement the garlic and Parmesan, adding layers of flavor. Mixing in some fresh basil or chives right before serving can also offer a delightful twist.
Adding Toppings
For those who like to explore further, consider incorporating additional toppings like olives, sun-dried tomatoes, or cheeses like feta or mozzarella. When adding extra toppings, be mindful of balancing flavors; for instance, the brininess of olives pairs well with the richness of Parmesan, but keep the overall weight of toppings in check to ensure that the focaccia remains light and airy.
Common Troubleshooting
Even with careful preparation, issues can arise when making focaccia.
Dense Bread
If your focaccia turns out dense, it may be due to insufficient kneading or an inadequate rise time. Ensure that you knead until the dough is smooth and elastic and allow it to rise in a warm spot until fully doubled in volume.
Overcooked or Undercooked
Signs of overbaking include a very hard crust or darkened edges. Adjusting the baking time based on your oven’s quirks can make a huge difference. Conversely, if undercooked, the center may appear doughy; keep a close eye towards the end of the suggested baking time to avoid this.
Conclusion
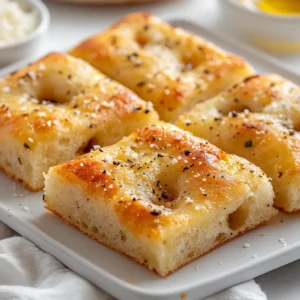
Garlic Parmesan focaccia bread combines soft, chewy texture with aromatic flavors that captivate the senses. When baked perfectly, it features a lovely golden crust and a tender crumb. The preparation process, while requiring time, rewards you with a delectable accompaniment to any meal or a delightful stand-alone snack. Enjoying it warm elevates the experience, making every bite memorable.
Garlic Parmesan Focaccia Bread Recipe
Ingredients
- 4 cups all-purpose flour
- 1 packet instant yeast
- 2 teaspoons salt
- 1 ½ cups warm water
- ¼ cup olive oil
- 1 tablespoon sugar
- 4-5 cloves garlic minced
- ½ cup grated Parmesan cheese
- 2 tablespoons fresh rosemary finely chopped
- coarse sea salt
Instructions
- Combine warm water, sugar, and instant yeast in a bowl; let sit until frothy.
- Add flour, salt, and olive oil; stir until a shaggy dough forms.
- Knead dough on a floured surface for 5-7 minutes until smooth.
- Place dough in a greased bowl, cover, and let rise for 1-2 hours until doubled.
- Preheat oven to 425°F (220°C).
- Punch down dough, transfer to a greased baking sheet, and stretch to fit.
- Create dimples in the dough, drizzle with olive oil, and top with garlic, rosemary, and Parmesan.
- Sprinkle coarse sea salt on top.
- Let dough rest for 20-30 minutes while oven preheats.
- Bake for 20-25 minutes until golden brown and hollow sounding when tapped.