
Introduction to Artisan Pizza Dough Delight
Homemade pizza is more than just a meal; it’s an experience that brings friends and family together. The joy of rolling out fresh dough and adding your favorite toppings is a culinary adventure that many cherish. The key to a remarkable pizza lies not just in the toppings but in the foundation: the crust. A great pizza dough is what transforms an ordinary pizza into an extraordinary one, providing the perfect canvas for all your culinary creations.
In this article, we will guide you through our Artisan Pizza Dough recipe, a reliable and easy-to-follow guide that will elevate your pizza-making skills. Whether you’re a novice cook or an experienced pizzaiolo, mastering this dough will allow you to create pizzas that rival your favorite pizzerias. The beauty of artisan pizza dough is not only in its flavor but also in its texture; it’s a blend of crispy and chewy that can only be achieved with the right ingredients and techniques.
Understanding the Ingredients of Artisan Pizza Dough
To appreciate the art of pizza-making, it’s essential to understand the role of each ingredient in the dough. Let’s explore the fundamental components that come together to create the perfect artisan pizza dough.
All-Purpose Flour
All-purpose flour is the backbone of our pizza dough, providing the necessary structure and body. It has a moderate protein content, which develops gluten when mixed with water and kneaded. This gluten is crucial for the dough’s flexibility and elasticity, allowing it to stretch without tearing. When choosing your flour, look for high-quality all-purpose flour, as this will significantly affect the final texture of your crust.
Fine Sea Salt
Salt is often overlooked in baking, but it plays a vital role in enhancing flavor and strengthening gluten. Fine sea salt not only brings out the natural flavors of the dough but also regulates yeast activity, preventing it from fermenting too quickly. This careful balance ensures that your dough rises properly and develops a rich, complex flavor.
Sugar
Sugar serves multiple purposes in pizza dough. It acts as food for the yeast, fueling the fermentation process that causes the dough to rise. Additionally, sugar contributes to the browning of the crust during baking, creating that beautifully golden exterior that we all love. While sugar is not the star of the show, its role is crucial for achieving the perfect balance of flavor and texture.
Active Dry Yeast
Yeast is the leavening agent that makes our dough rise. Active dry yeast is a dehydrated form of yeast that needs to be activated before use. This tiny organism consumes the sugar in the dough, releasing carbon dioxide gas, which causes the dough to expand. Understanding how to properly activate the yeast is essential for successful pizza dough, as it directly impacts the rise and texture of the final product.
Warm Water
Water is fundamental in the dough-making process, as it hydrates the flour and activates the yeast. The temperature of the water is critical; it should be warm but not hot, ideally around 110°F (43°C). This temperature helps to wake up the yeast while also ensuring that the flour absorbs enough moisture to create a pliable dough.
Olive Oil
Adding olive oil to the pizza dough not only enhances its flavor but also contributes to the tenderness of the crust. The fat in the olive oil creates a barrier that helps to keep moisture in, resulting in a softer bite. Additionally, the oil creates a slightly crispy texture on the outer layer of the crust when baked, adding an extra layer of flavor.
Cornmeal
Cornmeal is used primarily for its texture and function. Sprinkling cornmeal on your pizza stone or baking sheet helps prevent the dough from sticking, making it easier to transfer your pizza to the oven. It also adds a delightful crunch to the base of your crust, enhancing the overall eating experience.
The Science of Pizza Dough Preparation
Understanding the science behind pizza dough preparation can significantly improve your results. Each step in the process plays a crucial role in achieving the desired texture and flavor.
Activation of Yeast
The first step in making artisan pizza dough is activating the yeast. This involves mixing the yeast with warm water and a bit of sugar, allowing it to sit until it becomes frothy. This bubbling action is a sign that the yeast is alive and ready to work its magic in the dough. Properly activated yeast is essential for a good rise, so take care to ensure it’s bubbly before proceeding.
The Kneading Process
Kneading is another vital step in the pizza-making process. When you knead the dough, you are developing the gluten, which gives the dough its elasticity and strength. This process typically takes about 8-10 minutes of mixing and folding the dough until it becomes smooth and elastic. A well-kneaded dough will stretch without tearing, allowing for the perfect pizza base.
Resting and Rising Times
Once the dough is kneaded, it needs to rest and rise. This resting period allows the gluten to relax, making it easier to shape later on. The rising time is equally important, as it allows the yeast to ferment and produce carbon dioxide, resulting in a light and airy crust. A longer rise, such as an overnight cold fermentation in the refrigerator, can develop even more complex flavors in the dough.
Step-by-Step Instructions for Artisan Pizza Dough
Now that we have an understanding of the ingredients and the science behind the dough preparation, let’s dive into the step-by-step instructions for making your own artisan pizza dough.
Step 1: Activate the Yeast
1. In a small bowl, combine 1 cup of warm water (about 110°F) with 1 tablespoon of sugar.
2. Sprinkle 2 teaspoons of active dry yeast over the water and let it sit for about 5-10 minutes. You’ll know it’s ready when it becomes frothy and bubbly.
Step 2: Combine the Dry Ingredients
3. In a large mixing bowl, combine 4 cups of all-purpose flour and 2 teaspoons of fine sea salt. Whisk the dry ingredients together to ensure they are evenly mixed.
Step 3: Mix the Dough
4. Once the yeast mixture is frothy, add it to the flour mixture.
5. Drizzle in 2 tablespoons of olive oil.
6. Mix with a wooden spoon or your hands until the dough starts to come together.
Step 4: Knead the Dough
7. Transfer the dough onto a lightly floured surface and knead it for about 8-10 minutes.
8. The dough should become smooth and elastic. If it feels too sticky, sprinkle a little more flour as needed.
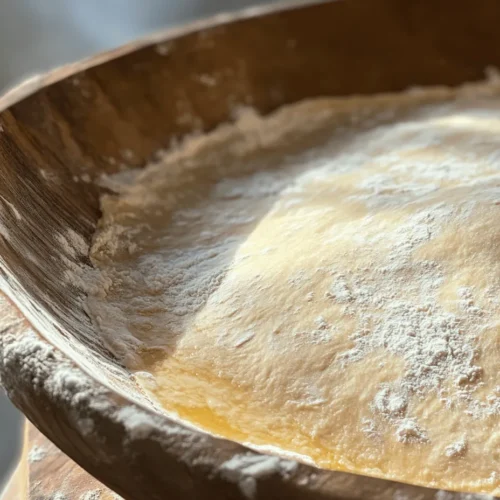
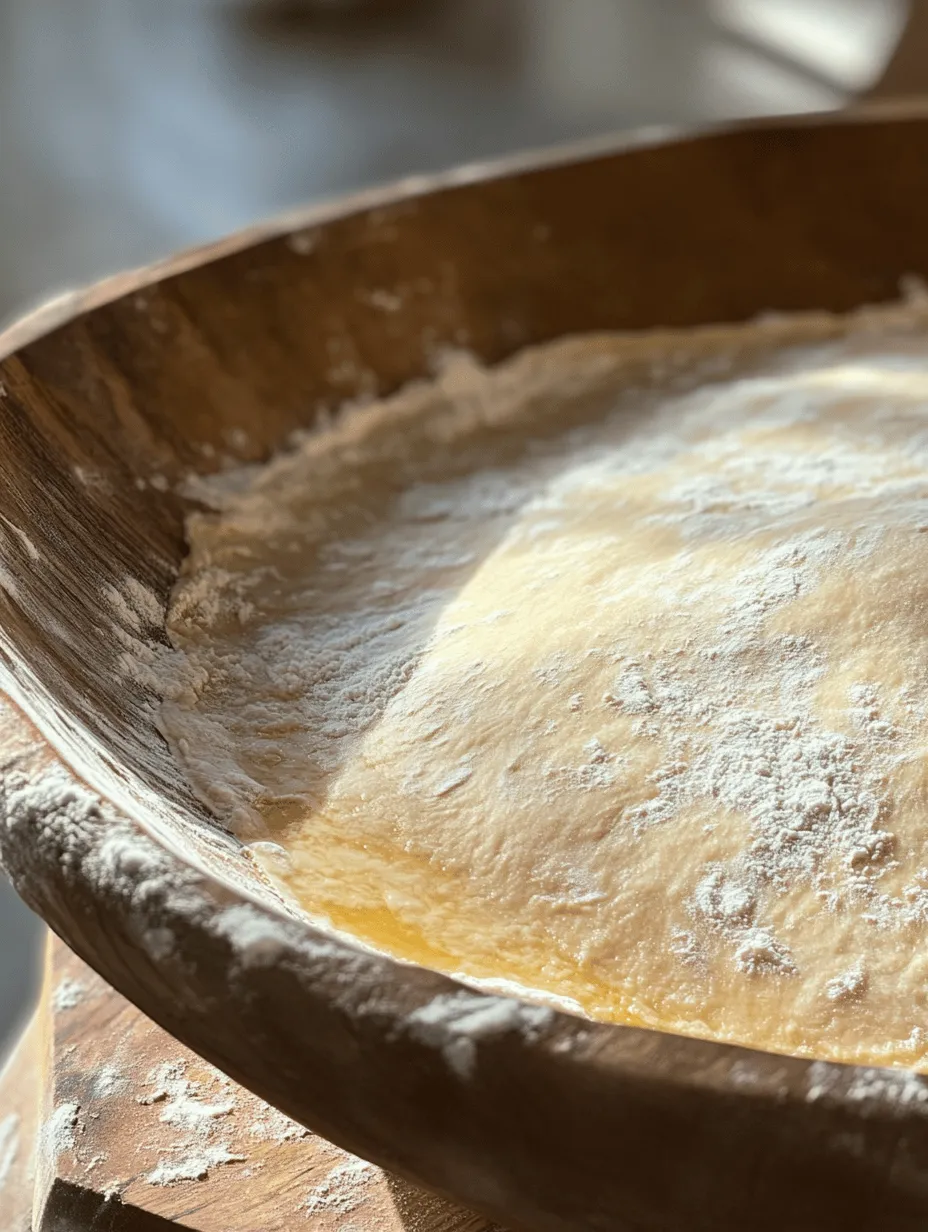
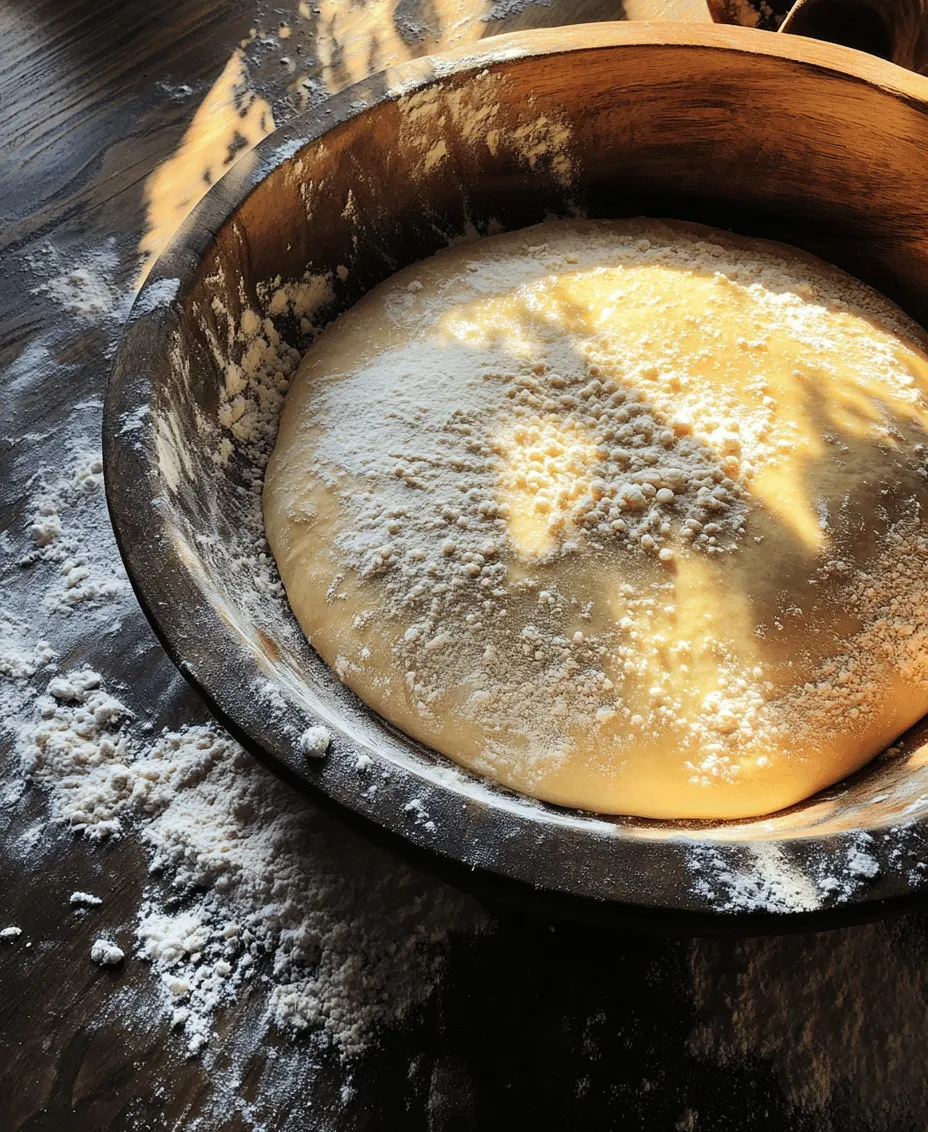
Step 5: First Rise
9. Form the kneaded dough into a ball and place it in a lightly oiled bowl.
10. Cover it with a clean kitchen towel or plastic wrap and let it rise in a warm, draft-free area for about 1 to 1.5 hours or until it has doubled in size.
By following these initial steps, you’re well on your way to creating an exceptional artisan pizza dough that will be the envy of your friends and family. Stay tuned for the next part of this article, where we will continue with further instructions and tips to ensure your pizza-making adventure is a resounding success.
Mixing Techniques to Achieve the Right Dough Consistency
Creating the perfect artisan pizza dough begins with the mixing process. The goal is to combine your ingredients in a way that ensures a smooth, elastic dough that can rise beautifully. Start by measuring your flour carefully. Use a kitchen scale for precision, as incorrect measurements can lead to a dough that is either too dry or too wet.
Begin by mixing your dry ingredients—flour, salt, and yeast—in a large bowl. If using active dry yeast, allow it to bloom in warm water for about 5-10 minutes before adding it to the flour mixture. This step ensures that the yeast is activated and ready to work its magic.
Once the dry ingredients are well combined, gradually add your wet ingredients, including water and olive oil. Use a wooden spoon or a dough whisk to combine the ingredients until they form a shaggy mass. The dough should be slightly sticky but not overly wet; if it’s too sticky, add a little extra flour, one tablespoon at a time.
Kneading Tips for Optimal Texture
Kneading is a crucial step for developing gluten, which gives your pizza dough its structure and chewiness. Once your dough comes together, transfer it to a lightly floured surface. Begin kneading by pushing the dough away from you with the heel of your hand, then folding it back over itself. Rotate the dough a quarter turn and repeat the process.
Knead the dough for about 8-10 minutes, or until it becomes smooth and elastic. You can also test the dough’s readiness using the “windowpane test”: stretch a small piece of dough between your fingers. If it stretches thin without tearing, it’s ready for the next step.
The Importance of a Warm Rising Environment
Once your dough is kneaded, it’s time to let it rise. A warm environment is essential for yeast activity, which helps the dough to rise and develop flavor. Place your kneaded dough in a lightly oiled bowl, cover it with plastic wrap or a damp cloth, and set it in a warm area. Ideal temperatures for rising are between 75°F and 85°F.
If your kitchen is cool, consider turning on your oven to its lowest setting for a few minutes, then turning it off. Place the dough inside with the oven door slightly ajar to create a warm atmosphere. Allow the dough to rise until it has doubled in size, typically about 1-2 hours.
How to Properly Shape and Rest the Dough for the Best Results
After the dough has risen, it’s time to shape it for your pizza. Punch down the dough gently to release excess gas, then divide it into portions. For personal pizzas, a 250-300g portion works well, while larger pizzas can be made with 500g or more.
When shaping the dough, use your hands rather than a rolling pin, as this retains the air bubbles created during fermentation, contributing to a lighter crust. Gently stretch the dough from the center outward, rotating it as you go. If the dough resists stretching, let it rest for a few minutes before trying again.
After shaping, let the formed dough balls rest for about 30 minutes under a damp cloth. This resting period allows the gluten to relax, making it easier to stretch and shape when you’re ready to make your pizza.
Perfecting Your Pizza Crust
One of the most exciting aspects of making artisan pizza is tailoring the crust to your preference. When it comes to thickness, you can opt for a thin, crispy crust or a thicker, chewy one. For a thin crust, roll the dough out to about 1/8 inch; for a thicker crust, aim for about 1/4 inch.
When rolling or shaping your dough, consider using a combination of your hands and a rolling pin. To achieve a crispy crust, make sure not to overload the dough with toppings, as this can lead to a soggy base. If you prefer a chewier crust, incorporate a longer fermentation time in the refrigerator, allowing the dough to develop more flavor and texture.
Tips for Achieving a Crispy Crust and How Oven Settings Affect Baking
A crispy crust is often desired in artisan pizza, and achieving this requires the right oven settings. Preheat your oven to the highest temperature possible, usually around 475°F to 500°F. If you have a pizza stone, place it in the oven while it preheats; this helps to create a crispier bottom.
Another tip is to bake your pizza on the lower rack of the oven to ensure that the crust cooks thoroughly before the toppings begin to burn. Keep an eye on the pizza as it bakes; typically, it will take about 10-15 minutes, depending on thickness and toppings.
Topping Your Artisan Pizza
Now that your dough is shaped and your oven is preheating, it’s time to explore topping options. The beauty of artisan pizza lies in the versatility of toppings. Classic combinations include Margherita with fresh mozzarella, basil, and tomato sauce, or a Pepperoni pizza with spicy slices and cheese.
For a gourmet twist, consider toppings like fig jam and goat cheese, or a white pizza with ricotta, spinach, and garlic. When selecting toppings, focus on balancing flavors and textures; for instance, pair creamy cheeses with crunchy vegetables, or sweet toppings with savory herbs.
When assembling your pizza, start with a thin layer of sauce spread evenly across the base, followed by cheese and then toppings. This layering technique ensures even cooking and prevents any one ingredient from overwhelming the others.
Baking and Enjoying Your Artisan Pizza
Before baking, ensure your oven is fully preheated, as this is critical for achieving that perfect crust. If using a pizza peel, sprinkle a little flour or cornmeal on it to prevent sticking and gently slide your pizza onto the stone or baking sheet. If you’re using a baking sheet, lightly grease it or line it with parchment paper.
To know when your pizza is done, look for a golden-brown crust and bubbling, slightly browned cheese. If you’re unsure, use an instant-read thermometer to check the internal temperature of the pizza; it should read around 200°F.
After removing your pizza from the oven, let it rest for a few minutes before slicing. This allows the cheese to set and makes cutting easier, preventing toppings from sliding off.
Conclusion: The Joy of Homemade Artisan Pizza
Crafting your own artisan pizza dough is not only rewarding but also an enjoyable culinary adventure. From mixing and kneading to selecting your favorite toppings, the entire process offers a creative outlet that is satisfying and delicious.
Making pizza at home allows you to experiment with flavors and customize your pie to suit your preferences. Whether you prefer classic combinations or adventurous toppings, the joy lies in the process and the delightful results. So gather your friends and family, roll up your sleeves, and embark on a pizza-making journey. Share your creations and inspire others to experience the bliss of homemade artisan pizza!