
Introduction
Cookies are an all-time favorite treat, celebrated for their comforting texture and irresistible flavors. They hold a special place in many hearts, making them a popular choice for various occasions—from family gatherings to cozy evenings at home. Among the myriad of cookie recipes, the Chocolate Chip Sea Salt Caramel Cookies stand out as a delightful blend of rich chocolate, sweet caramel, and a sprinkle of flaky sea salt that enhances each bite.
This recipe transcends the classic chocolate chip cookie by incorporating decadent caramel bits, offering bursts of gooey sweetness amidst the soft, chewy centers and slightly crispy edges. Whether you’re baking to satisfy a sweet tooth or seeking a perfect addition to an after-school snack platter, these cookies fit the bill. The contrast of flavors and textures will leave everyone wanting more, making them an ideal choice for celebrations, potlucks, or simply indulging during your downtime.
Recipe Overview
– Total Time: 30 minutes
– Prep Time: 15 minutes
– Bake Time: 10-12 minutes
– Yield/Servings: 24 cookies
– Difficulty: Not specified in the recipe
These Chocolate Chip Sea Salt Caramel Cookies create a delectable experience that combines the perfect chewy and crispy texture. The sweet and rich flavors of the cookie are beautifully balanced with the hint of flaky sea salt, making each bite both satisfying and delightful. They’re perfect for holiday gatherings, birthday parties, or simply as a sweet treat to share with friends and family.
Ingredients
– 2 1/4 cups all-purpose flour
– 1 teaspoon baking soda
– 1 teaspoon salt
– 1 cup unsalted butter, softened to room temperature
– 3/4 cup packed brown sugar
– 3/4 cup granulated sugar
– 1 teaspoon pure vanilla extract
– 2 large eggs, at room temperature
– 2 cups semi-sweet chocolate chips
– 1/2 cup caramel bits
– Flaky sea salt for finishing
The blend of ingredients in these cookies is intentional for achieving the best flavor and texture. Using unsalted butter ensures you can control the salt level, and incorporating pure vanilla extract enhances the overall richness. Quality semi-sweet chocolate chips add richness, while caramel bits create those gooey pockets of sweetness.
For those with dietary preferences, you may consider alternatives such as gluten-free flour blends or non-dairy butter options, although these variations require careful adjustments to maintain the cookie’s intended texture and flavor.
Preparing the Baking Sheets
Proper preparation of baking sheets is vital for cookie-making success. The process begins with preheating your oven to 350°F (175°C). This temperature ensures that the cookies bake evenly and develop a lovely golden brown color.
Before the dough can make its way onto the sheets, line them with parchment paper. This simple step reduces the risk of sticking, allowing the cookies to release easily once baked. Parchment paper also aids in achieving an even bake by providing insulation. If you find yourself without parchment paper, ensure to lightly grease the baking sheets, but avoid using too much oil as it can lead to overly greasy cookies.
Mixing Dry Ingredients
The foundation of any good cookie lies in its dry ingredients. In a medium bowl, combine 2 1/4 cups of all-purpose flour, 1 teaspoon of baking soda, and 1 teaspoon of salt. Each of these elements plays a critical role in the cookie’s structure and flavor profile.
All-purpose flour offers the necessary structure and texture, forming the body of the cookie. Proper measurement is essential here; too much flour can yield dry cookies, while too little can lead to excess spreading.
Baking soda serves as the leavening agent, creating a light texture by helping the cookies rise slightly as they bake. When combined with the acidic components like brown sugar, it activates, producing carbon dioxide bubbles that make the cookies fluffy.
Salt, often overlooked, is crucial for flavor enhancement. It balances the sweetness and elevates the overall taste of the cookie, creating a more complex and satisfying flavor profile.
Mixing these dry ingredients thoroughly is important. Whisk them together until evenly combined—an effective way to avoid clumps that could prevent the even distribution of ingredient flavors in your cookie dough.
Creaming Butter and Sugars
One of the most critical phases in the cookie-making process is the creaming of the butter and sugars. Start with 1 cup of softened unsalted butter, ensuring it reaches room temperature for optimal mixing. This helps in achieving a light, airy mixture.
In a large mixing bowl, combine the softened butter with 3/4 cup of packed brown sugar and 3/4 cup of granulated sugar. Using an electric mixer, beat the ingredients together for about 2-3 minutes. The goal here is to create a creamy, fluffy blend where the sugars incorporate air into the butter, resulting in a texture that will yield tender cookies.
The right consistency will be pale in color and somewhat fluffy. This step is crucial; it sets the groundwork for a cookie that has the appropriate rise and counteracts any heaviness from the added moist ingredients later on.
Incorporating Wet Ingredients
Once your butter and sugars have been creamed to perfection, it’s time to incorporate the wet ingredients. Begin by adding 1 teaspoon of pure vanilla extract to the mixture, followed by 2 large eggs, adding each one individually and mixing thoroughly after each addition. This method ensures a properly emulsified mixture.
Using room temperature eggs is important, as they blend into the batter more easily compared to cold eggs, contributing to a smooth and cohesive dough. This incorporation method helps to avoid a curdled appearance, resulting in a beautifully uniform texture in your cookie dough.
Mix until just combined—overmixing at this stage can lead to dense, tough cookies due to the development of gluten in the flour, which we want to avoid. The mixture should be thoroughly incorporated, yet still light and airy, ready to embrace the dry ingredients and chocolatey goodness to come.
Combining Dry and Wet Ingredients
The final step in this section is to combine your carefully prepared dry ingredients with the wet mixture. Gradually add the flour mixture to the creamed butter and sugar blend, folding gently until just combined. This step should be approached with care, as you do not want to overmix; excess mixing will develop the gluten too much, resulting in cookies that are tough instead of tender.
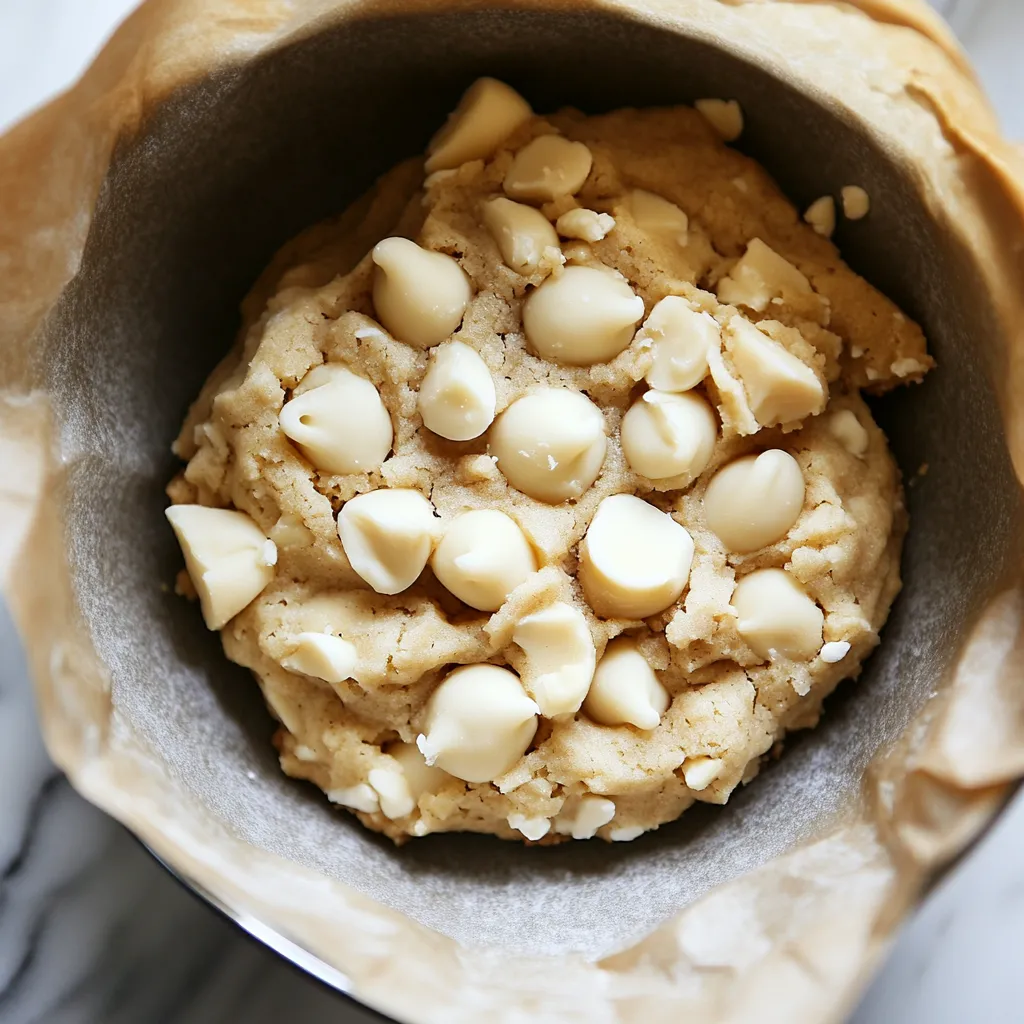
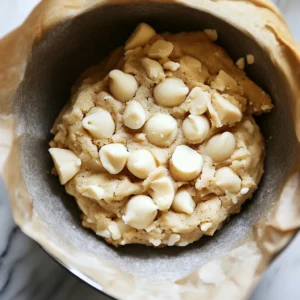
The aim here is to ensure that no dry pockets remain while maintaining that beautiful texture achieved in the mixing phases. Once the flour is just incorporated without visible streaks, it is time to introduce the exciting elements—2 cups of semi-sweet chocolate chips and 1/2 cup of caramel bits blend into the dough, ensuring they are evenly distributed and ready for baking.
Merging the Mixtures
To successfully combine the wet and dry ingredients for your cookie dough, begin by gradually adding the flour mixture to the creamed butter and sugars. It’s essential to mix just until combined; doing so helps maintain the desired texture of your cookies. Overmixing can lead to the development of gluten, making the cookies tough instead of tender.
As you add the dry ingredients, you’ll notice that the dough begins to thicken, clinging to itself while still holding moisture. The right consistency is key—your dough should be soft and slightly sticky, but not overly wet. If it feels too crumbly, it’s an indication that you may have overdone the mixing or could require a slight adjustment in moisture.
Adding Chocolate Chips and Caramel Bits
When it comes to chocolate chips, your options abound. While semi-sweet chocolate is standard, you can experiment with dark chocolate for a richer flavor or even milk chocolate for a sweeter bite. Also consider using chocolate chunks for a more decadent feel.
Even distribution of chocolate chips and caramel bits within the dough is crucial. You want each cookie to have an equal balance of chocolate and caramel to ensure that no single cookie feels uneven. When folding these ingredients into the dough, do so gently—this preserves the integrity of your cookie dough while ensuring that the chocolate and caramel are well-distributed throughout.
Shaping the Cookies
For uniform size, employ a cookie scoop to portion out your dough. This tool not only aids in consistency but also ensures that your cookies will bake evenly. It helps to release the dough easily onto the baking sheet without the mess of using your hands.
Spacing is another important factor—be sure to leave about 2 inches between each cookie on the baking sheet. This distance allows each cookie room to spread properly as it bakes, preventing them from merging into one giant cookie. If you’re looking for an extra touch, consider rolling the dough balls in granulated sugar before placing them on the sheet for a sparkling finish.
Baking Time and Temperature
Preheating your oven to 350°F (175°C) is essential to ensure consistent heat across your baking surface. A properly preheated oven helps to create an ideal environment for cookies to rise correctly and achieve that perfect golden-brown finish.
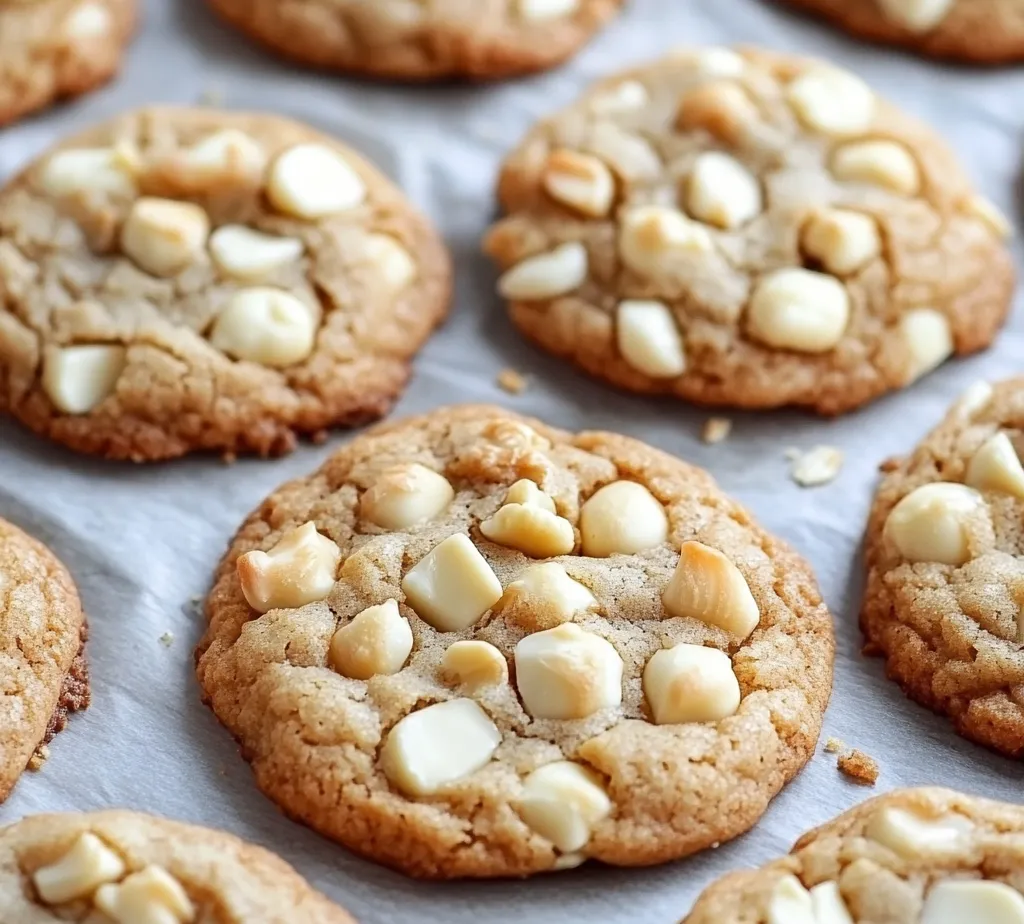
The ideal baking time for these cookies is typically between 10 to 12 minutes. Keep an eye on visual cues: the edges should turn a light golden color while the centers remain soft and slightly underbaked. This creates a delightful contrast between the crispy edges and chewy center. Additionally, position your baking sheets in the center of the oven for even heat distribution, which helps avoid uneven baking.
Cooling the Cookies
Once you bake the cookies, let them cool on the baking sheets for about 5 minutes. This cooling period is important as it allows the cookies to set up, making them easier to transfer without crumbling. Afterward, move them to a wire rack for complete cooling. This method promotes airflow around the cookies, preventing sogginess.
Cooling time can impact the texture noticeably—allowing cookies to rest properly enhances their softness and chewiness. If you cool them too quickly, you may find they don’t hold up as well.
Final Touch with Flaky Sea Salt
Sprinkling flaky sea salt over the top of your cookie dough right before baking is a game-changer. The salt not only adds an eye-catching finish, but it also elevates the rich flavors of chocolate and caramel, balancing sweetness with a hint of savory.
Aim for just a pinch for each cookie to maintain a delicate balance; you don’t want to overwhelm the sugary taste with too much salt. This small, finishing touch is what will set these cookies apart from typical offerings and create a sophisticated flavor profile.
Variations and Customizations
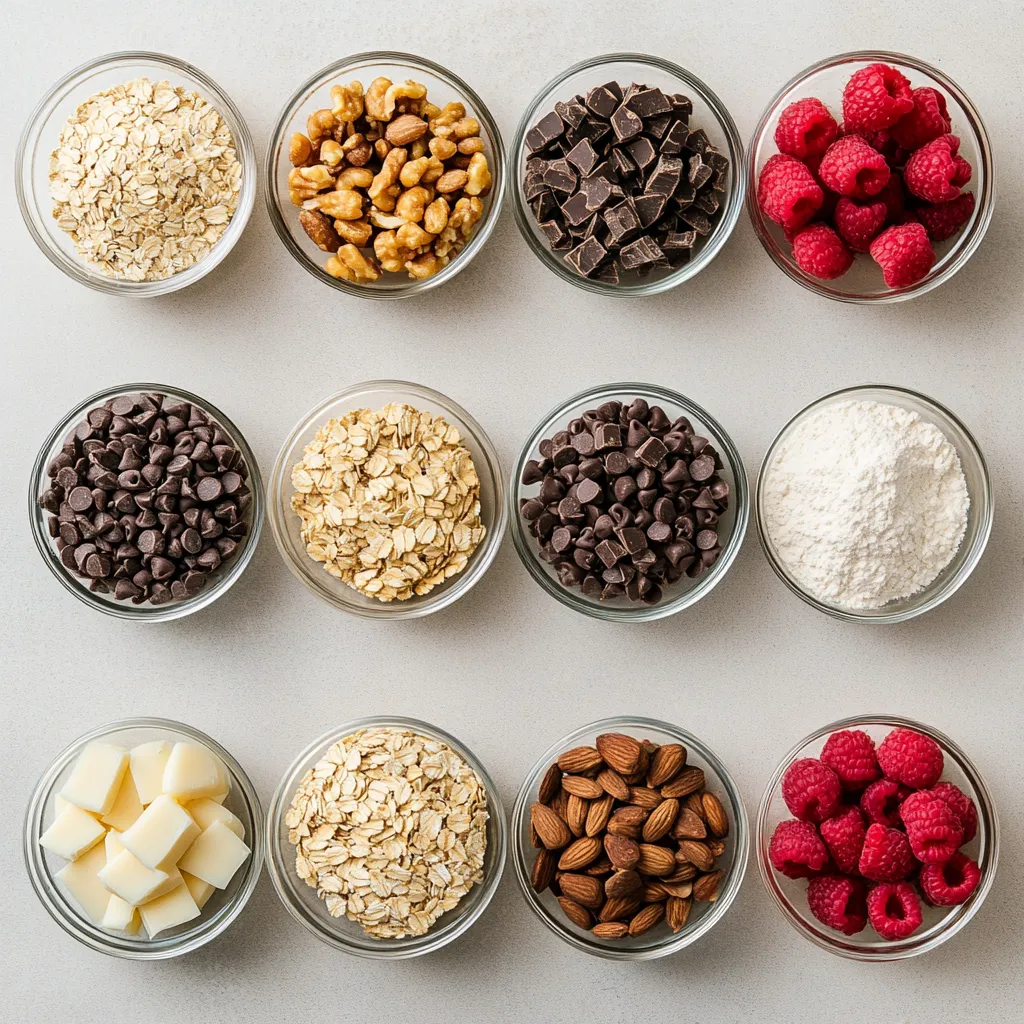
There are endless possibilities for customizing these cookies. Feel free to add nuts like walnuts or pecans for an additional crunch, swap in different chocolate varieties, or mix in dried fruits like cranberries or apricots for a fruity twist.
For those needing dietary substitutions, consider alternatives such as coconut oil or dairy-free butters in place of regular butter to cater to lactose intolerance. You can also use gluten-free flour blends to modify the recipe for those with gluten sensitivities.
Seasonal ingredients can inspire themed cookies—think pumpkin spice variations in the fall or a zesty lemon flavor in the spring—just adapt the base recipe to include seasonal mix-ins.
Storage Tips
To maintain freshness, store your cookies in an airtight container at room temperature. This will help keep them soft and chewy. For longer-term storage, you can freeze the baked cookies, ensuring they are in airtight bags or containers to prevent freezer burn.
If you’ve got dough leftover, consider freezing portioned balls. Just thaw directly in the oven from the freezer, giving you fresh-baked cookies on demand. To revive the texture of previously baked cookies, briefly warm them in the microwave for 10-15 seconds or in the oven at a low temperature until just heated through.
Conclusion
The Chocolate Chip Sea Salt Caramel Cookies feature a delightful blend of chewy and crispy textures with an indulgent flavor profile. With a quick prep time of only 15 minutes and a total cycle of 30 minutes, these cookies are not only easy to make but also perfect for sharing, leaving taste buds satisfied with a delectably sweet treat complemented by a hint of savory salt.
Chocolate Chip Sea Salt Caramel Cookies Recipe
Ingredients
- 2 ¼ cups all-purpose flour
- 1 teaspoon baking soda
- 1 teaspoon salt
- 1 cup unsalted butter softened
- ¾ cup packed brown sugar
- ¾ cup granulated sugar
- 1 teaspoon pure vanilla extract
- 2 large eggs
- 2 cups semi-sweet chocolate chips
- ½ cup caramel bits
- to taste flaky sea salt
Instructions
- Preheat your oven to 350°F (175°C) and line baking sheets with parchment paper.
- In a medium bowl, whisk together flour, baking soda, and salt.
- In a large bowl, cream butter with brown sugar and granulated sugar until light and fluffy.
- Add vanilla extract and eggs one at a time, mixing well after each addition.
- Gradually mix in the dry ingredients until just combined.
- Fold in chocolate chips and caramel bits until evenly distributed.
- Drop rounded balls of dough onto prepared sheets, spacing them 2 inches apart.
- Sprinkle a pinch of flaky sea salt on top of each dough ball.
- Bake for 10-12 minutes until edges are golden and centers are soft.
- Cool on baking sheets for 5 minutes before transferring to wire racks.