
Introduction
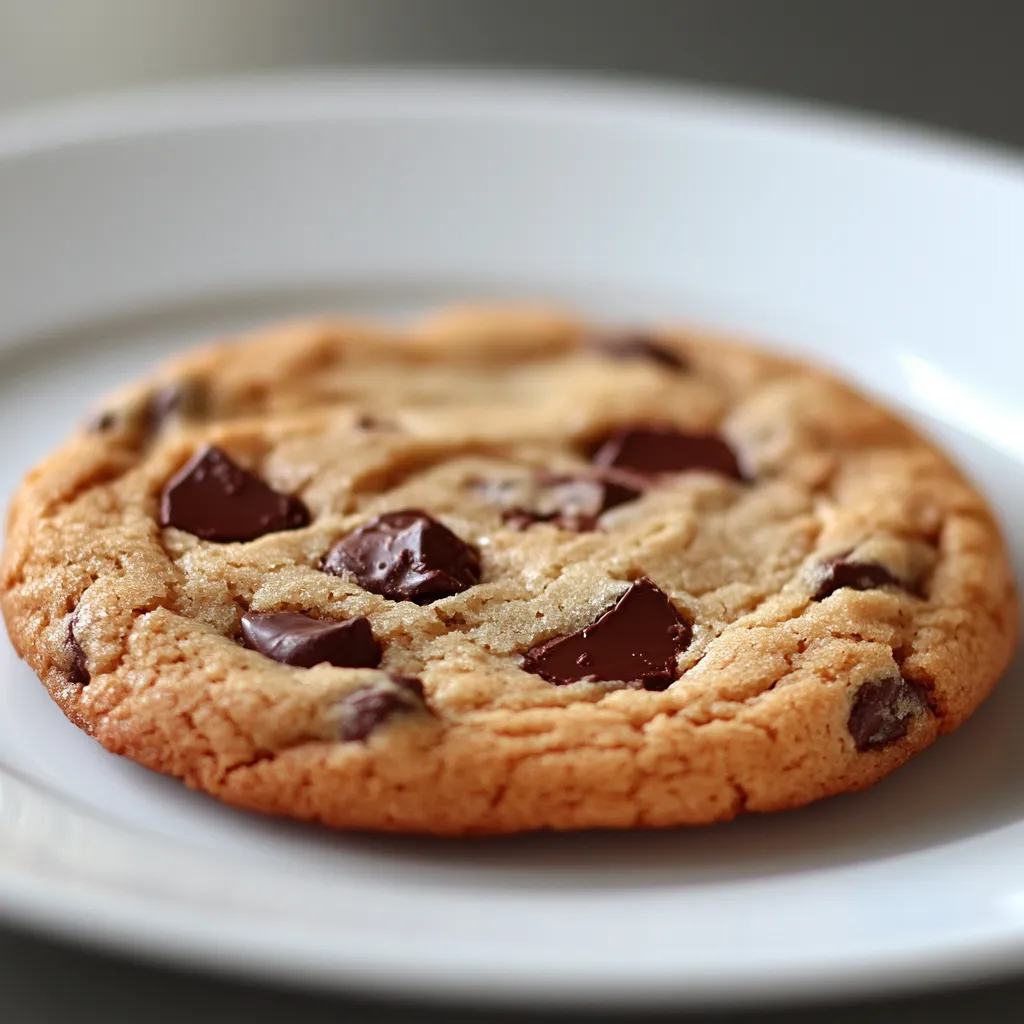
The joy of baking can bring a comforting sense of nostalgia, and few treats capture this feeling better than chocolate chip cookies. Known for their perfect balance of sweetness and chewiness, these Delightfully Easy Chocolate Chip Cookies are a must-try for home bakers. This cookie recipe blends straightforward techniques with delightful flavors, resulting in a wonderful treat that is both satisfying and accessible.
With a mixture of buttery goodness, rich chocolate, and optional nuts, these cookies are not only delicious but also perfect for various occasions. Whether you’re preparing a batch for a family gathering, a cozy evening at home, or a sweet surprise for a friend, this recipe will surely impress. The act of mixing, scooping, and baking evokes a delightful warmth that makes this activity enjoyable, especially when the aroma of freshly baked cookies fills your kitchen.
As you follow along, you’ll discover how easy it is to bake a classic that stands the test of time. Each bite combines the nostalgia of childhood treats with the satisfaction of homemade goodness, making these cookies a staple in any kitchen.
Recipe Overview
– Total Time: Under 1 hour
– Yield/Servings: Not specified in the recipe
– Difficulty: Not specified in the recipe
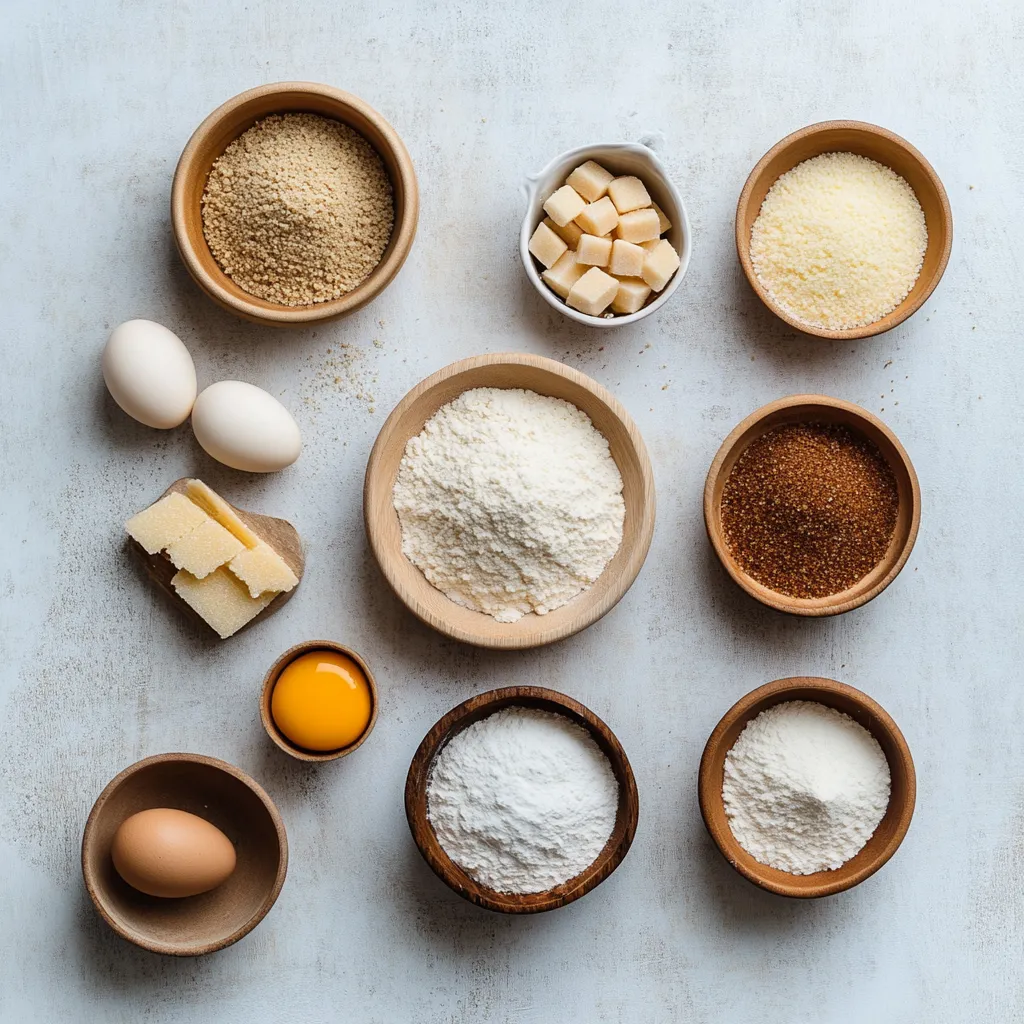
Ingredients
– 1 cup (equivalent to 2 sticks) unsalted butter, softened to room temperature
– 3/4 cup granulated sugar
– 3/4 cup packed light brown sugar
– 1 teaspoon pure vanilla extract
– 2 large eggs, at room temperature
– 2 1/4 cups all-purpose flour
– 1 teaspoon baking soda
– 1/2 teaspoon salt
– 2 cups semi-sweet chocolate chips
– 1 cup chopped nuts (optional, such as walnuts or pecans)
Instructions
1. Preheat your oven to 375°F (190°C). Line a baking sheet with parchment paper to prevent sticking.
2. In a large mixing bowl, cream together the softened unsalted butter, granulated sugar, and brown sugar until the mixture is light and fluffy. This should take about 2-3 minutes using an electric mixer on medium speed.
3. Add the vanilla extract and eggs to the butter and sugar mixture, one egg at a time, mixing well after each addition until fully incorporated.
4. In a separate bowl, whisk together the all-purpose flour, baking soda, and salt. Gradually add this dry mixture to the wet ingredients, mixing just until combined. Be careful not to overmix.
5. Gently fold in the semi-sweet chocolate chips and chopped nuts (if using) until evenly distributed throughout the dough.
6. Using a tablespoon or cookie scoop, drop rounded balls of dough onto the prepared baking sheet, leaving about 2 inches of space between each cookie to allow for spreading.
7. Bake in the preheated oven for 9-11 minutes or until the edges are golden brown and the centers are still slightly soft.
8. Once baked, remove the cookies from the oven and let them cool on the baking sheet for about 5 minutes before transferring them to a wire rack to cool completely.
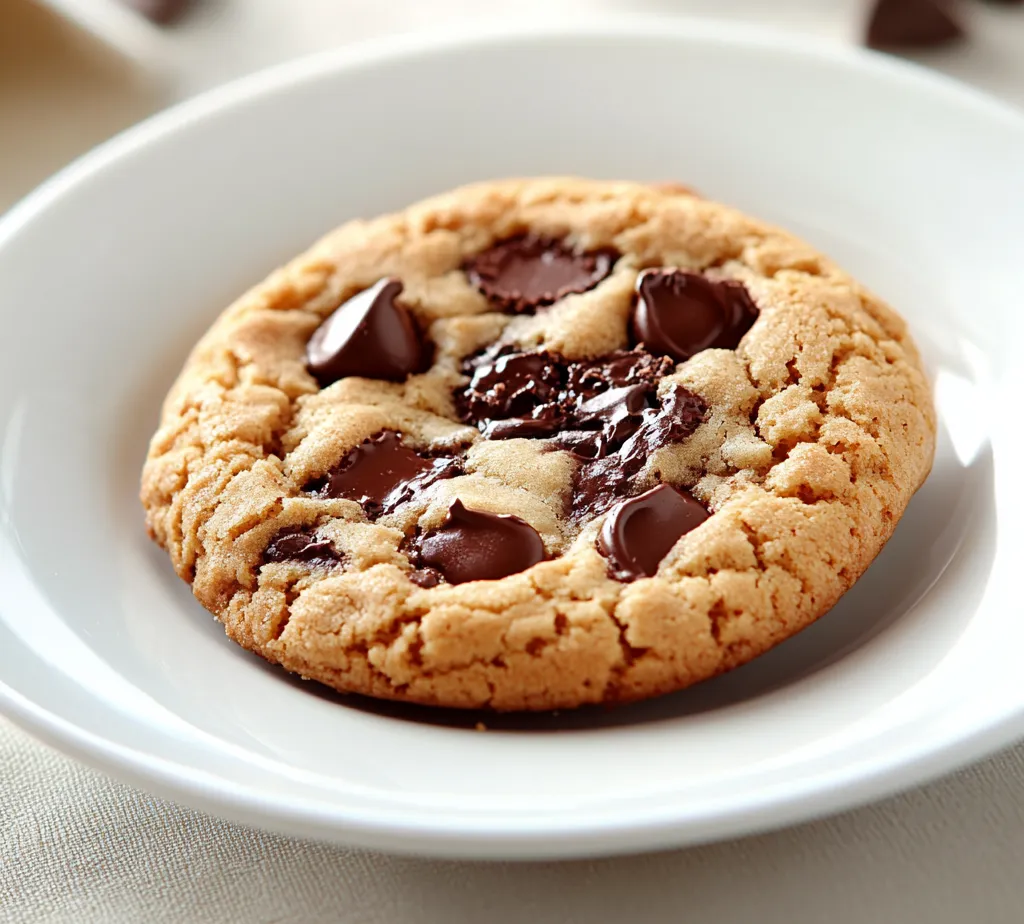
Optional: Presentation Tips
Serve your delightful chocolate chip cookies on a decorative plate, and consider sprinkling a pinch of sea salt on top of each cookie for an extra flavor boost. For a fun touch, place a small glass of milk alongside the cookies for a classic pairing. Enjoy!
Unsalted Butter
Unsalted butter is a key ingredient in baking, allowing bakers to control the amount of salt in their recipes. Softening the butter to room temperature is vital as it facilitates easy creaming with sugars. This step contributes to the light and fluffy texture that is desirable in cookies, creating an ideal foundation for the other ingredients.
Sugars
The combination of granulated sugar and light brown sugar creates a perfect sweetness balance. Granulated sugar contributes to the cookie’s spread and crunch, while the moisture from light brown sugar helps maintain chewiness. Including both types of sugar enhances flavor complexity, providing a rich sweetness that makes these cookies more indulgent.
Vanilla Extract
Vanilla extract is a quintessential ingredient in many baked goods, imparting a warm, inviting aroma and flavor. Using high-quality pure vanilla extract enriches the overall taste profile, lifting the sweetness and adding depth to the cookies. It’s advisable to select a pure vanilla extract rather than imitation for superior flavor in baked treats.
Eggs
Eggs function as binding agents in cookie recipes, ensuring that the ingredients come together coherently. In this recipe, using room temperature eggs allows for better emulsification when mixed with the butter and sugars. This results in a more uniform dough that bakes evenly, affecting the final texture of the cookies positively.
All-Purpose Flour
All-purpose flour is the backbone of cookie dough, providing structure and stability. The protein content in the flour is crucial for developing gluten, which gives cookies their chewy texture. Measuring flour accurately is essential; too little can lead to flat cookies, while too much can result in dense, dry bites.
Baking Soda
As a leavening agent, baking soda helps the cookies rise and spread during the baking process. It reacts with the acids in the brown sugar and contributes to the cookies’ soft texture. Ensuring that the baking soda is fresh is important for optimal results; stale baking soda may not provide the necessary lift.
Salt
Even though it seems like a small addition, salt plays a significant role in enhancing flavor. The right amount of salt can balance the sweetness of the sugars and highlight the richness of the chocolate. When baking, different types of salt can be used; however, standard table salt is the most commonly utilized.
Chocolate Chips
Selecting semi-sweet chocolate chips for this cookie recipe ensures a delightful sweetness paired with a rich chocolate flavor. These chips melt perfectly and blend harmoniously with the dough. For variations, consider using dark chocolate chips or milk chocolate chips depending on personal preference — each will lend a unique touch to your cookies.
Optional Nuts
Incorporating nuts like walnuts or pecans adds a delightful crunch and additional flavor depth to the chocolate chip cookies. The contrasting texture enhances the overall cookie experience, creating a satisfying bite. While nuts are optional, they can elevate the cookies for those who enjoy the combination of chocolate and nutty flavors.
Equipment Needed
To create the perfect batch of cookies efficiently, a few essential tools are needed. An electric mixer is invaluable for achieving the ideal butter and sugar consistency, ensuring that the cookies are light and fluffy. A sturdy mixing bowl, appropriate baking sheets lined with parchment paper, and a cookie scoop for uniformity in portioning the dough are all important tools to have on hand.
Baking Sheets
When it comes to baking sheets, you have the choice between non-stick and lined options. Lining your baking sheet with parchment paper not only prevents sticking but also ensures even baking. Utilizing this simple tool can take the stress out of cookie removal and helps preserve their delicate structure during cooling.
Mixing Bowls
Using mixing bowls of various sizes can streamline the process of gathering and mixing ingredients. Set aside large bowls for combining wet and dry ingredients separately, allowing for proper incorporation without missing any elements. Having an organized workspace will assist in executing the recipe efficiently, making the entire baking process much smoother.
those looking for a comforting treat. Enjoy the process as you bake and personalize them to match your preferences.
Importance of Preheating
Preheating the oven is a crucial step in baking. It allows for even cooking and ensures that your cookies rise properly. If the oven isn’t heated sufficiently before you bake, it can cause your cookies to spread too much or not cook evenly, leading to inconsistent texture. Always check that your oven reaches the desired temperature before placing your cookie sheet inside.
Tips for Proper Oven Rack Positioning for Even Baking
The placement of the oven rack can significantly affect the outcome of your baking. For cookies, the center rack is typically the ideal position, as this allows for optimal air circulation. Placing your baking sheet too close to the bottom of the oven can lead to over-browning, whereas being too close to the top can cause uneven baking. If your oven has hot spots, consider rotating the baking sheet halfway through the bake time for uniform results.
Step-By-Step Instructions
A detailed guide through the baking process for perfect cookies.
Creaming the Butter and Sugars
Techniques for Achieving a Light and Fluffy Texture
Start by ensuring that your butter is at room temperature to allow for proper creaming with the sugars. This process incorporates air into the butter, which helps create a light and fluffy texture in the final product. Use an electric mixer on medium speed for about 2-3 minutes until the mixture turns pale and increases in volume.
Avoiding Overcreaming Mistakes
While achieving fluffiness is essential, overcreaming can lead to a cookie that spreads too much during baking. Stop mixing as soon as the mixture is light and fluffy; it should not be dense or overly airy.
Incorporating Wet Ingredients
Method for Incorporating Eggs and Vanilla Smoothly
Add the eggs one at a time, ensuring each is fully incorporated before adding the next. The vanilla extract should also be mixed in at this point. This step is critical as it allows for an even distribution of flavors and moisture throughout the dough.
Signs That the Mixture Is Ready for the Next Step
The mixture should appear homogenous and slightly thicker after adding the eggs and vanilla, without any visible streaks of butter or sugar.
Combining Dry Ingredients
Proper Method for Mixing Dry Ingredients Without Clumps
In a separate bowl, whisk together the all-purpose flour, baking soda, and salt thoroughly to eliminate clumps. If there are any visible bits, gently sift the mixture before adding it to the wet ingredients.
Importance of Sifting Flour
Sifting can help aerate the flour, making it lighter and preventing the cookies from becoming too dense. While this isn’t always necessary, it can improve the final texture, especially in baked goods.
Folding in Chips and Nuts
Techniques for Gentle Folding to Maintain Dough Structure
Once the dry ingredients are added, use a spatula to fold in the chocolate chips and nuts. Be gentle to avoid deflating the dough; you want to incorporate the chocolate and nuts without overworking the dough.
Ensuring Even Distribution of Ingredients
Make sure that the chocolate chips and nuts are evenly distributed to ensure every cookie has a delicious burst of chocolaty goodness. Stop mixing as soon as no flour streaks are visible.
Shaping the Cookies
Best Practices for Portioning and Spacing Cookie Dough.
Using a Cookie Scoop
Benefits of Using a Scoop Versus by Hand
Using a cookie scoop ensures uniform cookie sizes, which helps them bake evenly. It is a quick and easy method to portion dough without the mess of rolling by hand.
Tips for Getting the Right Amount of Dough
Fill the scoop about two-thirds of the way full for a standard-sized cookie. Release the dough onto the baking sheet, ensuring a rustic, slightly rounded shape for a home-baked look.
Spacing Cookies on the Baking Sheet
Recommended Spacing for Cookie Expansion
Leave about 2 inches of space between each cookie to account for spreading during baking. This helps prevent overcrowding, which can lead to mushy edges and inconsistent baking.
Avoiding Overcrowding to Ensure Even Baking
Overcrowding on the baking sheet can lead to cookies merging together and not cooking properly. If you have a large batch, consider baking in multiple rounds to achieve the best results.
Baking the Cookies
Tips for Achieving the Perfect Bake.
Setting the Time and Temperature
Importance of Preheating and Correct Timing
Adjust your baking time according to the size of your cookies. Depending on your oven, it might help to start checking for doneness a minute or two early, especially if you’re batch-baking.
Adjusting Baking Time Based on Cookie Size
Smaller cookies generally bake in 8-10 minutes, while larger or thicker cookies may require closer to 12 minutes.
Signs of Perfectly Baked Cookies
Identifying Doneness by Color and Texture
A well-baked cookie will have golden-brown edges while the centers may look slightly underdone, as they will continue cooking once removed from the oven.
What to Do If Cookies Are Underbaked
If you find your cookies are underbaked, return them to the oven for an additional minute or two, checking frequently to prevent overbaking.
Cooling and Storing
Ensuring Cookies Maintain Their Delicious Texture After Baking.
Cooling on the Baking Sheet
Importance of Initial Cooling Time
Letting cookies cool for about 5 minutes on the baking sheet allows them to firm up before transferring. Removing them too quickly may cause them to break apart.
Avoiding Sogginess During Cooling
Ensure that your baking sheet is lined with parchment paper to facilitate a non-stick surface, preventing the cookies from becoming soggy.
Transferring to a Wire Rack
Benefits of Cooling on a Wire Rack
A wire rack allows air to circulate around the cookies, preventing moisture buildup. This helps maintain that ideal chewy texture.
Tips for Safe Transfer of Delicate Cookies
Use a thin spatula to carefully lift each cookie to prevent any breakage. Let them cool completely before storing.
Storing Leftover Cookies
Best Practices for Keeping Cookies Fresh
To keep cookies from drying out, store them in an airtight container at room temperature. Line the container with parchment paper to absorb any excess moisture.
Storage Options for Long-Lasting Freshness
For longer storage, consider freezing the cookies. Layer them with parchment paper in a freezer-safe container, ensuring they can be enjoyed later without losing their delightful texture.
Presentation Tips
Enhancing the Visual Appeal of Baked Cookies.
Serving Suggestions
Ideas for Decorative Plates and Arrangements
Serve cookies on a colorful or themed platter to enhance their appeal. Arrange them in neat stacks or rows for an eye-catching display.
Enhancing Flavor with a Sprinkle of Sea Salt
A light sprinkle of flaky sea salt on top of the cookies just before baking can elevate the chocolate flavor and add an appealing touch.
Classic Pairing
Suggestions for Beverages That Complement Cookies
Classic pairings include a glass of cold milk, hot chocolate, or coffee. These beverages provide a wonderful counterpoint to the sweetness of the cookies.
Fun Ways to Serve Cookies for Gatherings
Consider creating a cookie bar at gatherings, offering various toppings like additional chocolate chips or whipped cream for a fun interactive dessert experience.
Conclusion
These Delightfully Easy Chocolate Chip Cookies present a robust, satisfying texture paired with rich chocolate flavor. By following these precise techniques, you ensure each cookie is perfectly baked. The entire process, from preparation to baking, typically requires minimal time, making these cookies an ideal option for quick and delicious desserts.

Delightfully Easy Chocolate Chip Cookies
Ingredients
- 1 cup unsalted butter softened
- ¾ cup granulated sugar
- ¾ cup packed light brown sugar
- 1 teaspoon pure vanilla extract
- 2 large eggs at room temperature
- 2¼ cups all-purpose flour
- 1 teaspoon baking soda
- ½ teaspoon salt
- 2 cups semi-sweet chocolate chips
- 1 cup chopped nuts optional
Instructions
- Preheat your oven to 375°F (190°C) and line a baking sheet with parchment paper.
- In a large mixing bowl, cream together the softened butter, granulated sugar, and brown sugar until light and fluffy.
- Add the vanilla extract and eggs one at a time, mixing well after each addition.
- In a separate bowl, whisk together the flour, baking soda, and salt.
- Gradually add the dry mixture to the wet ingredients, mixing just until combined.
- Fold in the chocolate chips and nuts until evenly distributed.
- Drop rounded balls of dough onto the prepared baking sheet, leaving space between each cookie.
- Bake for 9-11 minutes until the edges are golden brown and centers are slightly soft.
- Let the cookies cool on the baking sheet for 5 minutes before transferring to a wire rack.