
Introduction
Ice cream is a timeless treat that transcends age, culture, and geography. From childhood memories of ice cream trucks on a hot summer day to cozy evenings spent indulging in a bowl of your favorite flavor, this frozen delight holds a special place in our hearts. The universal appeal of ice cream lies not only in its creamy texture and delightful flavors but also in the nostalgia it evokes, reminding us of carefree moments and shared experiences.
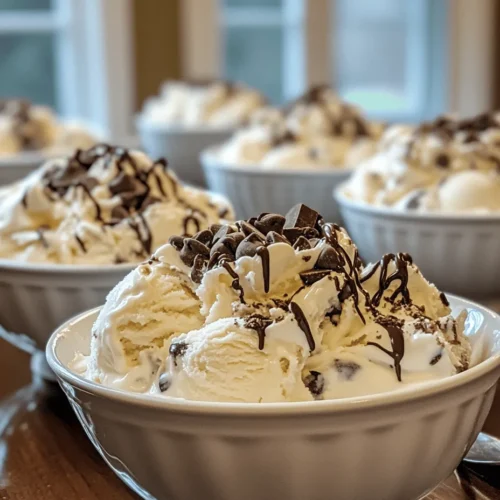
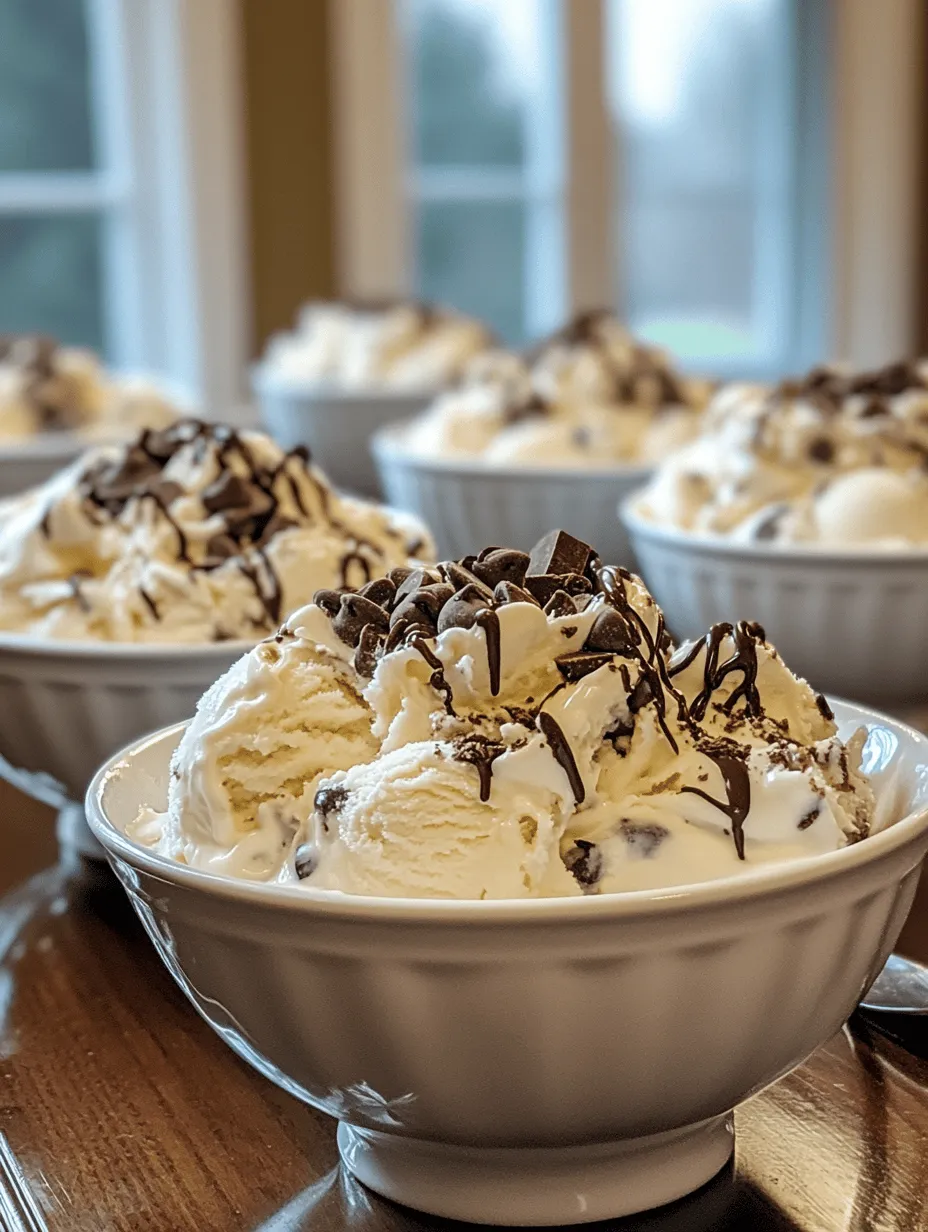
Today, we are excited to introduce you to a delightful recipe that captures all the joy of homemade ice cream without the need for an ice cream maker. “Sweet Dreams Ice Cream” is an easy, no-churn option that combines the richness of traditional ice cream with the simplicity of a straightforward preparation method. With just a few key ingredients, you can create a luxurious, creamy treat right at home, perfect for any occasion—be it a summer barbecue, a birthday celebration, or simply a quiet evening spent indulging in a sweet escape.
In this article, we’ll explore the key ingredients that make this homemade ice cream so special, and we’ll guide you through the step-by-step process of creating your own batch of Sweet Dreams Ice Cream. With this recipe, you’ll discover how easy it is to whip up a frozen dessert that rivals any store-bought option while allowing you to customize flavors and mix-ins to suit your taste.
Understanding the Ingredients
Creating the perfect homemade ice cream begins with understanding the role of each ingredient. In our Sweet Dreams Ice Cream recipe, the following components are essential for achieving that coveted creamy texture and rich flavor:
1. Sweetened Condensed Milk: The star of the show, sweetened condensed milk is the secret ingredient that lends both creaminess and sweetness to our ice cream. This thick, syrupy milk is made by removing most of the water from regular milk and adding sugar, resulting in a rich and luscious base that helps create a smooth texture without the need for churning.
2. Heavy Whipping Cream: The fat content in heavy whipping cream is crucial for achieving the silky-smooth texture that we associate with high-quality ice cream. With a fat content of around 36%, heavy cream provides the necessary richness and mouthfeel, ensuring that every scoop is indulgent. The higher the fat content, the creamier the ice cream will be, making heavy whipping cream an essential ingredient in our recipe.
3. Pure Vanilla Extract: A splash of pure vanilla extract enhances the overall flavor profile of the ice cream, adding depth and aroma. The natural flavors of vanilla complement the sweetness of the condensed milk and the richness of the cream, creating a well-rounded taste that elevates this dessert to new heights. Opting for pure vanilla extract over imitation vanilla will yield a more authentic and aromatic flavor.
4. Milk: While sweetened condensed milk and heavy cream are the primary bases for our ice cream, a splash of regular milk helps to balance the consistency. It adds a touch of liquidity that makes the mixture easier to fold and contributes to a creamy texture once frozen. The milk also helps to dilute the sweetness slightly, creating a more balanced flavor.
5. Pinch of Salt: You may wonder why a pinch of salt is included in a sweet dessert recipe. Salt plays a vital role in enhancing flavors, even in sweet dishes. It heightens the overall taste, bringing out the natural flavors of the other ingredients and preventing the ice cream from tasting overly sweet. A small amount of salt can elevate the flavor profile significantly, ensuring that each scoop is perfectly balanced.
6. Optional Mix-Ins: One of the joys of making homemade ice cream is the ability to customize it to your liking. Optional mix-ins such as chocolate chips, crushed cookies, fresh fruit, or nuts add texture and flavor variety, allowing you to create a unique ice cream experience. The sky’s the limit when it comes to personalization, and this flexibility makes Sweet Dreams Ice Cream a fun and versatile recipe.
Step-by-Step Guide to Making Sweet Dreams Ice Cream
Creating your own batch of Sweet Dreams Ice Cream is a straightforward process that requires minimal effort and equipment. Before diving into the recipe, let’s ensure you have everything you need to make this delightful treat.
Preparation: Setting the Stage for Ice Cream Creation
To get started, it’s essential to gather all your ingredients and tools. Here’s what you’ll need:
Necessary Tools and Equipment
– Mixing Bowls: A large mixing bowl for combining the sweetened condensed milk mixture and a separate bowl for whipping the cream.
– Electric Mixer: An electric mixer or hand whisk will help you achieve the perfect whipped cream consistency.
– Spatula: A rubber spatula is ideal for folding the whipped cream into the condensed milk mixture, ensuring you maintain the airiness.
– Airtight Container: A freezer-safe, airtight container is necessary for storing your ice cream once prepared. This will help preserve its texture and prevent ice crystals from forming.
Detailed Instructions
Now that you have everything ready, let’s walk through the steps to create your Sweet Dreams Ice Cream:
1. Combine Sweetened Condensed Milk, Vanilla, and Salt: In a large mixing bowl, pour in one can of sweetened condensed milk. Add in the pure vanilla extract and a pinch of salt. Stir the mixture until all ingredients are well combined, creating a smooth and creamy base. This step is crucial as it establishes the foundation of flavor for your ice cream.
2. Achieve the Perfect Whipped Cream Consistency: In a separate mixing bowl, pour in the heavy whipping cream. Using your electric mixer, beat the cream on medium-high speed until soft peaks form. This means that when you lift the beaters, the cream will hold its shape but still have a slight droop at the tips. Be careful not to over-whip the cream, as this can lead to a grainy texture. Soft peaks are ideal for folding into the condensed milk mixture.
3. The Folding Technique: With the whipped cream prepared, it’s time to combine the two mixtures. Gently fold the whipped cream into the sweetened condensed milk mixture using a rubber spatula. Start by adding a small amount of whipped cream to lighten the mixture, then gradually fold in the rest. Use a gentle, sweeping motion to maintain the airiness of the whipped cream, which will help create a light and fluffy ice cream texture.
4. Incorporating Mix-Ins: If you’d like to add any mix-ins to your Sweet Dreams Ice Cream, now is the time to do so! Gently fold in your chosen ingredients—such as chocolate chips, crushed cookies, or fresh fruit—ensuring they are evenly distributed throughout the mixture. This step allows you to customize your ice cream to your liking, making each scoop a delightful surprise.
5. Freezing the Mixture: Transfer the ice cream mixture into an airtight container, smoothing the top with a spatula. Seal the container tightly and place it in the freezer. For the best texture, allow the ice cream to freeze for at least 4-6 hours, or until firm. If you can wait overnight, you’ll be rewarded with an even creamier result!
With these steps, you are well on your way to creating your very own Sweet Dreams Ice Cream. Stay tuned for the next part of this article, where we’ll share tips for achieving the best results and answer some common questions about homemade ice cream. Enjoy the process of making this delightful treat, and soon enough, you’ll be indulging in your very own sweet creation!

Serving Suggestions: Creative Ways to Present and Enjoy
When it comes to enjoying your homemade Sweet Dreams Ice Cream, the presentation can elevate the experience. Here are some creative serving suggestions to make your ice cream the star of any gathering:
1. Ice Cream Sundaes: Layer your Sweet Dreams Ice Cream in a tall glass with whipped cream, sprinkles, and a cherry on top. Consider adding a drizzle of chocolate or caramel sauce for an extra indulgent treat.
2. Ice Cream Sandwiches: Use your favorite cookies to create delightful ice cream sandwiches. Simply scoop a generous portion of ice cream between two cookies and freeze for a bit to firm them up. This is a fun and portable way to enjoy your ice cream.
3. Milkshakes: Blend your Sweet Dreams Ice Cream with milk for a creamy milkshake. Add flavor enhancements like chocolate syrup or fresh fruit to customize it to your liking.
4. Ice Cream Cones: Serve your ice cream in classic cones or waffle cones for a nostalgic treat. You can also dip the cone in melted chocolate and then in sprinkles for an added crunch.
5. Parfaits: Layer your ice cream with granola, fruits, and yogurt in a glass for a delicious parfait. This combination not only looks appealing but also provides a delightful mix of textures.
Exploring Flavor Variations
One of the best parts about making Sweet Dreams Ice Cream is the endless possibilities for flavor variations. Here are some suggestions to inspire your creativity:
Classic Flavors: Suggestions on Mix-Ins for Different Taste Profiles
Start by enhancing your base ice cream with classic flavors. Here are a few mix-in ideas:
– Vanilla Base: Add crushed Oreos for a cookies-and-cream effect.
– Chocolate Base: Mix in chocolate chips or fudge for a rich chocolate experience.
Cookies and Cream: Using Crushed Cookies
For a cookies-and-cream variation, simply fold crushed sandwich cookies into your Sweet Dreams Ice Cream after it’s churned. Allow the ice cream to sit in the freezer for a few hours to let the flavors meld. This gives you a delightful texture that contrasts the creaminess of the ice cream with the crunch of the cookies.
Chocolate Delight: Incorporating Chocolate Chips
If you love chocolate, consider adding in chocolate chips or chunks. You can use dark, milk, or even white chocolate for a unique twist. Fold them in just before the final churn to ensure they are evenly distributed without melting.
Fruity Freshness: Adding Seasonal Fruits
Incorporating fresh fruits is a fantastic way to add natural sweetness and a refreshing taste to your ice cream. Seasonal fruits like strawberries, blueberries, or peaches can be finely chopped and mixed into your base. For an extra kick, consider making a fruit puree to swirl into the ice cream before freezing.
Other Creative Mix-Ins and Flavor Combinations
Don’t hesitate to experiment with unique flavors and mix-ins:
– Nutty Additions: Chopped nuts like almonds, pecans, or walnuts can add a delightful crunch.
– Swirls of Sauces: Adding swirls of chocolate or caramel sauce can create beautiful, rich flavor layers. Drizzle the sauce in while churning for a marbled effect.
The Benefits of Homemade Ice Cream
Making Sweet Dreams Ice Cream at home comes with several benefits that are worth noting:
Healthier Alternatives: Controlling Sugar and Ingredient Quality
One of the primary advantages of homemade ice cream is the ability to control what goes into it. You can choose quality ingredients, reduce the sugar content, and avoid preservatives and artificial additives often found in store-bought varieties. This means you can indulge in a delicious treat with a clearer conscience.
Customization: Tailoring Flavors and Mix-Ins to Dietary Preferences
Homemade ice cream allows you to tailor it to fit dietary preferences or restrictions. Whether you’re vegan, lactose intolerant, or looking to avoid certain allergens, you can adjust the recipe to suit your needs. Experiment with dairy-free bases using coconut or almond milk, or substitute sweeteners to create a sugar-free version.
The Joy of Creating: Engaging in a Family-Friendly Activity
Making ice cream can be a delightful family activity. Involving kids in the process from mixing ingredients to deciding on flavors and toppings makes for a fun day in the kitchen. It creates lasting memories and encourages creativity as everyone can contribute their ideas.
Storage and Shelf Life of Homemade Ice Cream
To ensure your Sweet Dreams Ice Cream remains as delicious as the day it was made, proper storage is essential:
Best Practices for Storing Your Sweet Dreams Ice Cream
1. Choosing the Right Airtight Container: Opt for a sturdy, airtight container to store your ice cream. This prevents air from entering and keeps your ice cream fresh for longer.
2. Preventing Ice Crystals for a Smoother Texture: To avoid ice crystals forming, press a piece of parchment paper directly on the surface of the ice cream before sealing the container. This helps minimize exposure to air.
Understanding the Shelf Life of Homemade Ice Cream
Homemade ice cream generally lasts 2-3 weeks in the freezer when stored properly. After that, it may start to lose its creamy texture and flavor. To enjoy the best quality, try to consume it within that timeframe.
Conclusion
Making Sweet Dreams Ice Cream at home is not just about creating a delicious treat; it’s about the joy of crafting something unique and delightful. The ability to personalize flavors and mix-ins means you can tailor each batch to your preferences, whether you prefer rich chocolate, fruity freshness, or nutty crunch.
Encouraging experimentation with flavors not only brings excitement to your dessert game but also invites friends and family to join in on the fun. Share your creations, savor the satisfaction of homemade goodness, and relish the experience of enjoying creamy, delicious ice cream made from scratch. So gather your ingredients, grab your ice cream maker, and start creating your own Sweet Dreams Ice Cream today!