Introduction
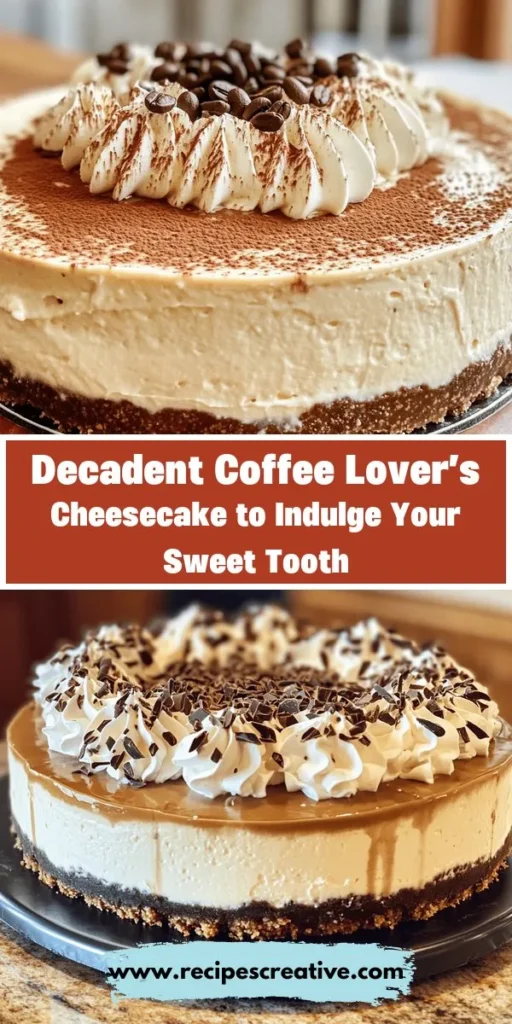
Coffee-infused desserts have taken the culinary world by storm, captivating the hearts and taste buds of dessert enthusiasts everywhere. From coffee cakes to tiramisu, the rich, robust flavors of coffee can transform ordinary sweets into extraordinary indulgences. Among these delightful creations, the Ultimate Coffee Lover’s Cheesecake stands out as a particularly decadent choice, marrying the creamy, velvety texture of traditional cheesecake with the deep, aromatic notes of freshly brewed coffee. This recipe is perfect for those who savor the delightful combination of sweet and bitter, and it promises to be a showstopper at any gathering.
What makes this cheesecake truly special is its balance of flavors and textures. The rich coffee flavor permeates the creamy filling, creating an irresistible dessert that coffee aficionados will adore. When crafted with quality ingredients, this cheesecake not only satisfies your sweet tooth but also enhances the entire coffee experience. The right selection of cream cheese, fresh espresso, and even a hint of cocoa can elevate this dessert from delightful to divine. Whether you’re hosting a dinner party, celebrating a special occasion, or simply indulging in a sweet treat, this Ultimate Coffee Lover’s Cheesecake is sure to impress.
Understanding the Key Components of the Cheesecake
When it comes to creating a cheesecake that captivates the senses, understanding its key components is essential. Each element plays a crucial role in delivering both texture and flavor, contributing to the overall experience of this delightful dessert.
The Crust: A Foundation of Flavor and Texture
The crust is more than just a base for the cheesecake; it provides an essential textural contrast that enhances the experience of each bite. For the Ultimate Coffee Lover’s Cheesecake, a crust made from coffee-flavored digestive biscuits is ideal. These biscuits not only add a subtle coffee essence but also contribute a delightful crunch that complements the creamy filling.
In addition to the biscuits, melted butter and a touch of sugar are essential for achieving the perfect crust. The butter binds the ingredients together, while the sugar adds a hint of sweetness, balancing the flavors of the cheesecake. A well-prepared crust should be firm enough to hold its shape but tender enough to melt in your mouth.
The Filling: Creamy Indulgence with a Coffee Twist
The star of this cheesecake is undoubtedly the filling. A classic cheesecake filling typically consists of cream cheese, sugar, and eggs, but for the Ultimate Coffee Lover’s Cheesecake, we’ll be elevating this standard with the addition of espresso and sour cream. The cream cheese creates a luscious, creamy base, while the espresso infuses the filling with that beloved coffee flavor.
Sour cream adds a tangy richness that balances the sweetness of the sugar, while eggs help to bind the ingredients together, providing a smooth and velvety texture. Additionally, a hint of flour serves to stabilize the filling during baking, ensuring that it sets perfectly. If you’re feeling adventurous, a touch of cocoa powder can enhance the flavor profile, introducing a mild chocolate undertone that pairs beautifully with coffee.
The Topping: A Finishing Touch
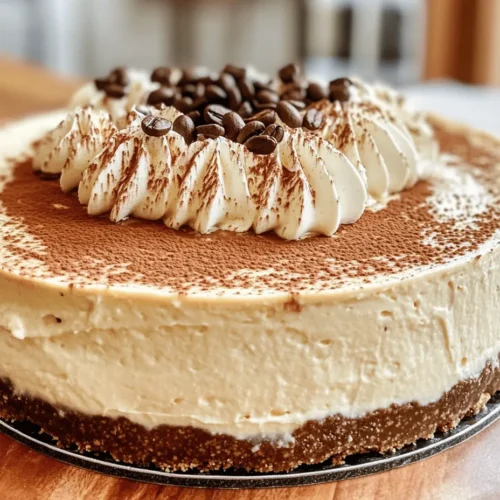
To complete this indulgent dessert, a topping is often included, providing a visual appeal and a burst of flavor. A simple whipped cream topping can add a light, airy contrast to the dense cheesecake, while a dusting of cocoa powder or a drizzle of espresso sauce can elevate the presentation. These finishing touches not only enhance the visual appeal but also amplify the coffee flavor, creating a harmonious dessert that coffee lovers will cherish.
Creating the Perfect Coffee Cheesecake Crust
Now that we have an understanding of the key components of our cheesecake, let’s dive into creating the perfect crust that will serve as the foundation for our Ultimate Coffee Lover’s Cheesecake.
Ingredients for the Crust
To make the crust, you will need the following ingredients:
– Coffee-flavored digestive biscuits: These will provide the base flavor and texture for the crust.
– Unsalted butter: Melted butter is essential for binding the biscuit crumbs together.
– Granulated sugar: A small amount of sugar will enhance the sweetness of the crust.
Step-by-Step Guide to Preparing the Crust
1. Preheat the Oven: Start by preheating your oven to 350°F (175°C). This ensures that your crust will bake evenly.
2. Prepare the Biscuit Crumbs: Place the coffee-flavored digestive biscuits in a food processor and pulse until they resemble fine crumbs. If you don’t have a food processor, you can place the biscuits in a resealable bag and crush them with a rolling pin. Aim for a texture similar to sand.
3. Mix the Ingredients: In a mixing bowl, combine the biscuit crumbs, granulated sugar, and melted butter. Use a fork or your hands to mix until the crumbs are evenly coated with butter and resemble wet sand.
4. Press into the Pan: Transfer the crumb mixture to a 9-inch springform pan. Use the back of a measuring cup or your fingers to firmly press the crumbs into the bottom of the pan and slightly up the sides. This step is crucial for achieving a stable crust that holds its shape.
5. Bake the Crust: Place the prepared crust in the preheated oven and bake for about 10 minutes, or until it’s lightly golden and fragrant. Baking the crust not only sets its shape but also enhances the flavor. Once baked, remove it from the oven and allow it to cool completely while you prepare the cheesecake filling.
Tips for the Perfect Crust
– Use Fresh Ingredients: For the best flavor, use fresh coffee-flavored biscuits and good quality unsalted butter.
– Press Firmly: Ensure that the crumb mixture is firmly pressed into the pan to prevent it from crumbling when sliced.
– Let it Cool: Allow the crust to cool completely before adding the cheesecake filling. This step is essential to prevent the filling from melting into the warm crust.
Crafting the Creamy Cheesecake Filling
With the crust complete, it’s time to focus on creating the creamy cheesecake filling that will steal the show. The filling is the heart of the cheesecake, and a few simple techniques will help you achieve the perfect, smooth consistency.
Ingredients for the Cheesecake Filling
For the filling, gather the following ingredients:
– Cream cheese: Make sure the cream cheese is at room temperature for easy mixing.
– Granulated sugar: This will sweeten the filling.
– Vanilla extract: A splash of vanilla adds depth to the flavor.
– Eggs: Eggs help bind the filling and create a smooth texture.
– Sour cream: This ingredient adds richness and a slight tang.
– Espresso: Freshly brewed espresso will infuse the cheesecake with a rich coffee flavor.
– All-purpose flour: A small amount of flour stabilizes the filling as it bakes.
– Optional cocoa powder: For those who love the combination of coffee and chocolate, a touch of cocoa powder can add a delightful twist.
Step-by-Step Instructions for the Filling
1. Prepare the Espresso: Brew a shot of espresso and allow it to cool slightly. If you don’t have an espresso machine, strong brewed coffee can be used as a substitute.
2. Beat the Cream Cheese: In a large mixing bowl, use an electric mixer to beat the room-temperature cream cheese until smooth and creamy. This step is crucial for achieving a lump-free filling.
3. Add Sugar and Vanilla: Gradually add the granulated sugar and vanilla extract to the cream cheese, continuing to beat until well combined.
4. Incorporate the Eggs: Add the eggs one at a time, mixing on low speed after each addition. Be careful not to overmix at this stage, as incorporating too much air can result in cracks during baking.
5. Mix in Sour Cream and Espresso: Gently fold in the sour cream and cooled espresso, mixing until just combined. If using cocoa powder, sift it in at this stage to avoid clumps.
6. Add the Flour: Finally, sprinkle the flour over the mixture and fold it in gently. This will help stabilize the filling and ensure a smooth texture.
Insights into Each Ingredient
– Cream Cheese: The primary ingredient that creates the rich, creamy texture of the cheesecake.
– Sour Cream: Adds a tangy flavor and enhances the creaminess of the filling.
– Espresso: Infuses the filling with the bold flavor of coffee, making it the star of this recipe.
– Flour: Stabilizes the filling during baking, preventing it from collapsing.
By following these detailed steps and tips, you’ll be well on your way to creating a luscious Ultimate Coffee Lover’s Cheesecake that is sure to impress anyone with a taste for coffee desserts. The next stage will involve baking the cheesecake to perfection, ensuring it sets beautifully while maintaining that creamy texture that defines a great cheesecake.
Importance of Temperature Control During Baking
When it comes to baking the Ultimate Coffee Lover’s Cheesecake, maintaining the right temperature is crucial. Cheesecakes are delicate desserts that require a gentle baking environment to set properly without becoming overly dry or cracked. Preheat your oven to 325°F (163°C) to ensure that your cheesecake bakes evenly. Additionally, it’s beneficial to use a water bath, or bain-marie, which helps regulate the oven temperature and adds moisture to the baking environment.
This technique involves placing your cheesecake pan inside a larger pan filled with hot water. The steam from the water bath helps to cook the cheesecake evenly and prevents the outer edges from baking too quickly, which can lead to cracks.
Step-by-Step Baking Instructions
1. Prepare Your Pan: Begin by greasing your springform pan with a little butter or non-stick spray. This step will make releasing the cheesecake easier once it’s fully baked and cooled.
2. Pour the Filling: Carefully pour your coffee-infused cheesecake batter into the prepared pan. Ensure that the batter is evenly spread to promote uniform baking.
3. Create the Water Bath: Place the springform pan into a larger roasting pan. Fill the outer pan with hot water until it reaches halfway up the sides of the springform pan. This method provides a humid environment that helps the cheesecake bake perfectly.
4. Bake: Place the pans in the oven and bake for about 45 to 50 minutes. You’ll know your cheesecake is done when the edges are set but the center has a slight jiggle to it. This jiggle is essential as it indicates that the cheesecake will continue to set as it cools, preventing it from becoming too firm.
5. Cooling in the Oven: Once the baking time is complete, turn off the oven and crack the door open. Allow the cheesecake to cool in the oven for at least 1 hour. This gradual cooling process helps prevent cracks by minimizing the temperature shock that can occur if you were to remove it from the hot oven immediately.
Chilling: The Secret to a Perfectly Set Cheesecake
After cooling in the oven, the next step is chilling, which is vital for achieving the perfect cheesecake texture. Chilling allows the flavors to meld and the cheesecake to set fully.
1. Chill Time: Transfer the cheesecake to the refrigerator and chill for at least 4 hours, although overnight is recommended for the best results. The longer it chills, the better the texture and flavor will be.
2. Conditions for Chilling: Ensure that the cheesecake is well-covered with plastic wrap or aluminum foil to prevent it from absorbing any odors in the fridge.
3. Check for Doneness: To determine if your cheesecake is adequately chilled, gently shake the pan. If the center is firm and only slightly jiggles, it is ready to be topped and served.
Preparing the Luxurious Topping
The topping is what elevates your cheesecake to the next level. A light and airy whipped cream complements the rich coffee flavor beautifully.
Ingredients for the Topping
– 1 cup heavy cream
– 2 tablespoons powdered sugar
– 1 teaspoon vanilla extract
Instructions for Whipping the Cream
1. Chill Your Equipment: For the best whipped cream, start with a chilled mixing bowl and beaters. You can place them in the refrigerator for about 15 minutes before whipping.
2. Combine Ingredients: In the chilled bowl, add the heavy cream, powdered sugar, and vanilla extract.
3. Whip to Peaks: Using an electric mixer, beat the mixture on medium-high speed until soft peaks form. Be cautious not to over-whip, as this can turn your cream buttery.
Ideas for Garnishing
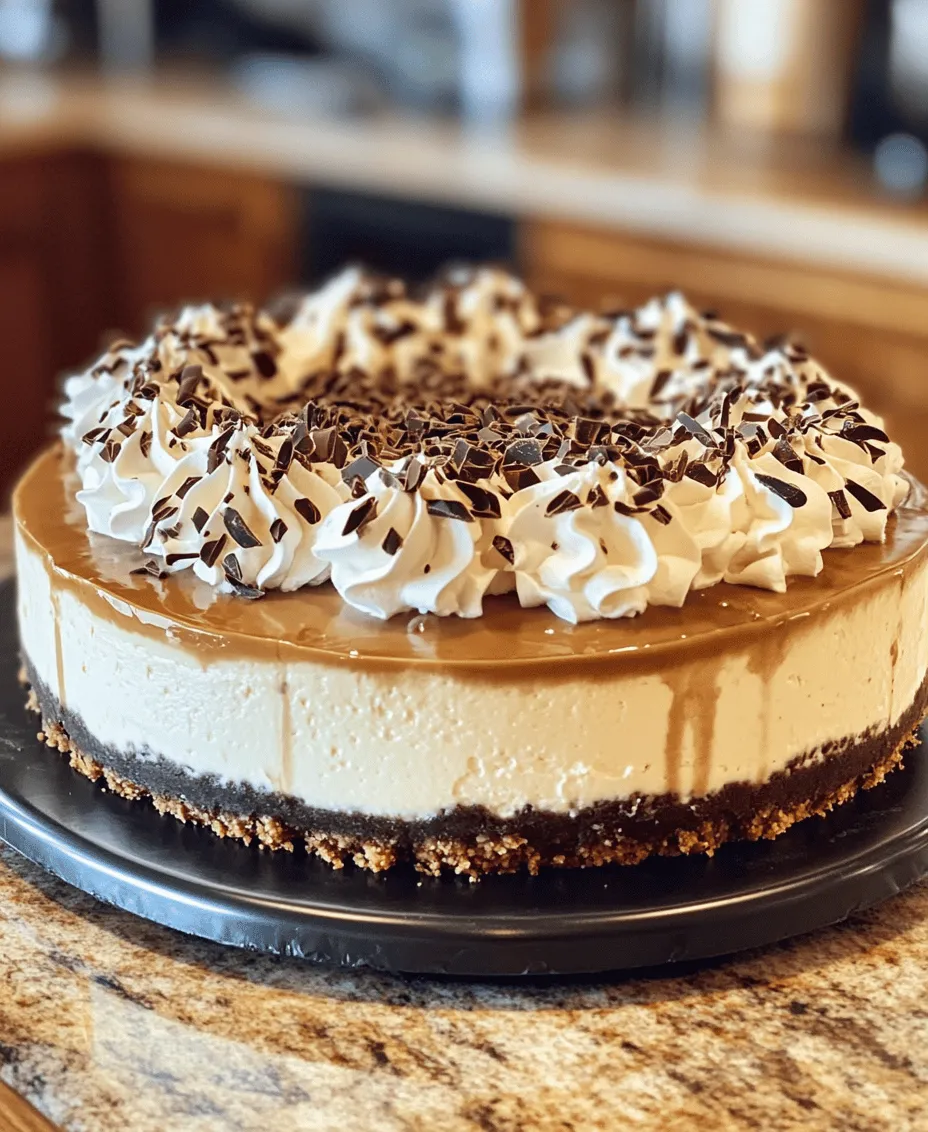
To make your cheesecake visually stunning, consider garnishing it with chocolate shavings and coffee beans.
– Chocolate Shavings: Use a vegetable peeler to create delicate shavings from a chocolate bar. Sprinkle them over the top for an elegant touch.
– Coffee Beans: Place a few whole coffee beans on top of the whipped cream to accentuate the coffee flavor and provide a striking contrast against the white cream.
Serving Suggestions for the Ultimate Coffee Lover’s Cheesecake
Once your cheesecake is beautifully decorated, it’s time to serve it. Here are some tips to enhance your presentation and enjoyment:
1. Releasing from the Springform Pan: Carefully run a thin knife around the edge of the cheesecake before releasing the springform pan. This will help avoid tearing the cake as you remove the sides.
2. Slicing and Serving: Use a sharp knife dipped in hot water to slice the cheesecake. Wipe the knife clean between slices to maintain smooth edges. This technique will keep your slices looking neat and appealing.
3. Pairing Recommendations: To complement the flavors of your cheesecake, consider serving it alongside a freshly brewed cup of coffee or espresso. The richness of the coffee enhances the dessert’s flavors. Alternatively, a glass of dessert wine or a creamy Irish coffee can also elevate the dining experience.
Conclusion
Creating the Ultimate Coffee Lover’s Cheesecake is an experience that combines precision, patience, and passion for both coffee and dessert. By adhering to temperature control during baking, allowing for proper cooling and chilling, and topping it off with a luxurious whipped cream, you can craft a cheesecake that is not only visually appealing but also rich in flavor.
This decadent dessert is sure to impress both coffee enthusiasts and cheesecake lovers alike. Whether you’re serving it at a gathering or enjoying it during a quiet evening at home, the delight of each creamy slice will be a testament to your baking skills. So roll up your sleeves, gather your ingredients, and enjoy the process of making and sharing this exquisite treat with others.