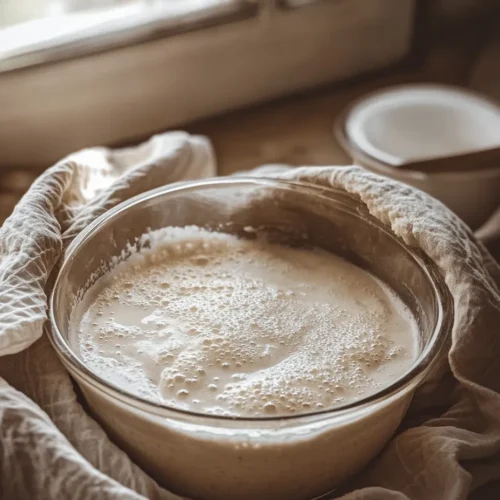
Go Back
For anyone eager to embark on the journey of sourdough baking, understanding the foundational element of this art form—the sourdough starter—is absolutely essential. A sourdough starter is more than just a mixture of flour and water; it is a living culture that harnesses the power of wild yeast and beneficial bacteria present in the environment. This unique combination is what sets sourdough apart from other types of bread, imparting a depth of flavor and a distinctive texture. In this article, we will delve into the world of sourdough starters, providing you with a comprehensive guide to creating the perfect starter from scratch. Whether you are a novice baker or someone with more experience, our step-by-step instructions and insights into the science of fermentation will equip you with the knowledge needed to master this delightful craft.

Sourdough Starter

Dive into the world of sourdough baking with our guide to creating the perfect starter! This living culture of wild yeast and bacteria is key to achieving that unique flavor and texture in your bread. Follow our simple step-by-step instructions, learn about essential ingredients, and understand the science of fermentation. Whether you're a novice or an experienced baker, mastering your sourdough starter will unlock endless culinary possibilities! #Sourdough #Baking #BreadMaking #HomeBaking #Foodie #SourdoughStarter

Ingredients
  

100g all-purpose flour (or whole wheat flour)

100g filtered water (room temperature)

1 tablespoon of existing sourdough starter (optional) or a pinch of yeast for faster fermentation

Instructions
 

Day 1 - Combine Ingredients: In a clean glass or plastic container, mix 100g of all-purpose or whole wheat flour with 100g of filtered water. Stir until no dry flour remains. The mixture should have a thick, paste-like consistency.

    Cover and Store: Loosely cover the container with a lid or a clean cloth to allow airflow while preventing debris from entering. Leave the mixture at room temperature (around 70°F/21°C) for 24 hours.

      Day 2 - Check and Feed: After 24 hours, you may see some bubbles forming, indicating that wild yeast is present. Regardless of bubbles, discard half of the mixture (about 100g), and add 50g of flour and 50g of water, stirring well.

        Repeat Feeding: Repeat the feeding process every 24 hours for the next 5-7 days. With each feeding, you will likely notice more bubbles and a pleasant sour smell developing. This indicates that your starter is thriving.

          Day 7 - Ready for Use: By day 7, your starter should be doubled in size within 4-6 hours of feeding and have a tangy aroma. It is now ready to use in sourdough bread recipes! If you intend to store it long-term, place it in the refrigerator and feed it once a week.

            Prep Time: 10 minutes | Total Time: 7 days | Servings: Makes enough starter for multiple loaves of bread